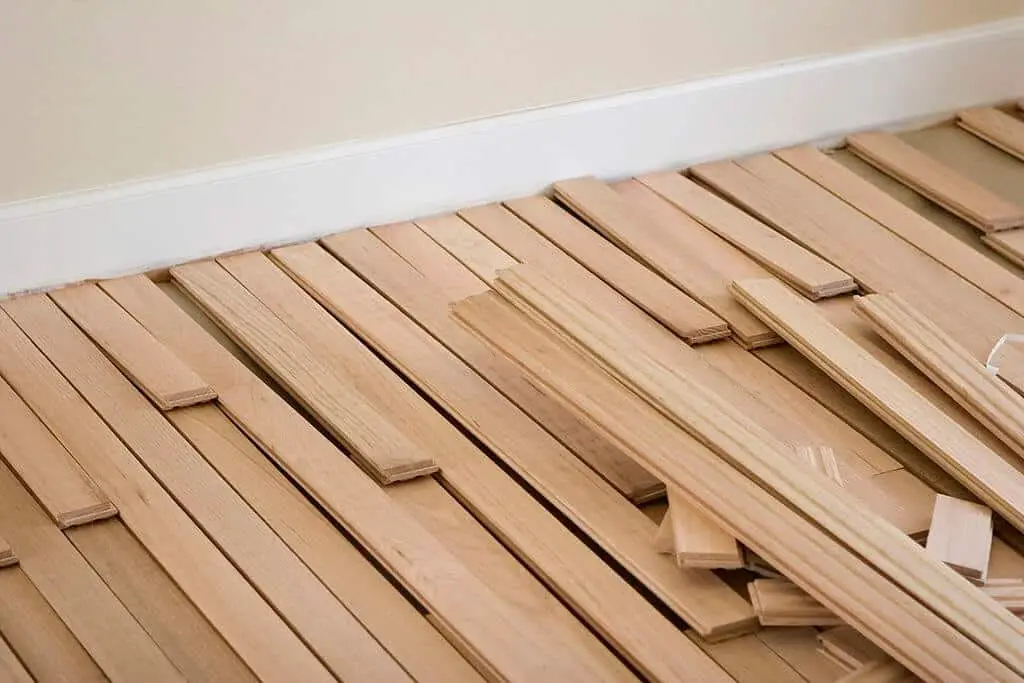
Tongue and groove flooring have been around for the longest of time, and it’s a process of joining materials. It is made up of two sides; a tongue side that sticks out and a receiving groove side that is indented.
The groove of each piece fits over the tongue of the neighbouring piece, and this locks the pieces together so that the board resist movement and stay flat.
The width sides of the flooring also have either a groove or ridge, which creates an interconnecting floor when installed.
This flooring comes in different options, some come in sheets, and some comes in planks. It all depends on the type of flooring you are going for.
Types of Tongue and Groove Flooring
Table of Contents
Tongue and groove flooring material are mostly wood or wood derivatives, and they are of three types; solid wood, engineered and laminate.
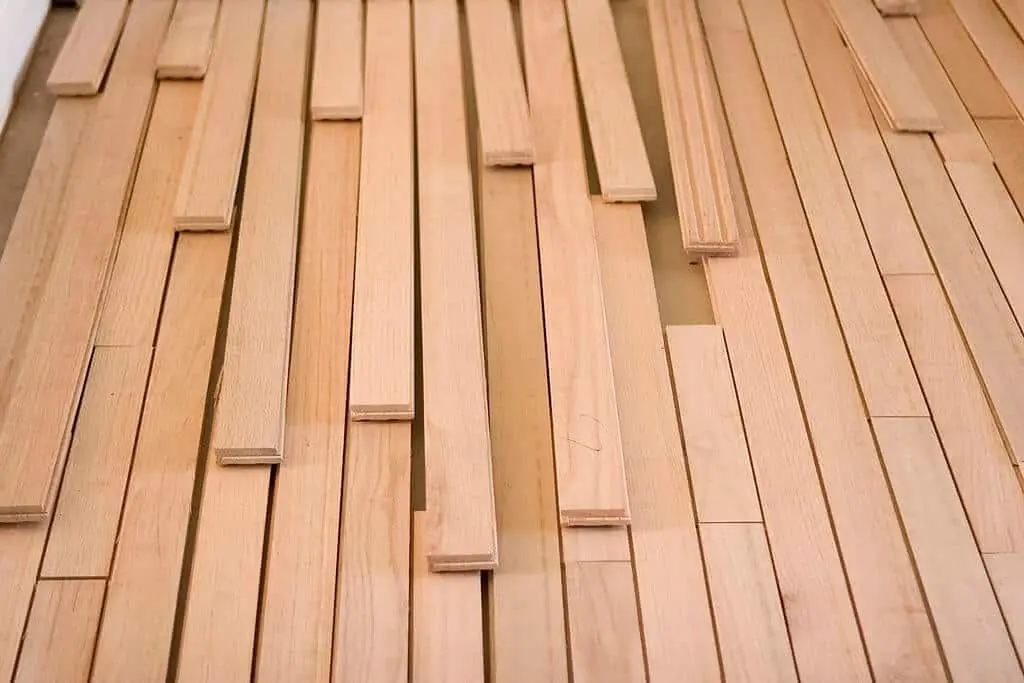
The most common shape of groove and tongue flooring is the plank, with a width that ranges from 2 1/4 to 6inches and various lengths.
This helps to create an attractive look; this style is due to the fact that it would be almost impossible and very expensive to get planks long enough to cover an entire room.
These flooring are available in different species of wood such as walnut, maple and oak.
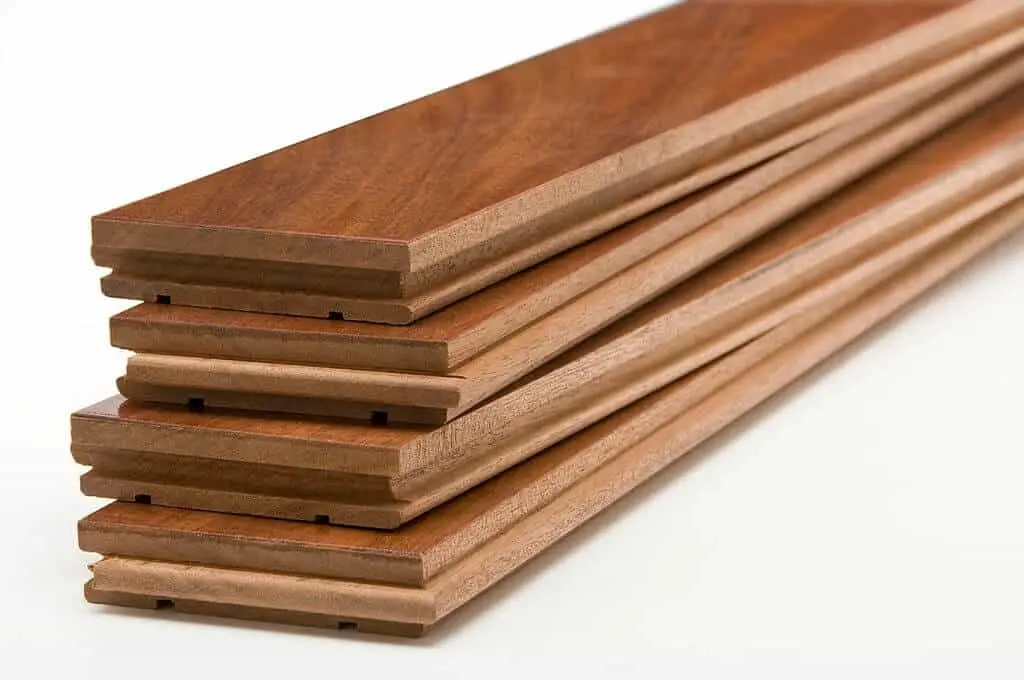
Solid Wood Flooring
This is the most common type of groove and tongue flooring, it is found in many old homes, basketball courts and bowling alleys.
Each strip of solid wood is about 5/8 or 3/4 inch thick. It is sold in unfinished and prefinished forms.
Unfinished flooring is first installed, and then sanded and finished by an installer while prefinished flooring does not need to be finished after installation, because a durable finish is applied at the factory.
Flooring finishing is typically the application of clear polyurethane as a protective topcoat and wood stain for consistent colouring.
Laminate Flooring
This is made from fine particles of wood pressed and glued into a solid plank to serve as a base. It is then topped with a thin photographic film which mimics the look of a real wood flooring.
They have special edges that lock into each other, unlike traditional tongue and groove flooring while slides into each other.
This allows them to be installed without glue or nails; they are also relatively thin, about 8 -12 millimeters.
Read: Best Steam Mop for Laminate Floors
Engineered Flooring
Engineered flooring is very similar to solid wood flooring, they have plywood like construction which consists of a thin layer of wood pressed and glued together to form a plank.
They are usually prefinished and has a top layer of what is usually hardwood.
Engineered groove and tongue flooring have more installation options and applications than other types of groove and tongue flooring.
Engineered flooring can be installed over concrete or other existing flooring, unlike other hardwood flooring.
Pros and Cons of Tongue and Groove Flooring
Pros
Firstly, you save time because you don’t have to staple each board.
It is also economical because, when using sliding boards, there’s little or no chance that you will need to spend money on other installation materials like glue, nails, etc.
Another great advantage is the fact that tongue and groove flooring is airtight, which means there’s little chance of moisture getting into your floor. This makes it the best option for high moisture rooms like the kitchen or bathroom.
Read: Waterproofing Wooden Floors
Cons
Sometimes sliding the tongue and groove together can be hectic and difficult, a pro tip to help with that is to gently tap the board with a soft mallet.
If proper precaution is not adhered to, the tongue may break off. Another issue is that, trying to disassemble the floorboards can be almost impossible.
It cannot be taken apart without significant breakage, but that won’t be an issue if you keep the same flooring in your house for a long time.
Tongue and Groove Flooring Installation Methods
The first point of note when searching for flooring in your home, is to note the installation type of the floor.
Installing the boards should be the last thing you do when doing a house makeover, installing the windows and doors, painting of the room should be done first because paint spills could cake within the floor joint.
Also, spilling and trundling from plumbers and electricians could make your sanding job a little bit tougher later. And it is best to install your floors in a known and consistent level of heat and humidity.
This is because when your house is at an equilibrium point, your floor won’t gap or cup.
Groove and tongue flooring can be installed using different methods, solid wood and engineered flooring can be installed using a technique called blind-nailing flooring staples. If installed correctly, wood floor buckling can be avoided.
It can also be referred to as nails are driven at an angle through the tongue edge of each plank which angles back towards the plank.
Then when the next row of planks is installed, the nailed tongue is fitted under the grooves. Blind nailing tongue and groove flooring is usually installed over a layer of building paper or rosin paper.
There’s also installation by flooring adhesive (glue), this works with laminate, engineered and solid wood type of flooring, this glue installation is used to install flooring over concrete because concrete is hard to nail into.
On the other hand, glue installation is best done by a professional and so its not DIY friendly.
An easy alternative to both installations method listed above is the floating floor. It uses no glue or fasteners, and it’s best if you are installing your flooring yourself. It works with both laminate and some types of engineered flooring.
An underlayment of thin foam or other materials is laid over the entire floor, then the flooring planks are laid row by row and then joined together by fitting each piece at an angle below the installed row.
This interlocks the tongue and groove joint as opposed to using nail or glue to hold down the planks.
After laying each piece, they are tapped tight against its neighbor with a hammer or mallet.
Pro Tips
You can prevent wood squeaks by using a sound-absorbing underpayment between the hardwood flooring and subfloor. Skipping this process will lead to you dealing with loud squeaks and creaks when someone walks across the floor.
Using a traditional method of nailing could be time-consuming and could result in poorly inserted nails. The best alternative is to rent a hardwood flooring nailer from a construction rental shop.
Its a powerful tool that shoots nails through the tongue at a correct angle, and it makes installation a lot easier
Always use the underlayment specified by the flooring manufacturer, because while you can use a sound-absorbing underlayment for solid wood, engineered flooring may require a cushioned polyethylene barrier which resists moisture, this is because engineered flooring can be installed over concrete.
Do not force the planks together, tap the ends of the planks together using the installation block recommended by the manufacturer.
Installing an engineered flooring will raise the level of the floor between 3/8” and 5/8”. You may be required to cut the bottom of your door to enable it open and close easily.
You may also need to install a transition threshold if the adjoining room floor is lower. And this helps to eliminate a “lip” that could cause tripping by acting as a gentle ramp down to the lower floor.
Conclusion
Now that you know everything about tongue and groove flooring installation, you can get started on your home renovation project.