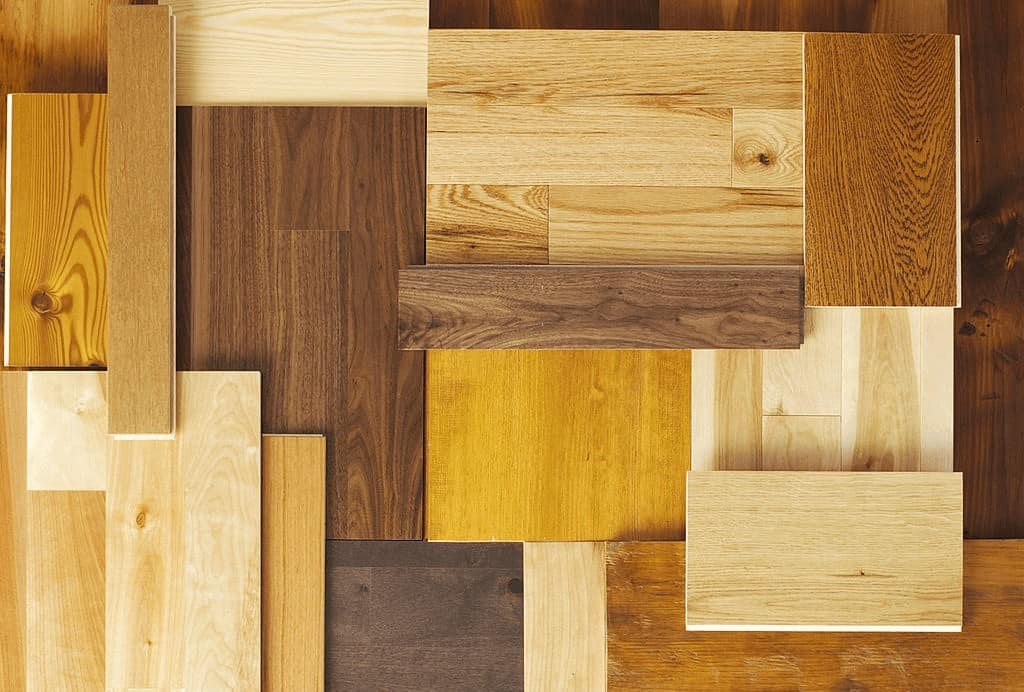
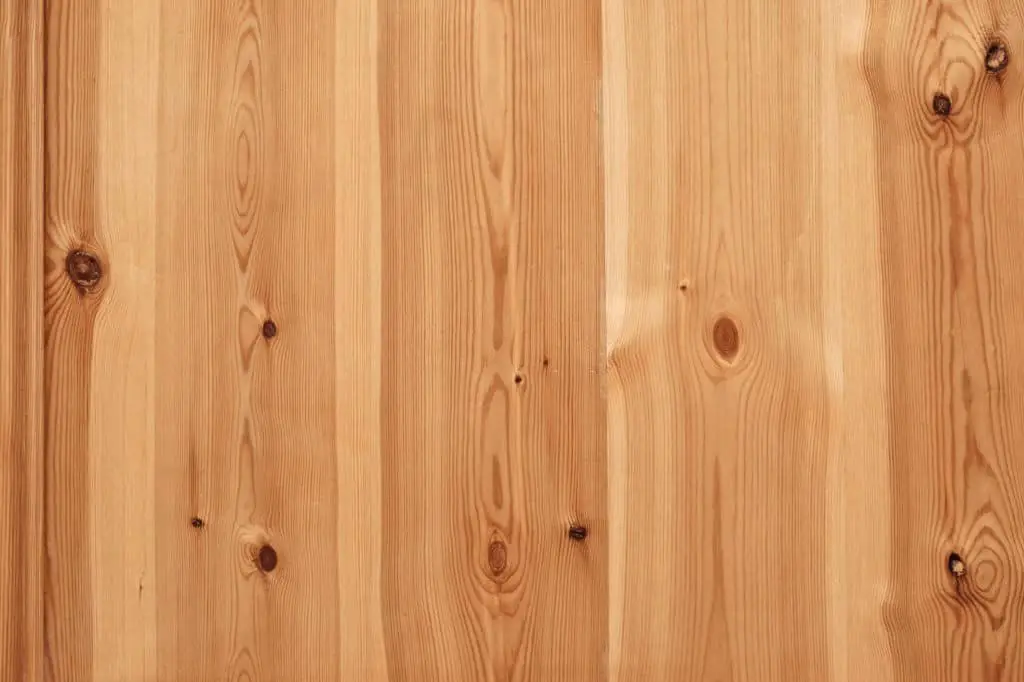
People who have pine floors and desire to maintain their beauty must know how to refinish pine floors. Pine floors are valuable and attractive because of their earthy charm.
Although pine is a soft wood, a pine floor that is finished and maintained properly can last for hundreds of years. The protective top coats finish of pine floors need refinishing every 6 years approximately.
Refinishing is important due to the effect of wear and tear on the pine floor finish. In this article, we will be talking about how to refinish pine floors; the steps are explained below.
Read: Best Floor Wax Review
How To Refinish Pine Floors
Table of Contents
The tools needed for refinishing pine floors are listed below:
- Hammer
- Carpenter’s level
- Lacquer thinner
- Paint thinner
- Plastic sheeting
- 2×4 board
- Masking tape
- Rubbing alcohol
- Ammonia
- Xylene or toulene
- Dustpan
- Broom
- Bucket
- Paint brush
- Lamb’s wool applicator
- Sealer
- Stain
- Sandpaper (40-grit, 60-grit, 100-grit and 120-grit)
- Mop
- Vacuum
- Clean and soft cloths
- Drum, belt or orbital sandpaper
1. Clear The Room
Firstly, empty the room. Close doors and windows to stave off spread of sawdust throughout the house. Apart from the fact that sawdust is messy, it is capable of damaging furnace, electronic appliances and other gadgets in your home.
Therefore, cover entry ways using your discretion; you can use a sheet of plastic to tape over openings. If you have floor vent plates, loosen and remove them, and then tape plastic in a position to cover the opening.
2. Check The Baseboard Trim
The baseboard trim, just above the floor, should be checked and examined. Remove worn and damaged trims so that they can be refinished or replaced, as it applies to each case.
Use the claw end of a hammer to pry the trim free from the wall. Ensure that electrical outlets are taped to prevent penetration of sawdust.
3. Check For Cracks And Gouges
Check up the floor to pinpoint spots that you may need to fill. Test the floor for low and high spots, and see if the floor is damaged and old. Lay long wooden straightedge, like a 2×4 board across the floor.
Position a level on top, then, slide the board gently along the floor, first in one direction and secondly in a direction vertical to the initial one or simply put, perpendicular.
Mark cracks, gouges or low areas with an ‘A’ and high sports with a ‘B’. The floor should vary not more than 0.125 inch in any direction. If you see nails stick up anywhere, drive them below the surface.
4. Identify The Finish
If you don’t know the finish that was used on the floor, you have to test it so that it can be identified. Polyurethane cannot work well with other types of finish coatings.
Get a few drops of rubbing alcohol on the finish, in an inconspicuous part of the room; if the finished bubbles or softens, it is definitely shellac.
Apply cellulose thinner on another part of the finish and if the finish reacts, it is lacquer. Xylene or toluene dissolve water-based urethane, while paint thinner affects oil-based polyurethane.
For wood that looks dull and feels rough, they have a penetrating seal like boiled linseed oil or tung oil. Also, if a finish looks cloudy when dabbed with ammonia, such finish was topped with wax.
We’re focusing on how to refinish pine floors with polyurethane. So, if any finish apart from polyurethane was used, you have to sand the floor down to bare wood.
5. Sand The Finish
Sweep, vacuum and wet mop the floor to get rid of debris and dirt. A dirty floor can wear the sandpaper out faster, and small pieces of sand can damage the floor while it is being sanded, so, it is important to work on a clear floor.
Using your choice of sander, sand the floor. Although orbital Sanders are lightweight and easy to control, they require more time to sand down to bare wood.
But, drum and belt Sanders are faster; they cut through finish and level uneven floors rapidly. Fit the chosen sander first with 40-grit sandpaper, then 60-grit sandpaper and finally 100-grit sandpaper.
Work the sander across the floor and don’t remain in one spot except it is a high spot (remember you have marked high spots with a ‘B’). Sand until the finish is removed and the wood is leveled, and finally, edge the floor with a hand sander.
Vacuum or sweep the floor to remove the sanded dust. Thereafter, use a wet cloth or mop to clean the floor and ensure that even small pieces of sand are removed. Don’t forget to wipe down the walls too.
6. Apply Stain
Apply stain on the wood as you wish. First spread a sealer before applying the stain, if the wood is completely exposed. Pine usually absorb stain fast, the sealer will block pores, so, an even color is maintained.
Related: Is my floor oak or pine?
Make sure you purchase a product that is designed to work with polyurethane and apply it in accordance with the manufacturer’s directions. When the sealer is dry, rub or paint the stain on it.
Ensure that you are in line with the wood’s grain patterned, and work in small areas with both stain and sealer.
Read: How to stain wood floor
7. Apply The Finish
Brush a uniform coat of semi gloss polyurethane around the borders of the room. Use an exact amount that is enough to cover the surface of the floor completely.
Use a lamb’s wool applicator to extend the polyurethane across the room’s centre. While spreading the polyurethane, follow the grain pattern. Plan a strategic movement while applying, so you work backwards, towards the exit to prevent stepping on the wet surface.
Read: Best Flooring Wax
When the floor is completely dry and its surface is hard, usually after about 24 hours, sand the floor with 120-grit sandpaper.
Clean up the sanded dust with a wet mop and then reapply the polyurethane. Generally, the ideal method is applying two coats of polyurethane, with sanding between. Finally, replace baseboards and furniture.
Related: Can engineered hardwood floor be refinished
Conclusion
At this point, I believe you know how to refinish pine floors. Refinish your pine floor every six years to maintain its beauty and charm. Wood saw dust, saved during sanding, can make good wood filler for the chips and gorges in old pine floors.
Mix enough lacquer sealer to create a sticky stuff to be spread across the holes. As the sealer dries out, the pine wood remains.
Finally, don’t forget to put on a respirator when you are refinishing your pine floor, so that you can be protected from fumes and dust. Over to you, when was the last time you refinished your pine flooring? Do let us know in the comments.