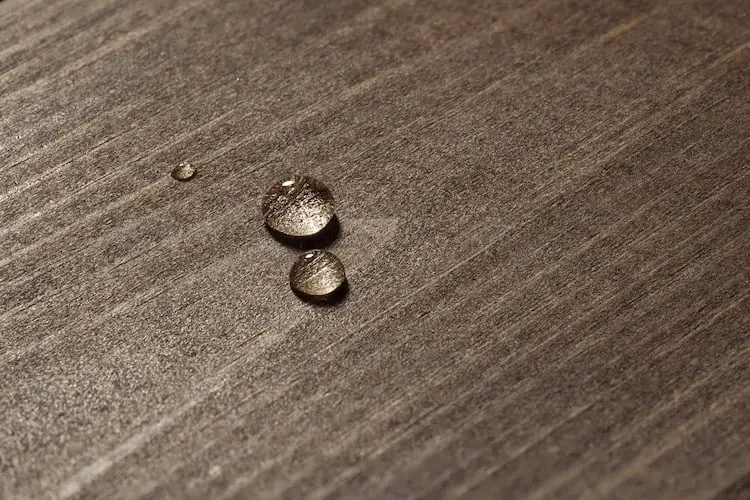
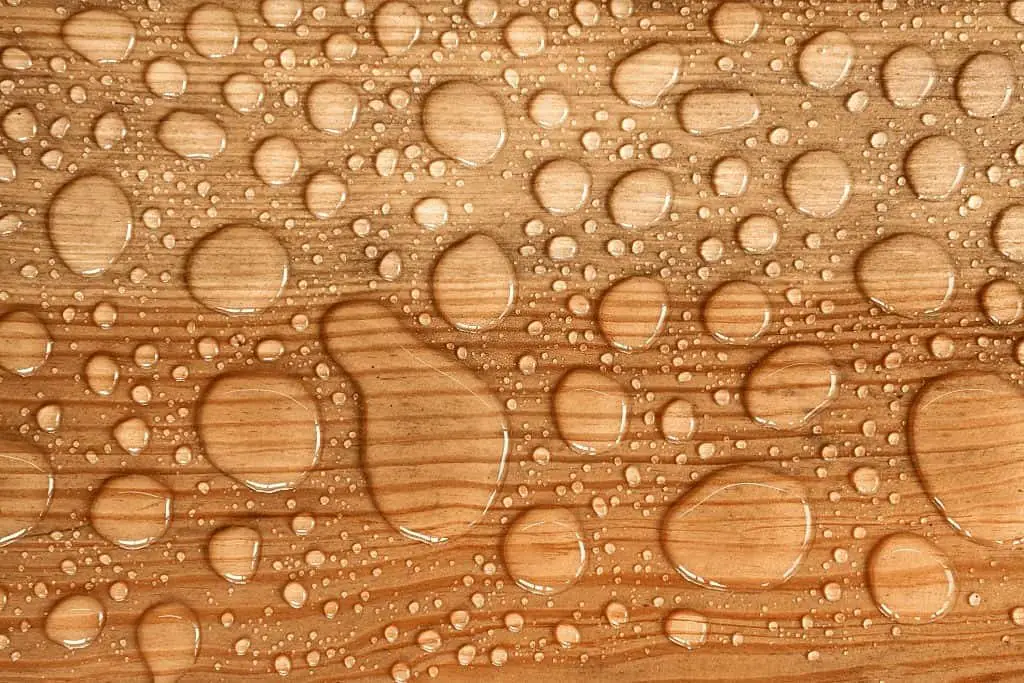
Waterproofing wooden floors is required to maintain the beauty, durability, and longevity of the wooden floor. In homes, water cannot do without spilling on the floor, especially the floor of your bathroom or the vanity of your sink and dresser, or anywhere in your home.
Water is a great enemy of wooden floors when it gets to wood, it makes the wood deteriorate over time and cause the wood to twist and warp.
Accepting the fact that spilling water on wooden floors in your home is inevitable, waterproofing wooden floors is a good step to take to protect your wooden floor from damage. In this article, we will talk about how waterproofing a wooden floor is done, but quickly, let us differentiate between waterproof and water-resistant wood.
When a piece of wood is described as water-resistant, it means it can resist water to a certain limited level and then finally succumb to the dogged force of water. But, a piece of wood is said to be waterproof if it is permanently protected against water percolation.
How to Waterproof Wooden Floor
Table of Contents
Using Oil
You can either use walnut oil, Tung oil or linseed oil. Follow the following steps to waterproof your wooden floors, using any of the oils mentioned above:
- Mix the oil with either apple cider vinegar or turpentine so that you can have more powerful waterproofing oil. Make sure you stir the mixture thoroughly. Mixing the oil with apple cider vinegar or turpentine is optional; the oil can be used alone and works effectively.
- Prepare the surface of the wood by using sandpaper to smoothen rough edges and surfaces. This step is very important because rough areas will become distastefully obvious after you are done with the oiling.
- Dip a brush that has soft bristles into the oil (or mixture as the case may be) and apply the oil thoroughly over the wood. Make sure that no edge or area of the floor is left untouched.
- Let the edges and surface of the wood absorb the oil for some time. Thereafter, you will be able to see the areas you have not applied on, and then proceed to reapply on the areas.
- Allow the wood to absorb the oil once again. After that, use a dry and clean rag to clean off the residue of the oil residues. Oily rags are flammable, so after using them to clean oil residue, make sure you wash them with soap and water.
- Give the wood enough time to dry. Single oils dry at a slower rate than oil mixtures. Single oils can take a couple of hours or over up to half a day to get dry.
- When the wood is dry, you can further reapply the oil on the wood if you have more oil. This is to make sure that the wood is waterproofed and finished heavily.
Using Sealants
This technique has to do with the use of sealants to make wooden floors waterproof. The steps to take in this method are almost similar to that of oils. The only difference here is that you don’t have to mix the sealants with any other synthetic or natural chemicals.
You start by wiping the wood dry and smoothen it with sandpaper. Proceed to apply the sealer by either using a brush or spraying it. Allow it to dry. Although sealants dry faster than oils, you still have to give air-free passage in the room where the application is going on. After the sealant is dry, reapply the sealant twice to make sure the wooden floor is well protected against water.
To get perfect results from using sealants to waterproof wooden floors, apply the sealants at room temperature. If the temperature is above room temperature, the efficacy of the sealants will be affected.
Sealants are not like other liquids that need energetic shaken to make their content circulate around the container; do not shake or stir sealants.
Using Stain And Sealer
This is the most tasteful and efficient technique of waterproofing wooden floors. You can choose to use stains singly or you can use a combination of stain and sealants. These stains are translucent when they are applied. Lighter stains have more oil.
The application process is the same as the ones above. Wipe the wood dry, sandpaper it and then apply the stain and sealer with a brush.
Give it time to dry, remove residues with a dry and clean ray and then reapply the stain and sealer up to two or three times for a thorough finish. The steps applied to both stain and stain- sealant combos.
Stain-sealants waterproofing combos are the best in terms of effective waterproofing and addition of styles to the work. Stain- sealant combos come in a variety of colors. These colors are products of color pigments with the inclusion of binders like waters, oils or alkyls-based binders.
Stain-sealants combos do not build up on the surface of wood; there are absorbed into the wood immediately they are applied, so you do not need to clean off residues. On the other hand, alkyl-based stains leave residue on the surface of the wooden floor.
Conclusion
For people that value the beauty of their wooden floor and desire that the durability of their wooden floor is maintained, waterproofing a wooden floor is a necessary step to take.
Your choice of the method you want to use depends on your budget. The last method mentioned above is the most effective and it saves time.
Do not forget to take precautions like using gloves. The mixtures you are applying are not just liquids they are chemicals.
Wash your hands when you are through with the entire work as well as the tools you used. Keep the chemicals far out of the reach of children.
After you used any of the above methods in waterproofing wooden floors, tell us your experience in the comment section below.
Do you have a waterproof wooden floor at home or are you planning on having your floor waterproofed? Let us know in the comment. Don’t forget to share this post with your friends so they get more insight into waterproofing wooden floors.

