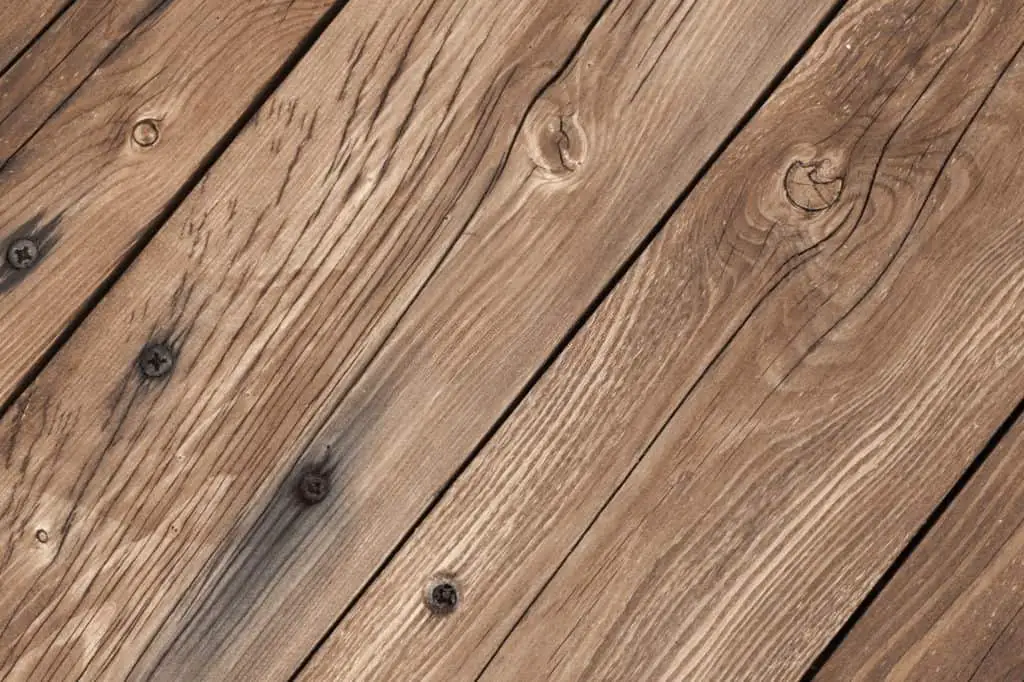
Gaps in hardwood floor after installation is a common occurrence caused by changes in temperature and humidity levels.
Wood being a natural product, can expand and contrast overtime, hence, the presence of gaps between planks of hardwood flooring.
Overtime, hardwood shrinks as it dries out and loses moisture content. The case worsens if the floorboards were not tightly placed initially.
Hardwood floors that are subjected to dry heat from beneath like the ones installed above a furnace room have a tendency to develop gaps.
Another big challenge is water damage. Waterlogged wood usually swells up first and then shrinks as it dries out.
This occurrence is mostly noticed in parts of the home that are closest to humidity and water, and in high traffic areas such as the kitchen and bathroom.
Although little gaps between floorboards are certain, wider gaps can be unappealing.
These wide gaps between the floorboards usually accumulate dirt, and the floor can pose a threat because people may trip and fall when the floorboards curl or cup. This occurrence is common in old hardwood floors.
Preventing Gaps In Hardwood Floor During Installation
Table of Contents
It is crucial that you make hardwood floorboards acclimate to your home before you install them. Do a test of humidity level; either very low or very high humidity can cause splitting, warping and bowing in hardwood floorboards.
Before installation of the new floorboards, they should be unwrapped and allowed to acclimate in the house for about ten days.
Whether your hardwood floor is old or newly installed, it may take years for gaps to develop. To reduce the possibility of having gaps, get a humidifier, especially if your home has dry air.
How Do You Tackle Gaps In Hardwood Floor After Installation?
Like we mentioned earlier, wood expands and contracts with seasonal humidity change.
If you notice gaps in your hardwood floor in the dry winter months, but hardly see gaps in the relatively humid seasons, you shouldn’t worry or bother to fill the gaps when they are at their widest point.
If you fill the gaps, you will be causing another problem because when the hardwood expands again, the gaps will close up naturally.
So, the floorboards can buckle, when in a bid to close up, get obstructed by the material you filled into the gap.
In some cases, old hardwood floors have gaps that are more or less permanent, even though they still slightly expand and contract with changes in humidity levels.
Observe the floor in the humid season when the boards are in their tightest form and have expanded to the maximum.
If you notice gaps that are wide enough to let nickel stand upright and slide in, then you have to take action.
When you are sure that throughout the year, even at the maximum expansion of the floorboards, there are still gaps in between the boards, you can fill the gaps.
It’s best to fill the gaps during the humid season when the floorboards have expanded to the maximum point, and the gaps are at the most narrow stage.
Obviously, when the hardwood shrinks again during winter, you will notice small gaps. This case is better than experiencing floor buckling in the next humid season when the floorboards expand.
How To Fill Gaps In Hardwood Floors With Wood Strips
Having distinguished when to fill gaps and when not to, you should learn how to fill gaps in hardwood floors with wood strips. This is also important if you use tongue and groove flooring system.
You will need spare hardwood floorboards, wood stain or any other finish, table saw, a cloth, hammer, sandpaper, miter saw, or hand saw, tape measure and wood glue.
You will be using a table saw to rip-cut narrow strips from spare hardwood floorboards. If you don’t have spare ones, you can buy salvaged or new hardwood floorboards of the same type with the ones you are currently using. The steps to take are highlighted below:
Rip-Cut The Strips
Measure the length and breadth of each gap between the floorboards. Set up a table saw to rip-cut strips into the breadth you measured earlier.
Corresponding with respective lengths of the gaps, cut the strips using a hand saw or miter saw. Be extra cautious when rip-cutting thin strips of wood on a table saw, as it can be hazardous. If need be, get assistance from an expert.
Glue The Strips
Apply wood glue on the sides of each strip and carefully place it in the gap, using a hammer or mallet.
Ensure the strips are placed evenly and on the same level with the adjoining floorboards. Use a damp cloth to clean off excess wood glue, and then allow the glue to dry.
Sand And Stain The Strips.
Level up any high spots in the strips by sanding them. Be careful not to damage the adjacent finish of floorboards.
Finally, stain and/or finish the strips so that they can tally with the color of the floorboards.
How To Fill Gap In Hardwood Floors With Rope
In old homes, filling significant gaps in hardwood floor with natural fiber rope is a standard solution.
Although the rope does not look like wood, it can be stained to harmonize with the floorboards, and in the end, the filled gaps will be much less conspicuous than the unfilled gaps.
You should make use of natural rope like cotton or jute; synthetic rope cannot absorb stain. So, you will need a bucket, jute or cotton rope, shop vacuum, utility knife, flat head screwdriver and wood stain. The steps to take are highlighted below:
Clean Up The Gaps
Use a flat head screwdriver or a painter’s 5-in-1 tool to scrape out the gaps and remove all old putty and dirt. Do this carefully so that you will not damage the edges of adjacent floorboards.
Then, use a shop vacuum to soak up loose debris from the gaps. Repeat the process all over again until the gaps are clean and clear.
Stain The Jute Or Cotton Rope
Get ropes having a diameter that is a bit wider than the gap. Pour a preferred wood stain that matches the color of your floorboards into a bucket.
Dip the rope into the stain and let the rope get saturated. Gently bring out the rope, allowing excess stain to trickle back into the bucket. Now, stretch the rope out on a clean piece of paper so it can dry out completely.
You should not expose the rope to intense heat or direct sunlight; the rope is prone to ignition when you use an oil-based stain to saturate it.
Fill The Gaps With The Rope
Stretch out the rope along the gap, and then push it into the gap using a putty knife or 5-in-1 tool.
Stop pushing the rope if it has leveled up with the wood surface or it is slightly below the wood surface. Use a sharp utility knife to trim the rope as necessary.
How To Fill Gaps In Hardwood Floor With Wood Putty
For small and relatively stable gaps, filling them with wood putty is a quick and easy method. The downside of this method is that gaps open again in the dry season, and the wood putty can crack roughly.
For this method, you will need a putty knife, cloth and wood putty.
Start by cleaning the floor; use a somewhat damp cloth to clean the floorboards on both sides of the gap.
Get wood putty that has the same color as your floorboards. If you can’t get a single color that is similar to that of your floorboards, blend different colors from available kits to form the desired custom color.
Move on to apply the wood putty in the gaps. Shape the wood putty finely into beads and move your finger in a circular motion to get the putty into the gap.
Use a putty knife to remove excess putty from the surface of the floorboards and be careful not to scratch the finish.
After filling the gaps with wood putty, use a reasonably damp cloth to gently wipe along the filled gap, so that wood putty residue can be removed from the adjoining boards.
While doing this, be careful not to get putty out of the gap. The putty should be completely dry before you walk on the floor.
Conclusion
Gaps in hardwood floor after installation is inevitable. It is a common and natural phenomenon that comes with changes in seasons.
When you notice gaps in your hardwood floor, do not panic; just pick a convenient method of filling the gaps out of all the methods explained above and get to work.
You should be through in about 20 minutes. Don’t forget to share your experience in the comments’ section below!

