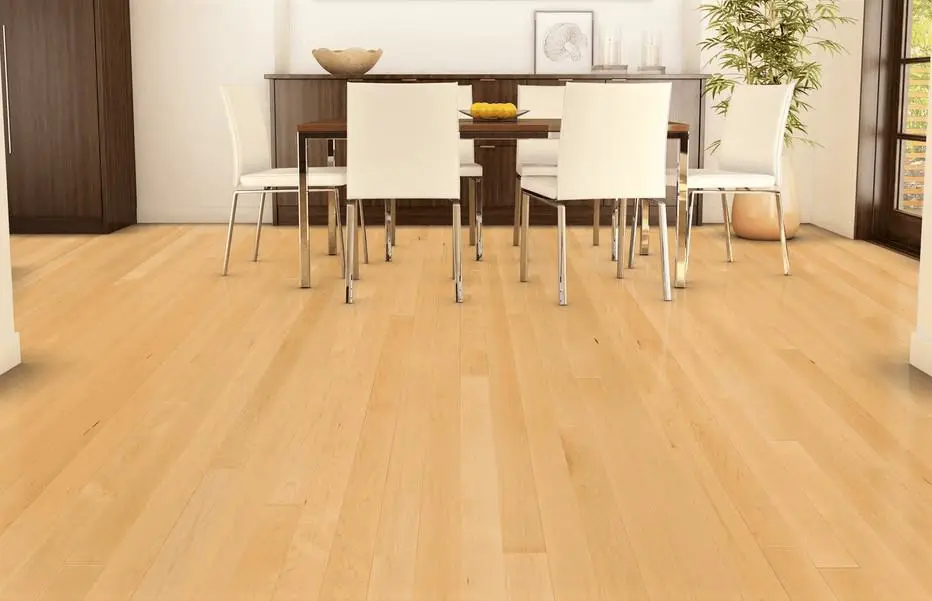
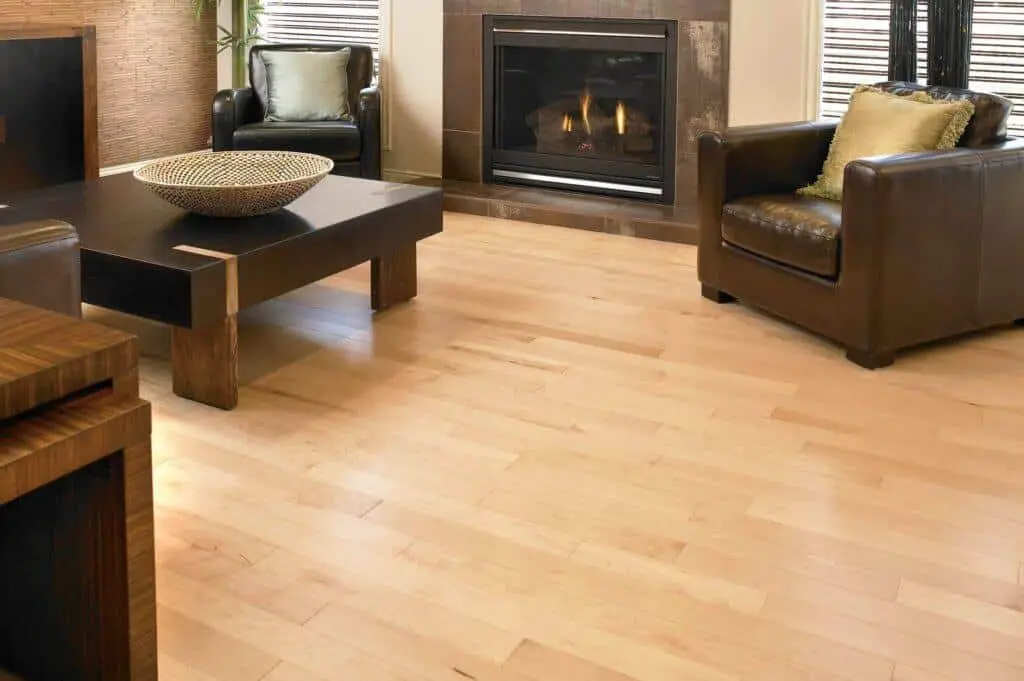
Staining maple floors can be done either by using a traditional resin-based wiping stain or a dye (solvent-soluble, water-soluble or alcohol-soluble). Maple flooring is a dense, durable product that looks great in a range of decorating styles in your home.
Let’s dive straight to the point, the steps taken in staining maple floors are explained below, which includes sanding, cleaning, water popping, and finally applying the stain on the floor.
Steps To Staining Maple Floors
Table of Contents
1. Sand The Maple Floor
The first step required in staining maple floors is by sanding the floor. You have to sand properly because any fault you make will be very noticeable when you start staining and finishing the maple floor.
Ensure you follow proper sanding procedures and choose the right grit sequence so that you don’t skip grit in your sanding sequence.
Most people often ask if they should screen maple or not.
Here’s our answer: Whatever choice you decide to settle for, don’t close the grain of the wood.
Therefore, many people usually stay below 100-grit sandpaper for final sanding. But, if you choose to screen a maple floor or use grits finer than 100, you will have to pop the grain.
2. Clean Up The Floor
When you are done sanding, you have to clean the floor very thoroughly. Due to the light color maple has, any dirt or dust left on the floor will be more pronounced immediately you apply dye or stain on the floor.
So, it is recommended that you vacuum the floor at least twice to ensure that all dirt has been removed. You can alternatively do the cleaning using a steam mop as this is very efficient.
3. Water Pop The Wood
The next step is to water pop the wood, this is a crucial step when it comes to staining maple floors. In the sanding process, the natural grain of the wood has been closed, so it is no longer porous enough to accept stain.
This happens because sawdust and tiny wood particles got stuck in the pores of the wood. The sanding procedure began with coarse low-grit sandpaper used to flatten the wood, and then finer grit sandpaper used to make the wood’s surface smoother.
Hence, the grain fibers are tightened and the wood is denser, less porous and hardly penetrable by stain.
This is where water popping comes in. When water is applied to the wood, it reopens the pores in the grain. Water popping maple wood will raise the grain and help make the wood absorb dye or stain well.
Water popping gives way for the stain to be applied more evenly on the maple floor, makes the stain color accentuated and gives the floor a beautiful look, eliminating sanding marks.
That said, you must use an amount of water that will not over-saturate the wood; water is an obvious enemy of wood. Also, ensure you spread the water evenly across the surface of the maple floor.
The uneven spread of water will eventually make the floor show blotchy areas under the stain. If this happens, you will have to spend more time and energy to re-sand the wood.
To reduce the risk of over saturating the wood, make use of a T-bar. A T-bar looks like a broom with a long handle that meets the end piece at a 90-degree angle.
The end piece has a straight-edged piece of rubber, just like a squeegee that touches the floor and spreads water evenly. Finally, use purified water and not tap water. Tap water contains chlorine and some other chemicals that can react with the stain or the wood.
Read: Waterproofing hardwood floors
4. Apply Dye Or Stain
If you choose to apply a conventional resin-based stain, you have to apply it in a thin coat. It is advisable to use a stain conditioner to maintain even application.
Before you apply the stain on the maple floor, try it on a test panel so that you can know the ideal application process- T-bar, rag, or any other applicator.
For dying, ensure that you know how you have mixed the dye in time past. Because you desire a uniform color, you should be able to reproduce the color you have mixed for your samples.
Applying dye requires two people; one person applies the dye and the other person wipes off excess dye. Any area of overlap on the floor will eventually show a patch of darker color. You can use blue tape to guide you in avoiding overlapping.
Also, you will need to work quickly because dyes dry fast. Additionally, use a conventional resin stain over the dye to lock in the color and form a good layer of protection from fading.
When the resin stain coat is dry, seal the floor with a coat of dewaxed shellac sealer or any other type excluding water sealers. After that, finish the floor with any finish of your choice.
Read: Refinishing Pine Floors
Conclusion
Staining maple floors can be tedious and time-consuming. To get a maple floor appropriately stained, you have to pay attention to details.
The good news is that if you get it done correctly, you will be proud of having a beautiful maple floor in your home.
Always put on a breathing protection gear and safety glasses when you are sanding the wood or handling finishing products. Also, make sure ventilation is adequate.
Don’t keep us in the loop, after staining your maple floor, do let us know your experience in the comments.