For a perfect result on how to remove tongue and groove flooring, the steps involves locating a good starting place, cutting out the boards, prying off the baseboards and removing any nails.
It could get worse when the boards are glued. You must create enough time to remove the board safely or recycle the flooring because it had to be done methodically.
It isn’t easy to recover wood flooring that has been glued, except it has been nailed. If it was nailed, you can gather the salvaged wood for another work or simply sell it to anyone buying used building suppliers.
Read: Everything you need to know about tongue and groove flooring
How to Remove Tongue and Groove Flooring
Table of Contents
Locate a Good Starting Place
When you want to remove tongue and groove material, the first step is locating a good starting place.
It doesn’t matter if it’s on a floor or a wall. It’s essential to get a good starting position mainly because it has to do with destroying one board.
Try to search for a rotten board on the other floor. It should give you a good starting point. But remember that you must get rid of a whole board before you gain across to the other boards.
If you want to remove boards on a floor, it is better to start at the end of a wall or porch. But if it is a wall, then start at the bottom.
Read: How to remove ceramic floor tile
Cut Out the Boards
With the use of a circular saw, you can make two cuts that are the length of the board. It must be close to the edges and should also be in the center of the board.
After that, you can then remove the cut-out strip for you to get entrance to the edges of both tongue and groove of that board.
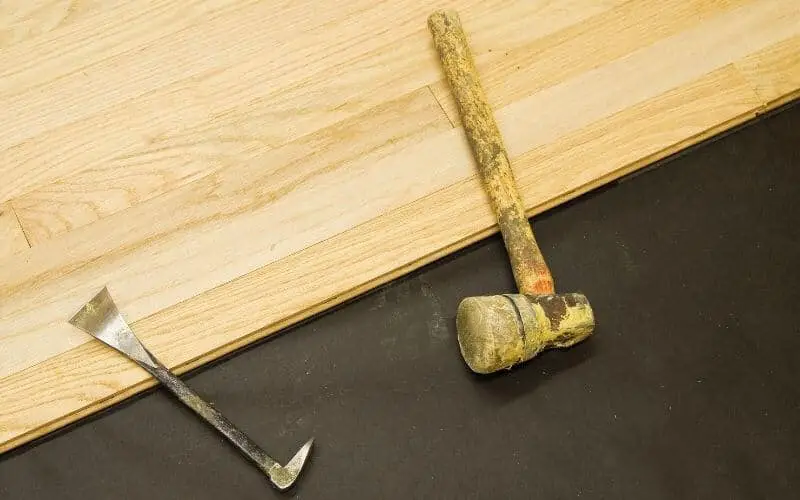
If you don’t like this method, you can easily use a hammer and chisel to cut out that first board.
Pry Off the Baseboard
Now, look around the perimeter of the floor and pry off the baseboard using a pry bar. It can get caulked at times.
Just use a utility knife to cut through the caulk. This will prevent paint from being pulled from the wall. Also, endeavor to bring out the nails on it using a hammer when you remove the baseboard.
Try to locate the last installed flooring against the wall. It has the top nails and will be the one you can remove easily.
Read: How to install baseboard molding
Remove the Nails
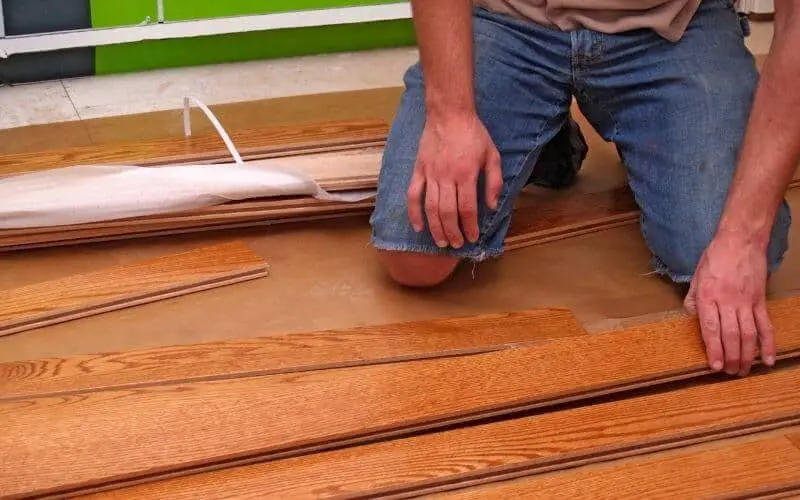
After prying all the planks in a row, be sure to remove the nails, then put all the boards in place. You can even recycle the panels, but first, you have to dry them outside in the sun.
You can continue removing the end boards of the board in the next row in a similar manner. Just place your pry bar upward and remove all nails as soon as they pop up.
Do this for other end boards on each row until you are done removing the panels to swing the hammer.
If some nails are still showing, you can remove them with a hammer. If you intend to recycle the wood, note the level of the crowbar on the subfloor, do not put it on the surface of the plank.
Conclusion
The process of how to remove tongue and groove flooring isn’t a difficult task, inasmuch as you follow all the steps. First, patiently remove all the nails and boards to avoid bodily damage.
We hope our article has been beneficial. Have fun removing your flooring.