
To achieve a successful placement of a baseboard it needs to create a level line against the wall at the top of the board, it also needs to maintain a position that’s flush against the floor.
If you have uneven floor you will need to cut the baseboard along the bottom to create that flush setting.
Cutting the baseboard is not a difficult process and With the right set of tools, you can eliminate the unevenness on your and install your baseboard flush against the floor. If you want to learn how to install baseboard molding on uneven floor keep reading.
How to Install Baseboard Molding on Uneven Floor
Table of Contents
Gather your Tools
Before you start working, you will need to gather a couple of tools to enable you to install your baseboard molding. Some of the tools include;
- Baseboard plank
- Putty
- Pencil
- Carpenter’s level
- Nails
- Hammer
- Circular saw
Measure Out the Baseboard Material
Before you get down to business, you will need to figure out the amount of baseboard material you will need. To get an accurate result, you will need to measure the straight sections of the wall individually, then round up the number and divide it by two
Add an extra 15% of the amount to the measured length so that there’s spare length in case it is needed. Then, schedule a day you will able to carry out the project, installing a baseboard isnt that difficult but it can be quite time consuming, so you may need to cancel any other schedule for that day.
After purchasing the baseboard wood you need to keep it indoors for at least a week so that it gets enough time to adapt.
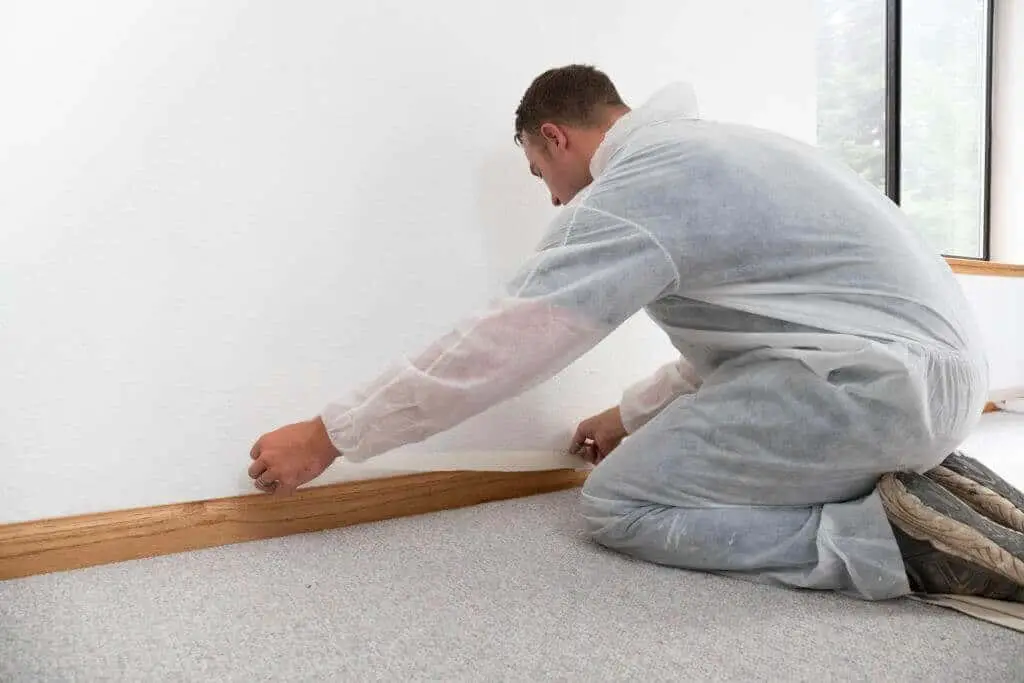
Attach the Baseboard to the Wall
Place the baseboard on the wall and, allow one-fourth inches of space between the baseboard and the floor surface. place a carpenter’s level over the board and this will help to hold the baseboard in the right position.
Outline the cutline accurately, making sure to mark the spots which have a couple of wall stud gap and place your hand on the board. Skipping this step will cause the board to move around when you try to draw the cutline. Create small holes on the marked spots so that you can place the finished nails later.
Next, set the compass points and measure one-fourth inches and place the compass points leaving a space of one-fourth inches.
Then you should place the compass points against the wall making sure it is even on the floor. Next, place a pencil on the board’s bottom and draw a line with the pencil underneath the baseboard. If you have uneven floor, you will find out the line will be bumpy too
The line will be uneven like the floor and ensure to keep Drawing the line till you get to the end of the baseboard.
Read: How to fix floor buckling
Remove the Baseboard from the Wall
When removing the baseboard you need to be as gentle as possible to avoid breaking or cracking the baseboard. Then use the end of a hammer to gently remove the nails.
Use a Circular Saw to Cut the Baseboard
Place the baseboard on a flat plain surface then get a circular saw and set it to a 5 degrees angle. Then go through the previously drawn line that and trim the baseboard.
Install the Baseboard on the Wall
After cutting the baseboard to become similar to the unevenness of the floor, it is time to install it.
Place the baseboard on the wall and make sure to set it correctly with the uneven floor. Although The top of the board will be smooth, it has to be set correctly against the uneven floor.
Use a couple of finish nails and use them to hold the baseboard against the wall. Place the pins and nails into the holes you had previously created.
After installing your baseboard you can paint or use putty to cover any hole on the baseboard to give it a seamless finish.
Tips for Installing Baseboard Molding on Uneven Floor
Here are some tips to correctly install baseboard molding on uneven floors. there are different kinds of problems you can encounter while installing the baseboard. You might have a curved wall, tilted corner, and tilted baseboard. Here’s how to fix them.
Read: How to repair a swollen floor
Fixing Tilted Corners Of A Baseboard
Tilted corners is one of the most common issues that you are likely to encounter. If The corners of your baseboard are tilted or uneven you can fix it easily.
Simply take a two-inch screw and drive it into the floor to close up the gap between the joint of the baseboards.
You need to make sure the screw is properly adjusted so that the corners get joined properly. After which you can go ahead and install the baseboard.
Fixing Tilted Baseboard
A tilted baseboard usually presents itself as a gap between your wall and the baseboard. You can fill in this gap with narrow blocks of wood.
Most of these gaps are usually half to one inch wide so using plywood half an inch wide will get you the best results. Cut the blocks according to the size of the gap and place them in to cover the hole.
Read: How to Fix Gaps in Hardwood Floors
You do not need glue for this process as you can simply install your baseboard molding over the covered gap.
These are different ways and methods to install baseboard molding on any uneven floor but unless the unevenness isn’t spread out all the floor, it is recommended to seek the services of a professional as they will be more capable to deliver a better job.
Hiring a professional is also recommended Because installing a baseboard molding can be time-consuming and you need to make use of accurate measurements when installing the baseboards, otherwise, they may come off unattached after a few weeks.
Conclusion
Knowing how to install baseboard molding on uneven floor is important if you have uneven floors you plan on installing baseboard over it.
You should not install a baseboard over an uneven floor the same way you would an even floor, this may result in gaps between the baseboard and the floor.