When your tile floor is properly installed its offers long-lasting durability and aesthetic appeal, regardless of the format of tiles used.
But, accidents happen, tiles pieces can become broken, gouged, or discolored. This causes the tiles to lose their appeal and require replacement especially if the tiles are broken into pieces. That said, we’ve covered different steps on how to remove ceramic floor tile from plywood.
You can decide to replace the entire floor or just a particular section depending on the level of damage but when looking for how to remove ceramic floor tile from plywood.
Keep in mind that removing tile from on top of plywood requires lots of physical labor and you would need to use some power tools if you do not want to spend all day. So you should prepare accordingly.
How to Remove Ceramic Floor Tile From Plywood
Table of Contents
Before we discuss the steps for the procedure, here are some important safety gears that you should ensure you wear before you start removing ceramic floor tile from plywood.
- Dust mask
- Goggles or safety glasses
- Work gloves
- Knee pads
Wheelbarrow or plastic bucket knee pads and work gloves are very important because you do not want to be kneeling on or handling broken pieces of ceramic and grout for long without them.
Ceramic tiles have extremely sharp edges as its glazing is made from glass, they can cause severe injury so should be handled with care.
Getting a safe means of hauling off the scrap tile, as you remove it is also very important. Ceramic tile has lots of weight, so you need to get a sturdy mover like a wheelbarrow or plastic bucket.
Now let’s get into the tile removal process;
Break the Tiles
It’s fairly uncommon to find a plywood subfloor underneath ceramic tiles, most of the time, you’ll be removing ceramic tile from a cement floor. This is because ceramic tiles require a very stable substrate, which plywood isn’t.
To be able to install ceramic tiles on a plywood subfloor, you would need to use two layers of ¾” construction grade (CD grade) plywood, so that it is sturdy enough and does not buckle underneath the tiles.
So when removing tiles from plywood, start by breaking a tile near an edge unless you already have a broken or missing tile. If you have any exposed edges on the floor, it will be easier to start there.
To break your tiles, use a brick chisel that’s at least two inches wide. When getting the chisel, it is recommended that you opt for one that has a molded rubber handle and handguard.
This gives you a better grip and prevents you from accidentally hitting your hand with the hammer.
You will also need a hammer to use alongside the brick chisel. To remove the first tile, you might need a three-pound hand sledge, as it gives extra impact. Although you can use a normal 16 oz claw hammer it is going to take a longer time.
You may experience some difficulty removing the first tile simply because you need to break it up to remove it. But after taking out the first tile, it becomes easier, and instead of using the chisel to come down on top of the tile, to break it.
You can lay the chisel down at the floor line, close to the center of the tile, and give it a couple of strikes with your hammer on the sideways into the bottom of the tile, this should break it free from the mastic.
This method of removal enables you to take out whole tiles that can probably be reused.
Read: How to buff tile floors
Use a Rotary Hammer
If you are not about to spend all day removing your tiles or you do not want to exert too much energy while doing so, you could use a rotary hammer, with a cement chisel attached.
However, do not use the rotary hammer to take out the first tile, coming straight down on a ceramic tile with a rotary hammer could damage the subfloor. So take out the first tile manually then take out the rest using the rotary hammer.
When using a rotary hammer, however, you need to work with extreme caution and avoid chipping the subfloor underneath the tile. If you accidentally chip the subfloor, it will need to be filled, smoothen, and properly leveled with the floor, before you can install new tiles.
Scrape Off the Mastic
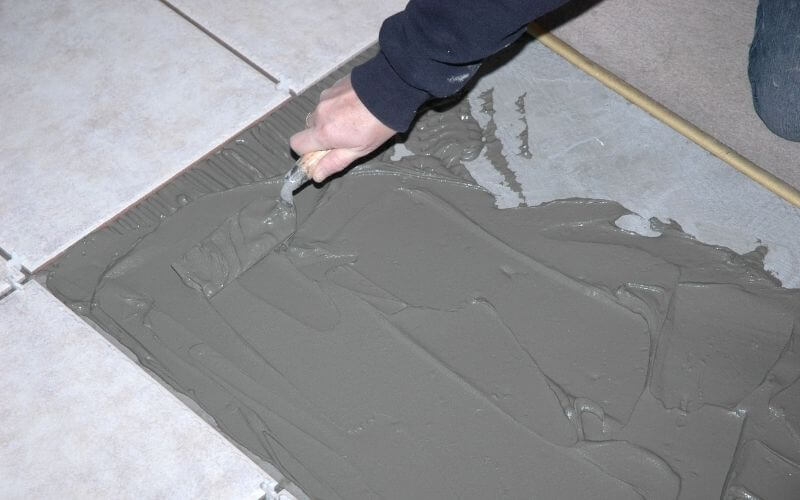
When taking out the tiles, the mastic which is the adhesive used to hold down the tile will be separated from the tiles, and they will remain on the substrate. The mastic needs to be removed and the floor leveled and smoothen, before new tiles installation.
You can remove the mastic with a manual floor scraper or to get the job done quicker you can use a power floor scraper.
A power floor scraper is similar to a rotary hammer but has a blade that looks much like a thick drywall knife.
You can rent a power scraper from a hardware store and they need to be held vertically on the floor when in use, this enables the tool’s weight and the impact of the driving action to scrape off the mastic.
Removing ceramic tiles from plywood floors is done the same way ceramic tiles are removed from concrete floors. The only significant difference is the extra caution you have to pay to ensure that you do not damage the plywood.
When removing mastic from plywood, avoid cutting between them so that you do not accidentally cut into the plywood and damage the top veneer layer.
When using a power floor scraper to remove the mastic from the subfloor, ensure to move the scraper around as you work to avoid digging into any area. Try to use the scraper at an angle, to reduce the chances of you accidentally digging into the plywood with it.
Read: How to fix lose tile floor
Install a New Layer Of Underlayment
After scrapping off the mastic, you would need to smoothen out the floor before installing new tiles. Use wood fillers to cover any dents or gouges in the plywood.
It is recommended that you use epoxy wood filler for this, as they are tougher than other wood fillers. You don’t need a perfectly smooth out floor, you just need to level any dips or high spots.
After leveling your floor, clean it up completely removing any mastic residue. Then install a layer of underlayment which you can either glue or nail to the floor.
To attach the underlayment, after applying a standard construction adhesive, use nails to hold it down into the adhesive till it dries.
To achieve a leveled floor, avoid leaving any high spots or bubbles when installing the underlayment. When installing the underlayment along the floor edges, ensure to level adjoining pieces with each other.
After successfully installing your underlayment and ensuring it is leveled, you can go ahead install your new tiles.
Read: How to repair cracked floor tile
Conclusion
These are the steps on how to remove ceramic floor tile from plywood, although no different from how you would remove ceramic tiles from a cement floor, it is important that pay extra attention and carry out the procedure more carefully than you would on a cement floor.

