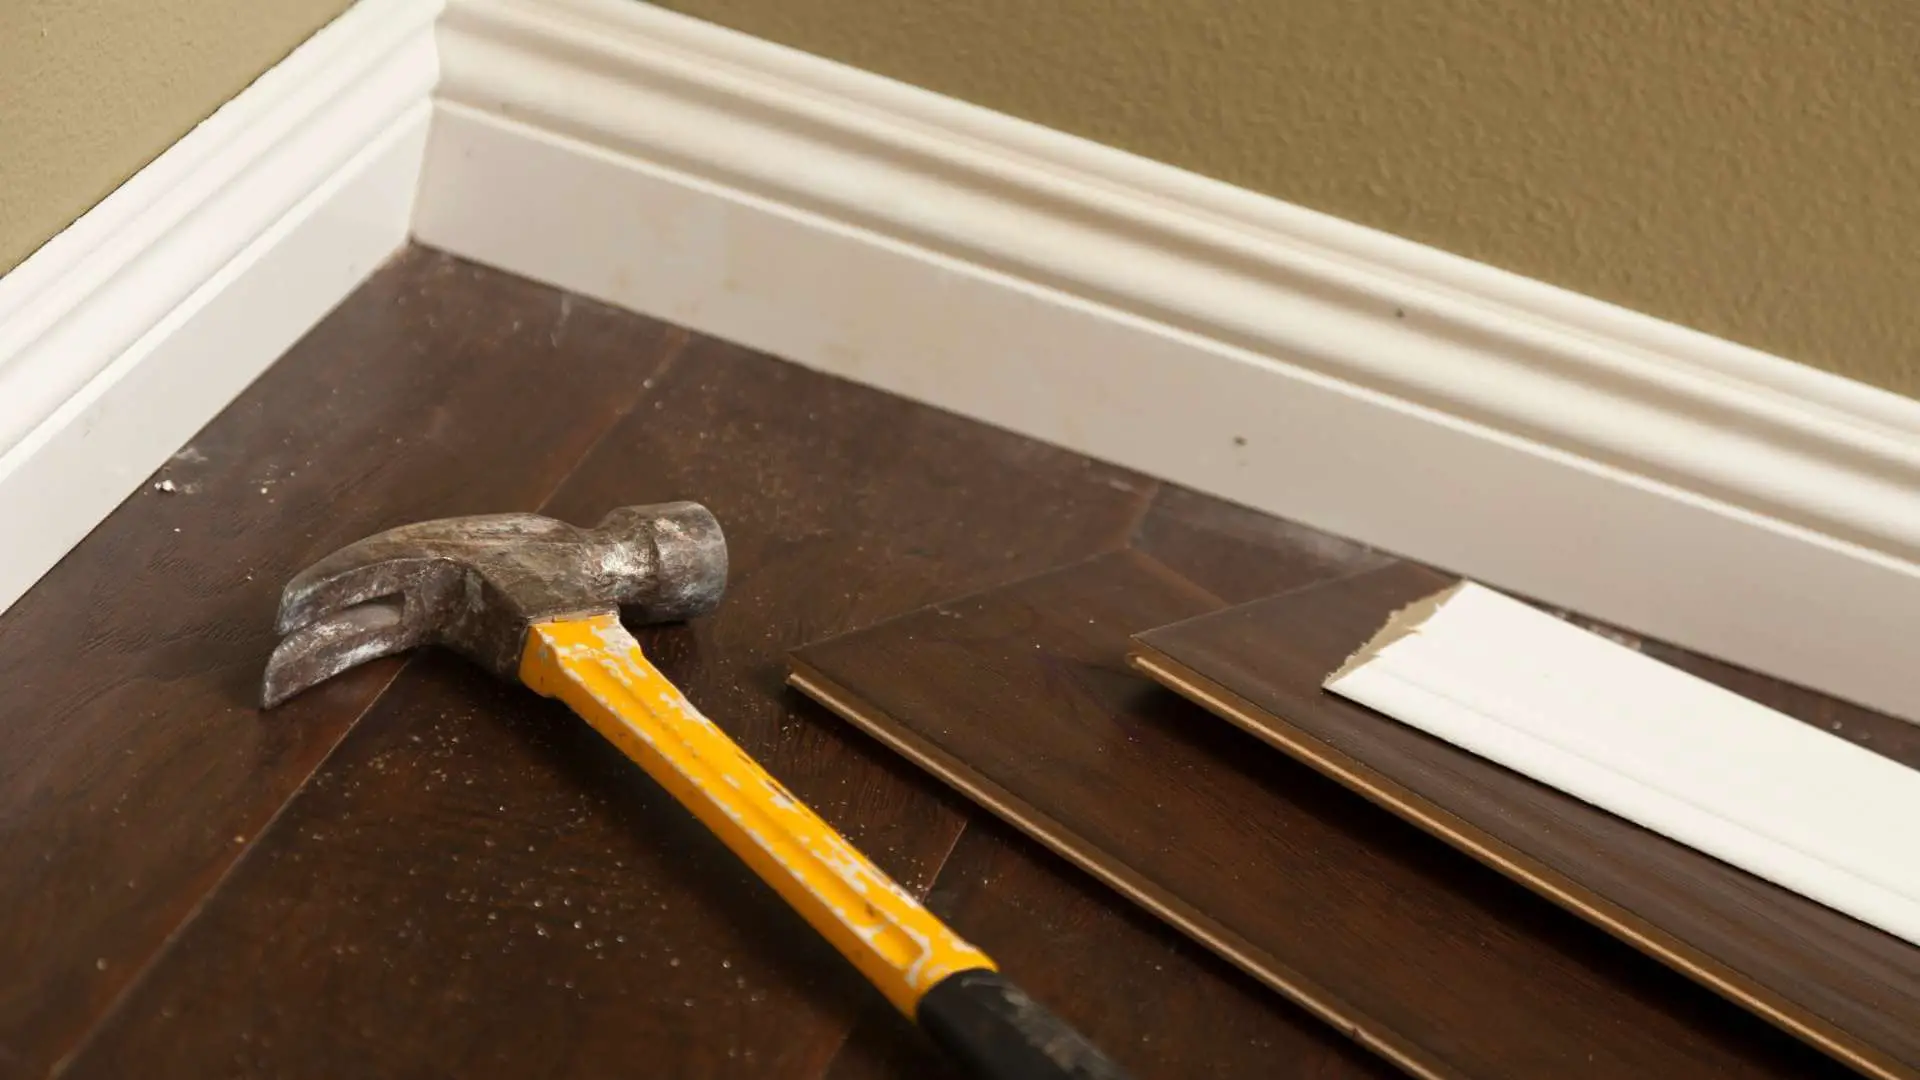
Whether you’re taking down a wall or sanding wood floors, you first need to remove floor molding or trim.
This process can be complex, especially when you’re conscious of not damaging your walls. It may even seem impossible to go about it without breaking the molding— which is made of softwood.
If you’re wondering how to remove floor molding without damaging the walls or trim, you should know that the process requires scoring a piece of baseboard, pulling the molding free, and labelling the trim.
Read on as we throw more light on this.
Related: How to Remove Glued Flooring
Tools Needed to Remove Floor Molding
Table of Contents
You will need the following tools:
- Lineman’s pliers
- Wood putty
- Pry bar
- Needle-nose pliers
- Light hammer
- Wood wedge
- Putty knife
These tools can be easily purchased in most hardware stores around you.
How to Remove Floor Molding/Trim
If you have gotten the tools aforementioned, you can remove floor molding or trim by following these steps:
Step 1: Score a Piece of Baseboard
The first thing to do is cut a piece of baseboard the whole length of where it joins the wall. There’s likely to be paint or caulk that has adhered to it — take a utility knife and cut it.
Scoring this length where the two baseboards meet prevents paper and paint from tearing from the wallboard. The implication of this is that your surface won’t be damaged.
Using a metal putty knife (6 inches long), lightly work the area behind the baseboard. This will make loosening the material adhering the baseboard to the wall easy.
Also, pull in a forward motion to loosen the finishing nails and pins holding the trim to the wall.
Pick an end of the baseboard and gently pull it apart, going along the length of the trim. Continue this until the piece is loose enough and quickly comes off the wall.
If you find it challenging to place the blade of the putty knife under the trim, use your palm to gently tap the hammer’s handle to enable the blade to enter correctly.
As stated earlier, removing floor molding requires care and patience. Therefore, if you don’t want the moldings damaged, be careful when doing this first step.
Step 2: Pull the Molding Free
Immediately the entire length is disconnected; try pulling the end of the trim loose away from the wall. Do this carefully to avoid damaging another part of the wall, like the door trim, by mistake.
Now in a kneeling position, carefully raise and move the trim in a rocking motion gently so that it relaxes on the part of the molding that is tight between the corner baseboard close to it and the wall until the molding entirely comes out.
Step 3: Label the Trim
If you intend to put your boards back in their original places, you must label the trim. You can do this by placing a label or number on the below part of the wall and the rear of the trim. This will keep every piece in an orderly manner.
Keep removing each piece the same way by going down the wallboard and removing the adjoining pieces until all the needed parts are out.
Using side cutter pliers, remove all the finishing nails from the trim you removed.
Read: Can You Epoxy Wood Floors and will it stick?
‘Pull Straight and Outward’ Method
An alternative way to remove floor molding is by pulling it straight and outward. Here you don’t have to take the nails out before taking off the trim.
Nails have heads and can be pulled out when you pull lumber out. This is different in trim, as it adheres with brads or finishes nails.
Brads or nails cannot be easily pulled out as nails are attached to lumber because they are thin and have small heads.
Aside from medium-density fiberboard, you can obtain traction on the trim by pulling a thin pry bar straight back to release the molding.
This way, the trim will pull through the brads or nails. Meanwhile, the fasteners are still connected to the wall.
Kindly note that this method is unsuitable if the trim stick was installed using construction or wood glue because the drywall paper will rip away. You can test a small area first to confirm before using this method.
Caulk’s helps to remove floor trim, they are placed on the baseboard tops outer parts of window and door trim. You can also put them on the back edge of the crown molding. With Caulking, gaps are covered to give a smoother look.
Safety Tips
If you intend to remove floor molding or trims, you should adhere to the following safety tips:
1. Put on safety glasses when you’re removing floor molding. This will keep your eyes protected from any trim, just in case it splits into pieces.
2. Ensure you’re using the right tools for this renovation project. This will make your work a lot easier.
3. If the trim refuses to come out, use an enormous tool to take it out. We recommend a durable chisel or small crowbar.
4. Carefully follow the instructions in this article to remove floor molding without damaging it or your wall.
Read: How Long Does it Take to Sand Hardwood Floors?
Conclusion
Removing floor molding is not a complex process. However, you have to do it carefully and exercise some patience.
If you follow the steps outlined in this article, we can assure you that your floor molding will not break — you can reinstall them after your home project/renovation.
This article was written to help you understand every detail about how to remove floor molding and to make an informed decision when faced with the choice.
We hope you found it helpful; if you did, kindly share it across your entire social media pages.

