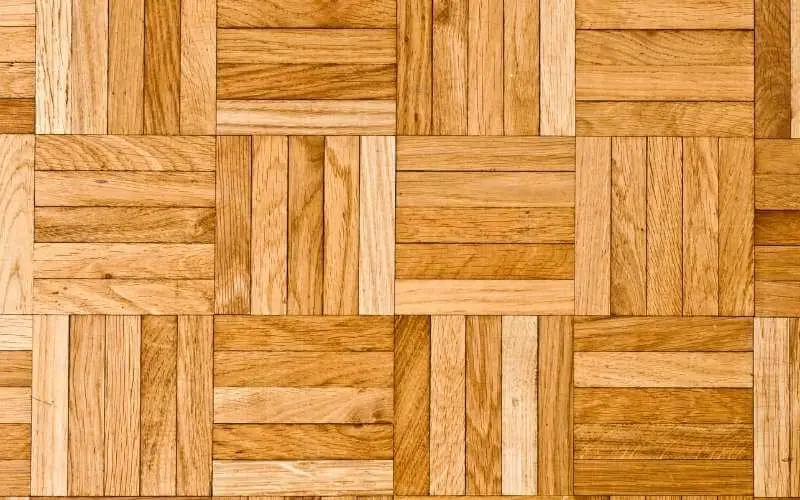
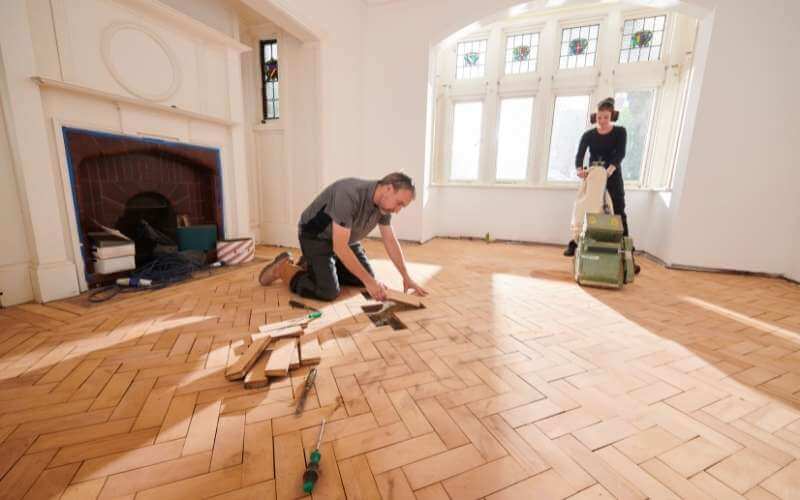
If you know parquet flooring, then you know what an ageless look it gives to the home. Very different from any normal wood flooring.
However, they are susceptible to spoiling from water spills and scratches after long use. Have no fear though, fixing it is easy, and you can do it yourself.
You can fix parquet flooring by removing the damaged parquet tiles and adhesive, replacing them, allowing them to acclimate, and letting them dry.
The pattern always adds that simple yet luxurious look to the home. It is always a good choice. Parquet flooring is wooden blocks arranged in a geometric pattern.
Let’s look into more detailed steps on how to fix parquet flooring.
Related: How to Lighten Parquet Flooring
How to Fix Parquet Flooring Damaged By Water
Table of Contents
You’ll need certain tools to make work easy
Tools You’ll Need
- Parquet Tiles
- Pry Bar
- Trowel
- Circular saw
- Parquet Glue
- Scraper
Step 1: Say Goodbye to the Old Parquet
You can only repair water damaged floor by first removing it. Other than that, it’ll be like pouring water into a basket. This is where the pry bar is used.
But first, you’ll have to make use of a circular saw to cut down into the floor around the damaged pieces of tile. The easiest way to know a damaged tile is how it folds upwards off the floor.
When cutting, make sure to cut between the joints where parquet floorings meet. After cutting, it becomes easier to use the pry bar to pull up the tile.
Step 2: Goodbye to the Adhesive too
After taking up the damaged pieces of parquet flooring, ensure all the adhesives are completely removed from the floor underneath.
More often than not, the adhesive will be very stubborn. You might need a scraper if you want to remove it. This will most likely require some tough physical labor on your part to completely get it off of the floor.
Step 3: Replace, Replace, Replace
There’s no way anybody will think of reinstalling the damaged parquet tiles; therefore, how do you replace them?
Well, you can either get new ones (although they might not match), or you can find out if there are leftovers from when they were first installed.
This is the best bet; otherwise, you may have to live with constantly seeing that square of flooring that doesn’t match the rest of the house.
If you don’t have any leftovers, you can look for tiles with a high resemblance to your current ones.
Step 4: Allow to Acclimate
The next thing you’ll need to do is let the tiles acclimate to their new environment. You don’t want to fix them and have them expand and contract to the point that it affects the installation.
The minimum time is 24 hours. At this time, the tiles can be familiar with the temperature and humidity of the room. Hence, there will be no challenges after installation.
Step 5: Slather on Adhesive
For this next step, we bring in the adhesive. To install the parquet tiles, make sure the manufacturer recommends the adhesive you use.
The adhesive goes on the floor, not the tile, so apply it to the floor. Then let it sit till it hardens for a bit before you put in the tile.
Read: How to Refinish Parquet Floors Without Sanding
Step 6: Bring in the Big Guns
You’ll notice the tongues on the new parquet; you need to cut that off so it can fit into the space properly.
Push down on the tile and to keep it stable, make use of a heavy object -a piece of furniture preferably, not any of the members of your family. They won’t like that very much- and let dry. Your floors are like new again.
As said above, your parquet flooring can be disfigured by scratches asides from water. These can also be fixed in quick and easy methods, which you can also do yourself.
How to Fix Parquet Flooring Scratches
Step 1: Get Area Ready
Sweep the area with a soft broom to get rid of dust and other things that can get in the way.
To clean the area, you only need gentle soap and water to avoid anything that can leave protective coats or make the floor shine. So, that is a no for pastes and waxes too.
Step 2: Fix the Scratches
Depending on the cause, the scratch can be minimal or deep. Both have different ways of fixing them. The two ways to fix them have been highlighted below.
How to Fix Minimal Scratches
- Gently rub fine steel wool on the scratch along the grain.
- Make use of a floor marker that suits your existing floor and test in an unseen area.
- Rub the marker over some scratches, and keep on doing it if it’s successful.
- Mix walnut meal with vinegar and almond oil then rub this mixture into the floorboards for a natural alternative for light-colored floors.
- Rub the floor with fine grade steel wool gently and clean up with a tack cloth.
- For exaggerated scratches, rub the wood stain on the area to penetrate the wood then wipe off promptly.
How to Fix Deeper Scratches
- Mix and test the colorants in hidden areas to find a wood match.
- If the scratch is 1/16-inch to ⅛-inch deep, fill with a resin floor marker. You should make sure to stay as within the scratch as possible.
- Let dry for 2 hours after smoothing down the wet filler.
- Some scratches can be even deeper. For these, manually make use of potty filler and fill in the holes or cracks then wipe off excesses while the filler is still wet.
- Make use of 180-grit sandpaper, same down the filler to make it smooth. Try as much as possible to not touch the unaffected areas
- Make use of matching colorant on the wood filler.
Read: How to Remove Parquet Floor
In Conclusion
To retain that lavish look that parquet flooring gives your home, you can easily fix any damaged spot yourself most times. The cost range is between $5-$30 door both types of fixes. Get down and ready for some fun DIY.
If DIY is not your thing, you can get professional help. This will also apply depending on the degree of damage done to the tiles.
Here we’re at the tail end of how to fix parquet flooring, and we believe we’ve done a great job outlining how.
We also believe this article is helpful and informative; kindly share it across your social media pages if you feel the same way.

