When water damage occurs, laminate floor coverings generally outperform other forms of flooring. In as much as you clean up after you, your laminate floor should remain undamaged.
But it’s a different issue when there’s been flooding or other substantial water damage. When laminate flooring is wet with water for an extended period, it will deteriorate.
It’s crucial to repair the damaged floor properly. This helps to prevent mould development and bring back its appealing appearance.
Here are a few pointers on how to fix laminate floor water damage and restore your floor’s original appearance
How to Fix Laminate Floor Water Damage
Table of Contents
- 1 How to Fix Laminate Floor Water Damage
- 1.1 Locate The Leak’s Source
- 1.2 Look For Bending Or Cracking Regions That Are Deformed
- 1.3 Look For Yellowing And Mold Indications
- 1.4 Use A Sticky Note To Identify Each Damaged Tile
- 1.5 Use A Crowbar To Pry Out Any Broken Planks
- 1.6 Take Out The Baseboards From Beneath The Tiles
- 1.7 Replace Any Planks That Have Been Damaged
- 1.8 Alternatively, Seek Professional Assistance
- 2 Signs Of Water Damage On Laminate Flooring
- 3 Conclusion
Whether the water damage is extensive or moderate, the following methods will assist you in containing and repairing the damage:
Locate The Leak’s Source
Fixing the damage is going to be a difficult task unless you can find and stop the leak. Therefore, the initial step in repairing your home is to do a quick survey.
While there are a variety of reasons for laminate flooring flooding, your defective appliances could be one of them.
Some of the most common appliances are leaking dishwashers, toilets, and busted pipes. You can also hire professional help if it becomes too tasking to locate the leak source.
Look For Bending Or Cracking Regions That Are Deformed
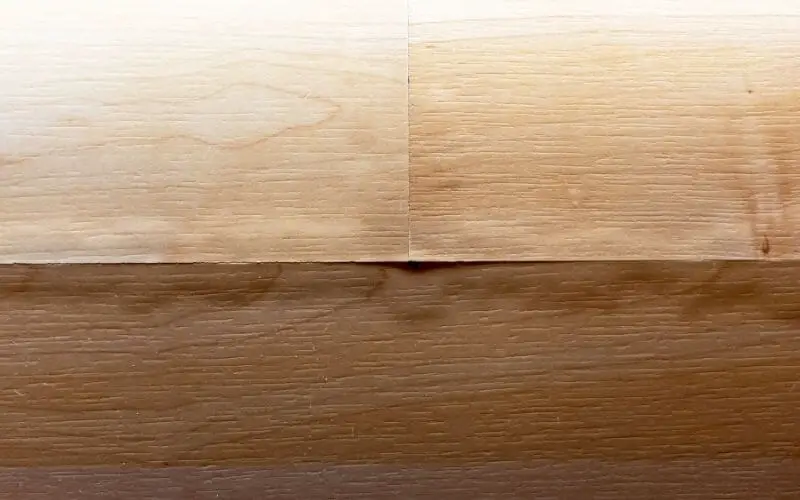
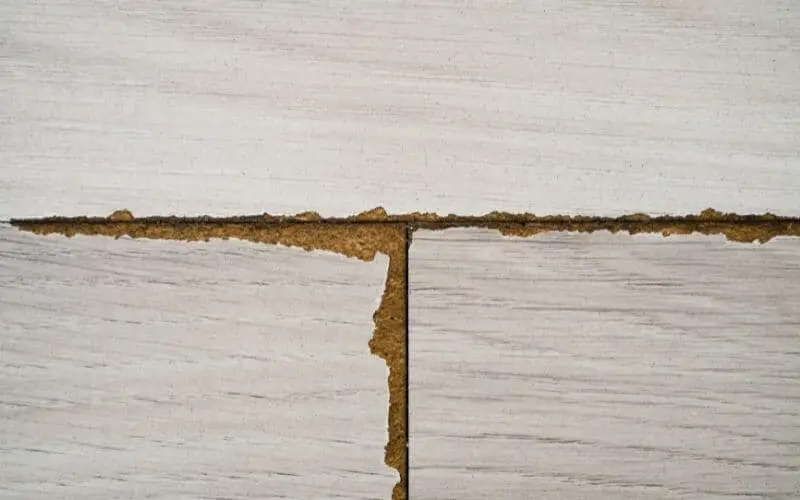
Laminate isn’t water-resistant. Therefore, it absorbs moisture when it gets wet. This causes the structure to deteriorate. Water damage can manifest itself in a variety of ways, including bending or cracking of the floor.
Water damage can also cause tiles to separate. When checking, go through each tile one by one. Deep press on your floorboards as you walk about to see whether they protrude from the floor’s base.
Look For Yellowing And Mold Indications
When water accumulates underneath your hardwood floor, mold can develop there. If this happens, the color of your tiles may shift, giving your floor an unpleasant appearance. Ensure you keep an eye on your floor to see if it is twisted in any way.
Read: Best Mold and Mildew Resistant Paint
Use A Sticky Note To Identify Each Damaged Tile
This is to help you identify how widespread the problem has gotten. Now, if you end up hiring an expert to check the issue, these notes will serve as a good beginning point for them.
Use A Crowbar To Pry Out Any Broken Planks
Now, it’s time to start repairing the damaged areas, but first, you have to remove the rotten planks.
Ensure you have all the necessary tools before embarking on this project. You’ll need a hammer and a crowbar at the very least, but a utility knife will come in helpful as well.
Wear eye goggles while doing this to avoid putting dust or dirt particles into your eyes.
Take Out The Baseboards From Beneath The Tiles
This allows you to thoroughly survey your floor for mildew and mold development by exposing the bare floor. Remove the baseboards in a similar manner as the planks; make sure to be orderly to avoid further damage to the flooring.
However, if you take out the baseboard and can’t find any damage, reinsert it back into the floor!
Replace Any Planks That Have Been Damaged
Clearing out the damaged floor is the next step. This helps you know the measurement of the areas you’re going to fixing and how many floorboards you need.
This step is straightforward, but most people find it challenging since they have to match the new laminate plank with the old one. Finding the exact matching plank might be impossible, except if you have any plank left from the last installation.
If you discover that you don’t have any, don’t worry. Go to the hardware store near you and look for closely matched planks to your current floorboard. A slight difference in the board won’t be that bad after you’ve installed it.
Now that you have your replacement planks, the next thing is to slide them in next to the undamaged laminate floor. Allow for enough room between the boards enough to contain the nozzle of the flooring adhesive bottle.
Be cautious of nails and other dangerous things that could have been exposed as you were removing the flooring. Squeeze some adhesive between the long sides of the tiles and apply it.
Because flooring adhesive is so strong, you only need a small amount to get the planks to attach. In order for the plank to set appropriately, place something heavy on it. It can be anything from a bookcase to a couch.
This object will hold the laminate board in place thereby, enabling the adhesive to keep planks together for a long time.
Read: How to waterproof wooden floors
Alternatively, Seek Professional Assistance
If your floor has substantial water damage, fixing it will be best left for professionals.
Most specialists will come and inspect your home for free, and they can give you the best estimate and what needs to be done.
Begin by contacting the company that primarily installed your floor, as they are in the best place to help you figure out what went wrong and how to fix it.
Signs Of Water Damage On Laminate Flooring
Should you notice any of the following signs, your laminate may be damaged.
- Cracking
- Bubbling
- Splitting
- Excessive cupping
- Swollen
- Discoloration
- Buckling
- Visible mould
Unfortunately, most of the concerns stated above are difficult to resolve. However, they can be repaired.
Conclusion
Fixing laminate flooring that has been damaged by water is a difficult task. If you intend to make the repairs yourself, the steps on how to fix laminate floor water damage discussed in this article will make it easier for you; for widespread damage, please, seek professional assistance.