Although tiles are known to be very durable and can withstand a lot of use, in cases of wrongful installation or an accident where a heavy object is dropped on the tile, it can become cracked.
Depending on the deepness of the crack, it can be fixed, or you may have to replace the tile. In this article, we are going to look at how to repair cracked floor tile easily without having to pay a contractor.
How to Repair Cracked Floor Tile
Table of Contents
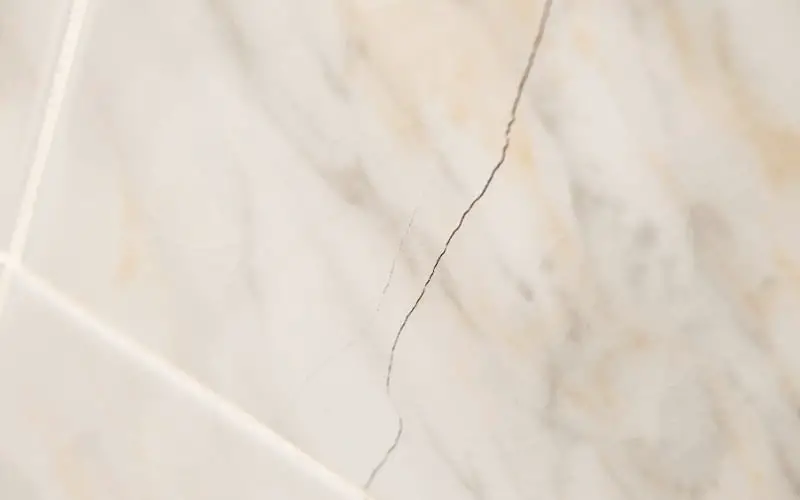
Applying Paint
If you only have a small hairline crack, you can give it a quick fix by painting over it. You need to make sure the color of the paint matches the color of the tile so that it isn’t noticeable. If you have textured, patterned, or stone tiles, this fix isn’t suitable for you.
To paint your tiles, you should first clean the cracked area with a clean cloth dipped in soapy water, then wipe the area to remove surface dirt and grime.
Afterward, rinse the area with clean water and dry with a clean towel. However, the exposed part of the tile exposed by the crack will absorb water, and that isn’t easily wiped dry, so you may need to run a hairdryer over the area for about 15 minutes so that it can become completely dry.
Then using a small paintbrush, Apply oil-based primer to the crack, making sure that the primer application does not exceed the crack. Avoid getting paint on the tile surface close to the crack.
Then Allow the primer to dry for at least two hours before applying a coat of high gloss oil-based paint that matches the color of the tile.
Then allow the paint to dry overnight, covering it if necessary in order to protect it from foot traffic. If you have unnoticeable hairline cracks that are almost unnoticeable, you might not need to apply the primer and paint.
Read: How to remove paint from tile floor
Glaze
This isn’t really a fix for cracked tiles, but it helps to enhance the effectiveness of painting. But this project might be quite expensive because if you cannot glaze just one tile, so you will need to apply glaze all over the entire tile floor so that they can match the repaired tile.
To apply glaze on your tile, simply mop or sweep the area to remove dust and debris; you need to clean the area thoroughly to prevent any dirt from becoming permanently trapped underneath the glaze.
If you used water in cleaning your tile, allow it to dry before applying the glaze. Although clear glaze is commonly preferred due to their flexibility, there are also colored glaze available.
Before applying the glaze to the floor, you will need to make sure there is proper ventilation in your work area because the glaze fumes can be toxic.
Try to apply the glaze very quickly before it dries. You may also need to apply more than one coat of glaze for better results.
Using Epoxy
You can get an epoxy kit at your local hardware store, and Epoxy is just a hardening mixture that can be used to hold the two pieces of your cracked tile together.
There are two types of epoxy kits; there’s the 1-part, and there’s the 2-part, which is of higher quality and will hold your cracked tile together for longer.
Pour out the epoxy mixture from each two-part bottles out onto a piece of cardboard. Then Mix the components thoroughly with a wooden stick.
Before applying it on the floor, first, apply some rubbing alcohol to some paper towels and wipe the surface of the cracked tile till it’s clean. This helps to remove any dust and grime, ensuring that the epoxy sticks to the surface of the tile itself.
Using a narrow paintbrush or toothpick, apply some epoxy to the crack. You want to apply some amount of epoxy at a time and just bring the epoxy level to the top of the tile covering the entire length of the crack. Avoid getting epoxy on the adjacent tiles.
Then allow the epoxy to fully dry; this should take not more than 15 minutes. You can check to see if your epoxy is dry by tapping it with a fingertip. If the epoxy is dry, your finger should come back with no epoxy goo attached to it; the epoxy will also be firm to the touch.
Once the epoxy is dry, use the sharp edge of a razor blade to remove any stray epoxy that got onto the tile. When working with razor blades, you need to be very careful to avoid injuring yourself.
If the crack is in a noticeable area of the room, you can apply some color tint to the epoxy so that it matches the color of the tile. You can get color tint at any craft store.
Apply the color according to the manufacturer’s instructions, and it is best if you purchase a powder dye specifically made to dye epoxy.
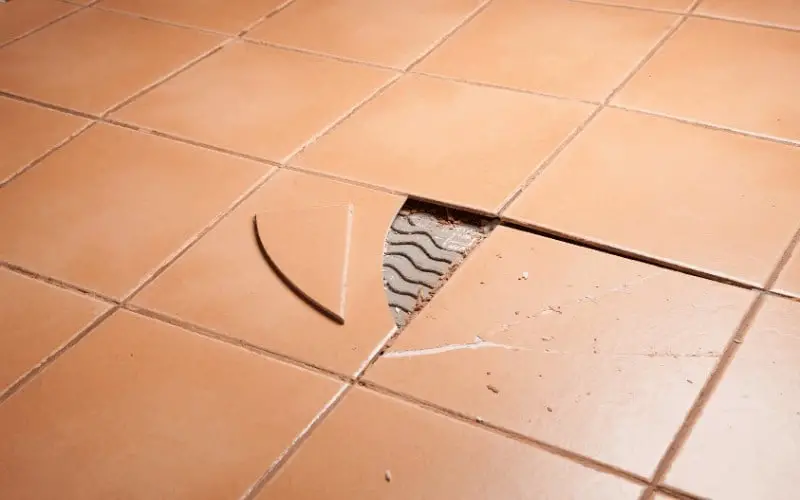
Replacing The Tile
First, drill 3–4 small holes in the tile with a power drill. To start the drill, squeeze up the trigger and drill a few holes to weaken the tile. The holes should either go horizontally or vertically, but they should all be in a straight line across the tile surface.
Get a chisel and place its blade along the lines of the drilled hole. Use a hammer to tap on the butt end of the chisel until the blade gets through the tiles. Then tilt the chisel at a 45-degree angle and keep tapping it until it separates the cracked tile from the surface beneath it.
You need to be very careful with this procedure, do not use too much force when breaking the tiles to avoid damaging the floor underneath it or even damaging adjacent tiles.
Using just enough force, remove the cracked tile with the hammer and chisel and dispose of it properly.
Using the same chisel blade, remove any grout or mortar on the floor surface where you just removed the tile.
Place the chisel blade on the floor at an acute 20-degree and glide the blade around the floor, scraping off all the grout. Also, dispose of the grout properly so that pets or little kids do not have access to it.
If you have a spare tile from the tile floor installation, you can use it for the replacement, but if you don’t, you can take a piece of the cracked tile to your local home improvement store or tile specialty store.
Try to get a tile that matches the broken one as much as possible. You would also need to purchase a small tub of mortar.
If you have your replacement tile, use a putty knife to spread the mortar evenly across underneath the tile, the layer of the mortar should be about 1⁄8 inch.
Before working with mortar, you need to Put on a pair of latex gloves, and when applying it, try not to get mortar on any of the other tiles as it can be very difficult to remove.
Set the tile in place, making sure that it is well centered over the floor space you removed the previous tile. Apply gentle pressure on the tile to seat the tile in place.
After setting the tile, spread a small amount of grout across the newly installed tile surface using the bottom of a grout float.
You need to apply the grout around the tile until the small 1⁄4 inch gaps on the sides of the tile are completely covered. Like with the color of the tile, you have to make sure that the color of the grout matches the color of the existing grout.
Read: how to change grout color on tile floor
Finally, use a damp rag to clean the new tiles before the grout dries. Then allow the grout to dry for at least 24 hours before allowing foot traffic over the area. Your floor should be good as new.
Conclusion
If you know how to repair cracked floor tile, it will save the financial expense of hiring a contractor or handyman to fix it for you. With minimal tools and technical know-how, you will be able to replace a cracked tile.