Buffing your tile floors not only cleans the floor but also makes it look brand new and this is a major reason why you need to know how to buff tile floors. In fact, buffing your tile floor is a very important element in your floor’s maintenance. Buffing your tile floor also helps to maintain its longevity.
Frequently buffing your floor helps to remove a buildup of gunk, debris, and scratches, which wears down your floor over time. Buffing can also extend the lifespan of your tile floor, which helps save a high cost over time.
How To Buff Tile Floors
Table of Contents
Buffing your tile floor is a very time-consuming job, so you might have to cancel all your schedule for the day before embarking on the project.
Preparation
Before we start buffing, you will need to start by moving items like furniture or any movable item off the work area. Removing these items from the room will give you the ability to buff the entire room so you can get an even shine.
Removing movable items from the room also prevents any damage that can occur if the buffer machine bumps into the item. After taking the furniture out, you will need to restrict access to the room while you work.
If you are buffing a commercial area, you can place a wet sign at the work area or simply inform your family members or use some of the furniture you tool out to form a blockade to prevent people from getting into the room if you are working at home. This helps to protect your newly buffed tile from getting dirty while you’re still working.
If you have pets, they need to be kept in a safe place far away from the working area. Accidentally buffing pet hair into the floor might be very hard to undo. Someplace your pets in a separate room that should be locked or in a kennel if they use one.
Keeping your pets in a separate location also protects them from the noise of the buffer, which can be frightening for some pets.
Clean The Floor
This is still under the preparatory stage where you make use of a broom or dust mop to sweep the floor clean, removing every dirt and debris. You can also make use of a vacuum to suck up all the swept up dirt.
This step shouldn’t be skipped because buffing a dirty floor can permanently alter the color of the floor finish and can turn it into a dingy yellow color.
Proceed to mop the floor with a mop soaked in a bucket of warm soapy water to get a completely clean surface free of debris. You need to start mopping at the farthest end of a room and work your way towards the door. Once the mop gets dirty, rinse it inside the bucket and make sure you use a cleaner suitable for the tile floor.
After mopping the floor, allow it to dry completely. This might take up to 2 hours, and you can place a fan in the room to increase the drying time. Once the floor is completely dry (confirm this by touching the floor with your fingers), it is time to start buffing.
You need to make sure the floor is completely dry before you start buffing because you will be adding a buffing liquid to the floor before buffing, and if the floor is already wet, too much liquid will be on the floor, which will cause you to change your buffing pad more often.
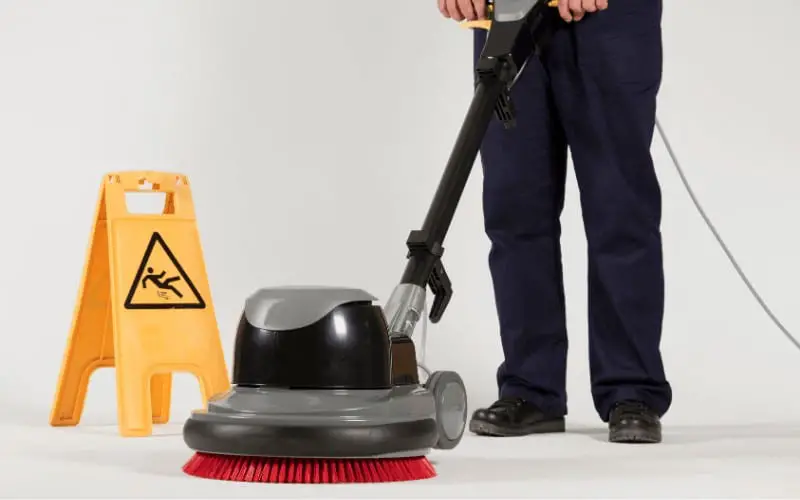
Start Buffing
There are two different buffing methods: spray buffing and dry buffing.
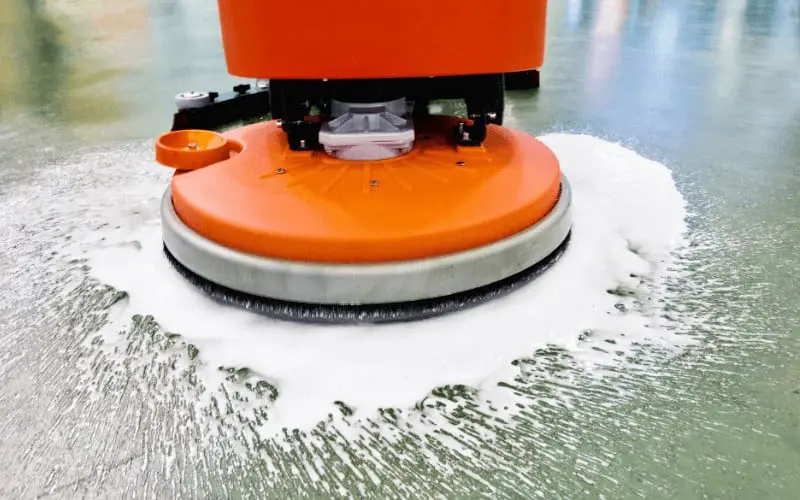
Spray Buffing
This is the more common type of buffing, and the type of buffing machines used can go up to 1000RPM. This type of buffing requires a liquid to remove dirt from the floor and gives the floor a glossy look.
It utilizes a polishing solution that is applied to the floor along with the mechanical action of the buffer pad to remove scuffs, level the floor surface, and enhance its shine.
Directions
Apply a buffing solution to the work area using a professional sprayer or a product with a spray nozzle for the best results. You want to start at the farthest end of the room and work your way towards the door.
You can also use a mop to apply the buffing solution to the floor and make sure that the buffing solution you are using is suitable for your floor. Try to Aim the spray 2–4 ft in front of the buffer in an area that’s about 6–8 in wide.
For buffing your floor, you will need to attach a red buffing pad to your buffer following the manufacturer’s instructions on how to attach it properly.
If you are wondering, why a red buffing pad? Well, a red buffing pad is specifically designed to be used on a wet floor, so it soaks up some of the buffing solutions, so your floor is not completely saturated with moisture.
If you are buffing a large area, you will need to have an extra buffing pad handy because they can become clogged with dirt and debris.
For the best results, it is recommended to use both gray or beige pad alongside the red.
Separate your room into small sections and start working at the farthest end, making sure to Overlap your passes to ensure that the entire floor gets buffed. As you work with your machine, try rotating it back and forth to ensure that the entire area is completely buffed and you completely level areas where there are scratches or scuffs.
As stated earlier, you want to start working at the farthest end of the room and work your way towards the door, as this prevents you from stepping on your newly buffed tiles.
For scratched areas, you want to hold the buffer over these areas for a couple of extra seconds so they can be leveled.
You can also make extra passes over them and try hand rubbing it with a cloth soaked in buffing solution if the scratch or scuff persists.
While working, you want to keep an eye on the buffing pad and stop to check it every few minutes to make sure it isn’t clogged with dirt. Also, when your buffing pad stops getting your shiny as it used to, it might be time to change it, and you can actually flip some buffing pad and make use of the other side.
After spray buffing your floor, it is recommended to go over with dry buffing in order to get great results. Use a gray or beige color buffing pad and repeat this same process with the red buffing pad, but this time, you do not apply buffing solution. Before dry buffing, it is best to allow the floor to dry.
When dry buffing, you should also keep an eye on the buffing pad and change it when it becomes clogged or dirty, although this buffing pad might not need changing. Applying a finish to the floor after buffing helps to reduce slipperiness and also increase the shine.
Finally, use a clean dust mop to remove any dust and debris that might have been generated during the buffing process, starting at the end of the room working your way across the entire surface of the floor until you get to the other side of the room using short even passes with your dust mop to achieve a clean and shiny surface.
Dry Buffing
This is done with machines above 1000RPM, and The mechanical action of the high-speed buffer is enough to level the floor surface and remove any scuff marks. This is usually recommended for professional floor care experts who can handle a buffer.
Directions
Start in the farthest end of the room and work your way towards the door. Do not go over areas you have already buffed as they need time to dry.
When buffing your floor surface, you need to work in small sections so that you do not become overwhelmed by the work, and you are able to evenly buff the floor. Depending on the size of the room you are working on, it may take a while to buff the entire room, so take breaks as needed.
If the hand buffing does not give you the type of results you are looking for, you can switch to a machine because some floors can be difficult to hand buff.
Apply some buffing solution onto the floor, and you also want to apply it in small sections at a time to prevent the solution from drying up by the time you get to it. Using a bottle with a spray nozzle will help to evenly distribute the solution.
You can always use a cloth to rub the solution on the floor.
You need to make sure that the buffing solution you are using is suitable for your floor type. You can make a homemade buffing solution by mixing 1cup of white vinegar with one gallon of water, mix thoroughly and apply to the floor.
Start buffing the floor with a clean microfiber cloth using tight, circular motions. As you buff, Move your cloth slowly from side to side and apply gentle but firm pressure to the cloth as you work each section because buffing a floor typically requires a lot of pressure, and you may not see much difference if you don’t apply much pressure.
Using a microfiber cloth is highly recommended as it won’t damage your floor.
Conclusion
Knowing how to buff tile floors will enable you to maintain that high sheen glossy looks on your tiles for the longest of time. Buffing your tile floor is a procedure you can totally carry out yourself in your home without using too many tools or chemicals; however, it is very time-consuming.