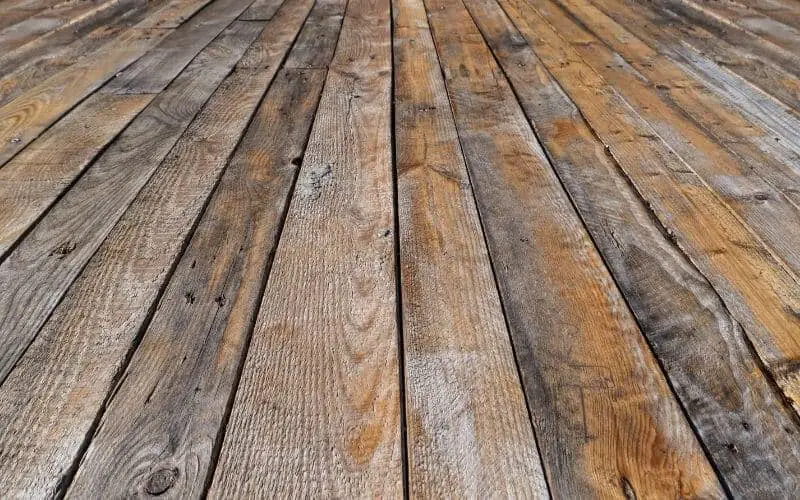
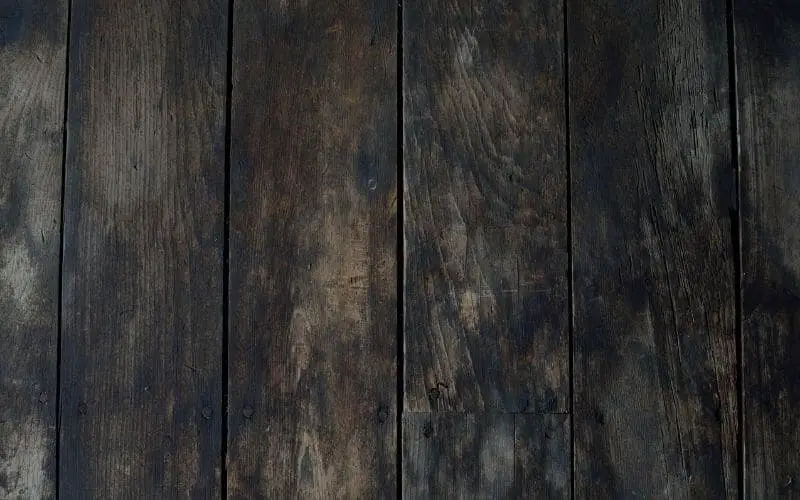
Distressed hardwood floors offer a rustic look that’s aesthetically pleasing. Being hand-scraped, distressed hardwood floors hides minor scratches, blemishes, and dents, which is exceptionally useful for homes with an active and busy household with young children and pets.
However, if your distressed hardwood floor receives more damage than it can conceal, you would need to refinish the floor, Hence our topic; how to refinish distressed hardwood floors. Unlike popular belief, a distressed hardwood floor is surprisingly easy to refinish.
Depending on the amount of damage the floor has received, they may only need light sanding or a re-sanding and re-scraping. Here’s how to refinish distressed hardwood floors.
Read: How to refinish pine floors
How to Refinish Distressed Hardwood Floors
Table of Contents
Materials Required:
- Molding bar or putty knife
- Hammer
- Masking tape
- Plastic sheeting
- Pencil
- Drum or orbital sander
- Sandpaper (30-40, rough grit)
- Sandpaper (50-60, medium grit)
- Sandpaper (80+, fine grit)
- Wood filler
- Mineral spirits (optional)
- Floor stain
- Polyurethane sealer
Step 1: Prepare The Room For Sanding
If you want to achieve great results when refinishing your floor, adequate preparation needs to be put in place.
Start by taking out the shoe molding or quarter-round — around the entire room. You can do this by sliding a molding bar between the floor and trim, then gently pry it off.
Large tools like crowbars or demolition bars should be not be used to avoid damaging the molding. A putty knife can be used in place of a molding bar.
If there’s any door that will obstruct the wood thresholds, later on, take them down, also go over the entire floor carefully, searching for any protruding nails; if any, tap them back into place with a hammer and correct sized nail set.
Keep track of the areas where holes and imperfections are, so they can be filled in after sanding. Finally, tape off all floor registers to prevent them from getting scratched if you happen to bump into them with the sanding equipment.
Read: How to sand a hardwood floor
Step 2: Sand the Floor
Once the room is prepped, you can begin sanding. To do this, you’ll need three power tools: a large, pulled sander for the main room area, a hand-held random orbital sander for hard-to-reach areas and edges, plus a detail sander for the closed off corners.
Due to the weight and size of an orbital sander, you can ask the personnel at your local hardware store for a demonstration on how to handle the sander if it’s your first time handling one.
- Rough Sand The Floor
With the walk-behind orbital and a rough sandpaper-like 36 or 40 grit, do the first pass over the room. Pull the orbital slowly, smoothly, through the room and avoid staying in one spot for too long. Try to get as close as possible to the room edges of the room but avoid bumping the baseboards.
When you’re done rough sanding the room with the walk-behind, you will need the hand-held sander and the detail sander for the edges and corners.
When you’re done, use a vacuum cleaner to remove the excess dust created before moving on to the next stage.
- Fix Any Imperfections
If the floor has any nail holes or gouges, you can fix them with a matching wood filler. To make the patched areas match the rest of the floor even closely, you can mix some of the sawdust generated from the rough sanding and mix it with some white glue to patch the floor.
When mixed together, a toothpaste-like consistency paste is formed and can be applied with a putty knife just like any other wood filler.
- Smoothen Out The Floor
Next, with medium-grit sandpaper, such as 50 or 60 grit, smoothen out any rough edges on the floor. It might be difficult to tell areas you’ve already sanded during this second round, as the color of the floor won’t change.
So you can draw pencil lines across the room so as the sanding erases the pencil mark, you can know areas that have been sanded.
Just like the first time, follow up the big sander with detailed edge and corner sanding before vacuuming to prepare for the final pass.
- Finish Sanding
With at least 80 grit sandpaper, carry out the final sanding round. You can even pass over the floor twice if you want the smoothest finish possible.
Step 3: Stain The Floor
Once the floor is sanded down to your taste, vacuum up excess dust, then thoroughly clean and dry the floor before making the finishing touches. You can stain the floor, and here’s how to do so.
Step 4: Apply a Sealant
Polyurethane is commonly used to seal hardwood floors and also maintain their natural beauty and color. There are two types: oil-based and water-based polyurethane, and the option you choose really boils down to preference as there isn’t much of a difference between the two.
Before applying the sealant, wipe down the applicator with a lint roller or piece of tape to remove any loose fibers, then with even smooth strokes, apply the polyurethane, avoiding bubbles that could alter the final finish.
Once the final coat of polyurethane has been applied, allow it dry before reinstalling the trim, and your room should be good as new.
Read: sealed vs unsealed wood floor
Conclusion
Now that you know how to refinish distressed hardwood floors and how easy and practically straightforward the steps are, you can go ahead and give your space a transformation.
With a long weekend, proper preparation, and a bit of elbow grease, you can refinish your floors yourself and save a bit of cash it would have cost to hire someone.

