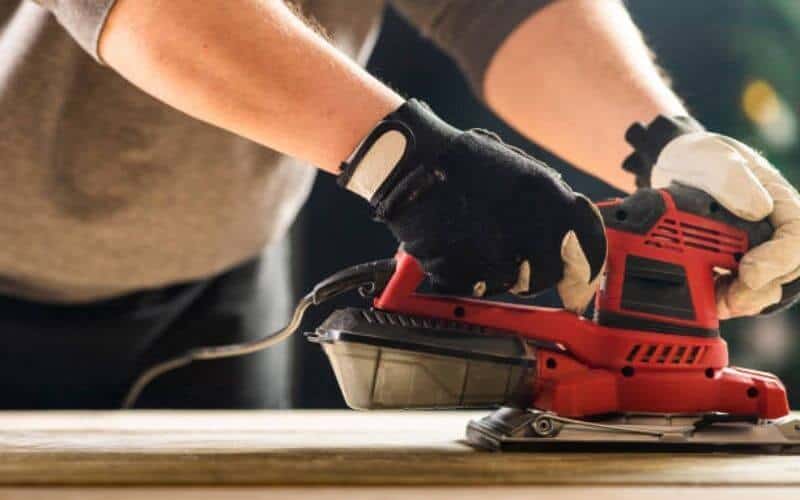
Sanding floor with hand belt sander isn’t the most straightforward DIY job, and may you might find it quite challenging.
It is important that you follow the right technique on how to sand a floor by hand and, if possible, practice on a floor that will be replaced to get the hang of it.
This will help you to achieve a successful DIY wood floor sanding. Here’s a helpful guide that has broken down the steps on how to sand wood floor with a hand belt sander so you can carry out a successful refinishing project.
Related: How to sand floor with palm sander
Sanding Floor With Hand Belt Sander
Table of Contents
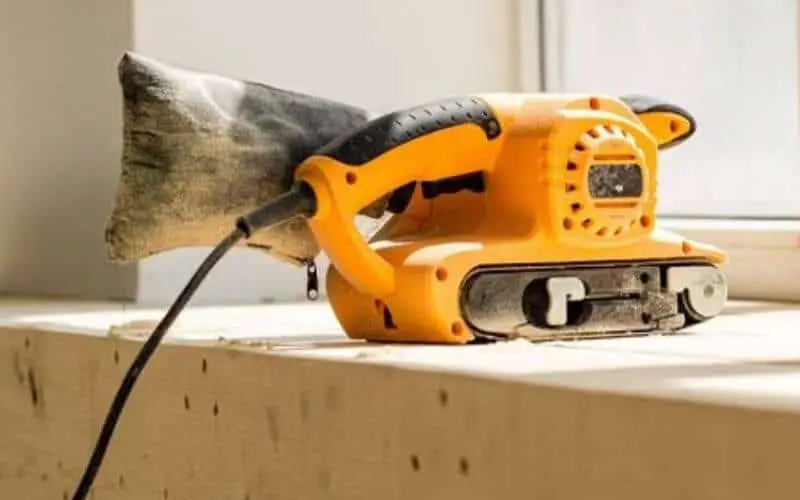
If you are dealing with small floor space, it can be sanded with an orbital sander or a sanding block. But, if dealing with a large floor area, you will need a belt sander to achieve an efficiently sanded floor.
Even as you use a hand belt sander, you will still need a sanding block to finish the corners and hard to reach areas. With that said, here’s a step by step process on how to sand a floor by hand
Make Preparations
Before you begin sanding, take out the curtains, mats, and furniture in the room. If there’s an unmovable item like a piano, you can cover it with plastic or a sheet to prevent dust from settling on it.
You need to wear a face mask and goggles to protect your eyes and nose from the dust that is generated during the sanding process. You also need to wear earplugs or defenders as belt sanders produce a loud noise as they operate.
Ensure to properly ventilate the area that you are working in, open up the windows to let in fresh air. You should also seal the areas around the door to prevent the dust from escaping into the rest of the house.
Related: How to stagger wood floor planks
Inspect the Floor
Check the floor thickness as how thick your hardwood floor determines the number of times it can be sanded down:
Also, inspect the floor to see if they are fairly even and clean; if they are, you only need to sand along the length of the wood to achieve a smooth finish.
But if the floor is very warped, rough and has lots of scratches, you will need to sand the wood diagonally and along the length of the wood.
The floorboards condition also determines the grade of the abrasive you need to start sanding the floor with; however, regardless of what state your floor is in, you have to finish with a 120 grit size.
You usually only need to use three grades of abrasive; if you start with 40 or 60 grit sandpaper, it should be followed with an 80 or 100 grit, then finally a 120 abrasive to finish.
Read: Pros and Cons of Plywood Floors
Begin Sanding
Ensure the belt sander is tilted before you switch it on to prevent the abrasive face from coming in contact with the floor.
When you are done sanding the length of one floorboard, tilt the sander to lift the abrasive from the surface.
Avoid running the sander while it is in contact with the wood if it is not in motion. This can cause the machine to unevenly sand an area.
You can either sand your floor diagonally or along the length, depending on the state of the floor.
Sanding Diagonally
If your floorboards are not level, you will need to sand diagonally. With the correct grade of abrasive (40 or 60 grit) attached to your sander, begin sanding in one corner of the area.
With the sander tilted, switch it on, and move it diagonally across the floor till it reaches the opposite end.
Tilt the sander and lift the abrasive from the wood just before you get to the skirting board in the opposite end.
Turn around and repeat the process, move the sander in a parallel line and overlap the first pass slightly. Continue with this process, overlapping each previous pass slightly until the entire room is sanded down.
For the next passes, follow a similar process as above, except that you start in an adjacent corner so that the sander crosses the first round of sanding at right angles.
Read: Pros and Cons of vinyl flooring
Sand Across the Wood’s Length
Once the floorboards have been sanded down twice diagonally, or if the floorboards haven’t taken much beating and are still in a fairly good condition to start, use either 80 or 100 grit sandpaper and begin sanding along the length of the wood.
Start sanding in one corner of the room and run across the length of it with the sander. Once you reach the opposite end, tilt and lift the belt sander, then turn around and move parallel with the previous pass, overlapping it slightly just as you did with the diagonal sanding process.
Once these two passes are done, you should be able to tell through the direction of the grain if one pass has a smoother finish than the other. Carry out the rest of the passes in a similar manner as the smoother strip.
After sanding down the whole floor using the second grade of abrasion, switch to a 120 grit sandpaper and repeat the sanding process just like you did with previous abrasion sizes.
You can use a handheld sanding block to get into the corners of the room. And you should have a perfectly sanded floor.
Read: How to polish travertine floors
Conclusion
Sanding floor with hand belt sander is a lot easier than it is portrayed to be; it is also time-saving, especially if you are covering a large area.
Knowing how to sand a floor by hand will save you a whole lot of bucks if you decide to refinish your hardwood floor; hiring a pro can cost up to thousands, but with the right technique like the one in this article, you can sand and refinish your floor for less yourself.