You need to know how to install linoleum flooring if you’re looking for an all-natural, durable and beautiful floor for your home. We’re going to share a complete DIY process on how to go about it.
Before we proceed, you need to know that linoleum and vinyl are two different things. Although their installation procedures are the same, linoleum flooring is water-resistant while vinyl flooring is waterproof.
Linoleum is made from natural ingredients such as pine resin, linseed oil, jute backing, and wood dust. It’s also ideal for heavy traffic areas like hallways and entryways since it has a high resistance to scratches.
Linoleum also has a backing so it doesn’t need an underlayment. It can be installed over an existing floor provided it’s smooth and flat. With extra grout applied, they can even be installed over tiles.
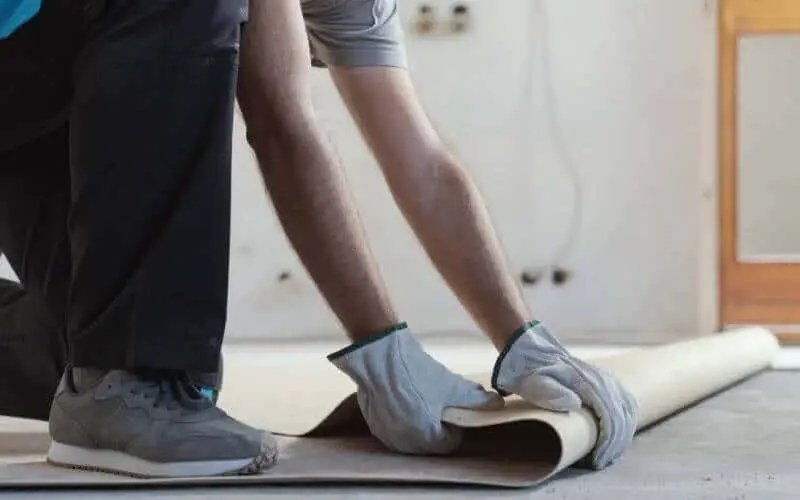
Linoleum comes in tiles which are in 7 foot wide rolls. These sheets are glued down to the floor, although it is possible to install them on the floor without gluing them.
They can float on the subfloor without being glued, the main aim here is to have a smooth and flat flooring.
Read: Best floor wax for linoleum floor
Preparing The Floor For Installation
Table of Contents
As said above, you must ensure you have a flat and smooth subfloor ready for installing linoleum. While this can be a requirement for any subfloor, it’s very important for linoleum, this is because linoleum is flat and thin.
Its thinness makes it vulnerable to any slight bump, this can crack it when it bends over one. The best tool used in checking for a flat floor is a straight edge or a straight board. Preparing the floor for installation requires the following steps.
Remove the Baseboards
Pry off baseboards with a hammer and store them outside the installation space if you plan on reusing them.
Read: How to install baseboard molding on uneven floor
Clear the Floor
Clear the room and remove everything movable from the room, such as your furniture. A clear room with fewer obstruction makes installation easier.
Remove Damaged Flooring
While linoleum can be installed over any existing hard flooring, ensure such flooring is in good condition. If cracked, or pieces are missing, ensure to remove them.
Prepare the subfloor
It’s been overemphasized that the subfloor needs to flat. High spots should be sanded down with a belt sander while low spots should be filled with leveling compound. The subfloor also needs to be swept and vacuumed before installation begins.
Check Moisture Of Subfloor
A moisture meter is needed to check the moisture of the subfloor. If you plan on gluing linoleum to your floor, then the moisture of the floor must not be higher than 13 percent.
If it’s higher, allow the subfloor to dry before proceeding. It isn’t advised to install linoleum on moist floor as this can lead to mold growth.
Measure The Room Dimensions
With a measuring tape, measure the dimension of the room, purchase enough linoleum with about 10 percent overage for a guaranteed complete coverage of the room.
Acclimate The Linoleum
Bring the linoleum into the installation space and acclimate. Allow it to sit for about 24-48 hours. This gives it enough time to come in equilibrium with the condition of the room.
Read: How to replace linoleum with tile in the kitchen
How To Install Linoleum Flooring
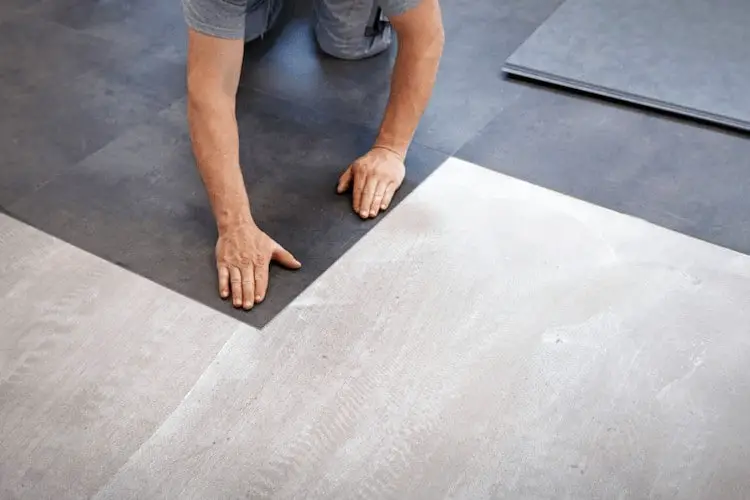
With linoleum tile, you have the freedom to install two or more colors and create your pattern. If you’re doing this then it’s advised to start the installation from the center of the floor.
If your linoleum tiles are of the same color and style, then layering them against a wall is a good alternative.
Here are some things you will need for the installation. A notched trowel, a damp rag, a floor roller, a jigsaw, utility knife, chalk line, caulk, and a tile adhesive. Follow the steps below for a perfect tip on how to install linoleum flooring.
Dry-Fit The Tiles
Lay the tiles on the floor before they are glued. This is an essential step to take even though the tiles are of the same color because this allows room for perfection and addressing alignment problems before the tiles are glued. Remember to leave a 1/4-inch gap around the perimeter of the floor.
Glue The Tiles
Now go back to the starting point, remove the tiles one by one and spread adhesive on the subfloor using a notched trowel.
Spread a thin coat and lay the tile in the glued area then press down firmly. Once done, wipe off excessive adhesive from the tile with a damp rag. When spreading adhesive, work on small sections so you can lay the tiles in those sections before the adhesive sets.
Roll The Floors
Roll the floor with a weighted floor roller after the tiles have been set. Before rolling each section, double-check for adhesive to avoid rolling over any glue. Using a roller helps even the floor.
Apply Linoleum Sealant
Applying a sealant to linoleum always helps the linoleum have a long life. Get a brush and use it to apply the sealant over the surface of the floor.
Ensure not to apply on the edge or spaces where two linoleum meet as this might lead to premature damage and peeling.
Leave the Floor to Dry
Some sealants and adhesive take 24 hours to dry while some take longer, you can confirm from the manufacturer’s direction.
It is advised to leave the floor to dry completely to avoid bumps that may form while the floor is still wet with sealant or adhesive.
Install the Baseboards
You can reuse the old uninstalled baseboards or install new ones. If the baseboards will be painted, then it’s advised to paint them before they are installed.
Install the baseboard in such a way that they touch the new flooring. Run a bed of caulk along the top of the baseboard but not at the bottom, this should give the flooring an ability to move.
Read: How to clean discolored linoleum floor
Mistakes To Avoid When Installing Linoleum Flooring
Linoleum requires special treatment before, during or after installation to avoid these mistakes.
Installing Linoleum Immediately
It isn’t advised to install linoleum right after purchase, instead, leave it in the installation room for 24 – 48 hours or acclimation before installing it. It is essential that they acclimate to the temperature of your home.
Tearing Up Old Floor
This is also yet another time waster. It is totally fine to install linoleum above your existing floor as long as it’s clean, dry and smooth.
Treating Installed Linoleum Roughly
Linoleum is a very durable flooring option, that doesn’t make it an avenue for being rough handled. Take off hills while walking on your linoleum flooring and protect it from dents and scuffs using a furniture pad on the legs of your furniture.
Why Linoleum Flooring
Durability
Linoleum flooring is very durable and can last for as long as 25 years. A linoleum flooring can even last up to 40 years if well taken care of. It is water-resistant on its own and doesn’t need an extra requirement for waterproofing the floors.
Bio-Degradable
The materials used in making linoleum are environmentally friendly. Its remains can be put in a landfill and once its life span is due, it can be burned to produce an eco-friendly fuel.
Low Maintenance
Linoleum floor doesn’t require much maintenance, simple cleaning and mopping is enough to keep it as good as new. This makes it good for moist surfaces and the best option for moisture-prone floors such as bathroom and kitchen. Note that a linoleum floor in impenetrable.
Hypoallergenic
As opposed to other types of flooring, linoleum tests to oppose dust and dirt. This characteristic goes a long way into helping those who are allergic
Read: How to get rust off linoleum floors
Conclusion
We’ve covered enough on how to install linoleum flooring as well as mistakes to avoid when installing one. If you’re looking for a cheaper alternative to hardwood flooring, then linoleum flooring it is. You are also contributing to the well-being of the planet since linoleum flooring is eco-friendly.
Over to you, do you have linoleum flooring in your home or are you planning on installing one? Let us know in the comments. Please share this post with your friends so they get my insight on how to install linoleum flooring in their homes.


