Linoleum tile is an affordable flooring option, and because it is waterproof, many people opt for it as their kitchen flooring. Linoleum floor requires less maintenance and are easy to install.
Looking for steps to replacing linoleum with tile in kitchen? This involves taking off the linoleum as well as the glue and adhesive off the floor, then finally laying the tiles.
If you want to change your flooring may be due to water damage, cuts, or just general wear and tear, and you are considering replacing linoleum with tile in kitchen; it’s not a bad idea, and here’s how to do so
Read: Can you paint kitchen floor tiles?
Easy Steps to Replacing Linoleum with Tile in Kitchen
Table of Contents
Materials Needed:
You will need a couple of specialized pieces of equipment to replace a linoleum with tile like the vinyl tile cutter. Here’s a list of other tools you will need;
- Replacement tiles
- Vinyl tile cutter
- Utility knife
- Vinyl tile adhesive
- Vinyl roller
- Scraper
- Sponge
- Bucket of warm water
Procedure:
Step 1
Once you have gathered all the needed tools and gotten the new tiles you intend to install, begin to remove the old and damaged linoleum.
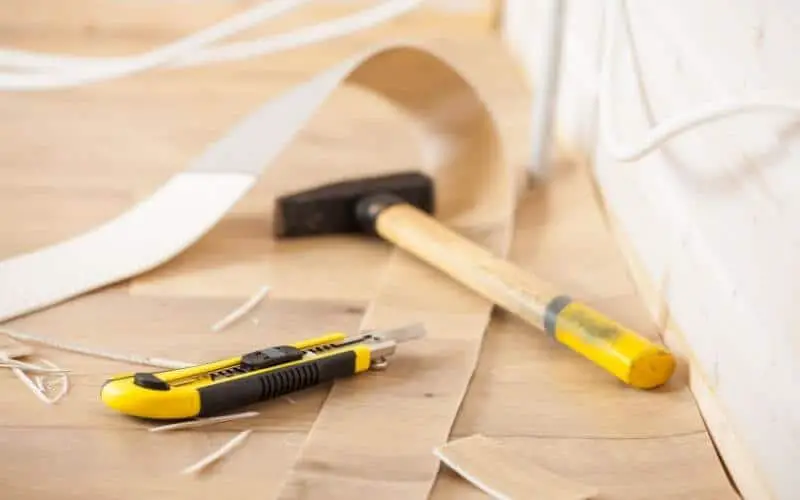
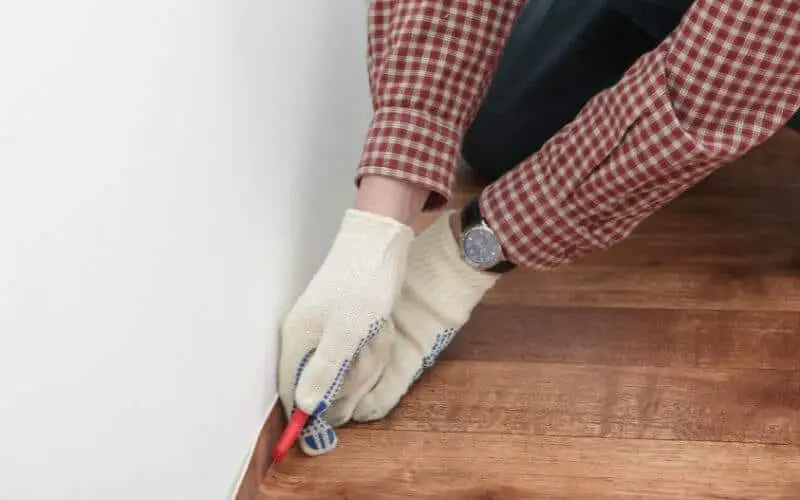
Start from a missing section, if any; you can insert the scraper under and begin prying the rest of the tile up. You can also use a utility knife to score the tile along the seam if there’s no missing section until you reach the underlayment.
Then insert a scraper and pry up the damaged tile carefully to avoid damaging any of the surrounding tiles as you do so.
Step 2
After removing the old linoleum flooring, you need to begin removing the remaining adhesive and glue residue that is left on the floor.
With a wet sponge, scrub the area till the adhesive residue loosen up. Then, use a scraper to go over the area to remove the debris till you achieve a smooth and flat surface. Then use a vacuum to pick up any loose particles.
Step 3
Once the surface is free from any dirt, adhesive residue, and tile particles, prepare the concrete subfloor by patching any cracks or holes with a filler.
If you have an uneven surface, you can use a self-leveling concrete mix to level out the floor first before installing the tile.
Step 4
To determine how many tiles you will need, measure out the room, then add 5 percent to the actual square footage; this will account for the tiles that get damaged during installation or cutting mistakes.
Step 5
Mark a line with chalk from the center of each wall. The point where these lines intersect is the middle of the room, and you should start laying the tiles from that point. Starting from the center of the room, rather than along a wall, will help to hide any uneven or crooked walls.
Step 6
As you begin laying your tiles from the center of the room, do not use any adhesive at this point, you need to first determine the layout.
Step 7
Make necessary cuts to any tile using a saw or tile cutter. You can rent these tools from your local home improvement store when needed.
Step 8
Once you have determined the floor’s layout, apply tile adhesive to a small section of the floor using a trowel. Apply a bit of adhesive to the back of each tile as well before placing it on the floor.
Continue laying the tiles in this manner, working in small areas at a time until you have completely installed all the tiles.
Step 9
After installing the tiles, allow them to rest for 24 hours so the adhesive can set properly before grouting.
Mix your grout in a bucket according to package instructions ensuring it is of the right consistency. A well-mixed grout has a thick consistency that sticks easily to your putty knife without sliding off.
Step 10
Grout between your tiles using your grout floater and wipe away excess grout from the tiles with a damp sponge. Allow the grout to dry for 24 hours before applying a grout seal, which is best applied with a paintbrush.
Read: Best floor wax for linoleum
Conclusion
Discussed in this article are the steps involved in replacing linoleum with tile in kitchen; though seemingly simple, the steps must be adhered to strictly for a great result to be achieved.

