You might want to make a few renovations in your home which including, giving your floor a new look. With the option of installing vinyl flooring, the question comes to mind; How hard is it to install vinyl plank flooring?
You might want to know how hard it is to install vinyl plank flooring before you begin the procedure, so you do not undertake a project you are unable to finish.
Thankfully installing vinyl plank flooring is quite easy and a beginner-friendly project. You only need a few tools and a prepared floor to begin; here’s how to install vinyl plank flooring.
Related: How easy is it to lay vinyl floor tile
How Hard is it to Install Vinyl Plank Flooring
Table of Contents
- 1 How Hard is it to Install Vinyl Plank Flooring
- 1.1 Step One – Assess Subfloor
- 1.2 Step 2 – Plan Layout
- 1.3 Step 3 – Remove Baseboards
- 1.4 Step 4 – Undercut Jambs
- 1.5 Step 5 – Add Joint Spacers
- 1.6 Step 6 – Determine First Plank Of First Row
- 1.7 Step 7 – Begin Installation
- 1.8 Step 8- Install Subsequent Rows
- 1.9 Step 9- Cut Last Row Planks
- 1.10 Step 10- Install Floor Molding
- 2 Conclusion
Here’s a step-by-step guide on how to install vinyl plank flooring; you will need the following items:
Tools:
- Utility knife
- Tape measure
- Straight edge
- Rubber mallet
- Floor tapping block
- Pencil
- Multi-tool or jamb saw
- Circular saw or jigsaw
Material:
- Vinyl plank flooring
- Joint spacers (1/4-inch)
- Painter’s tape
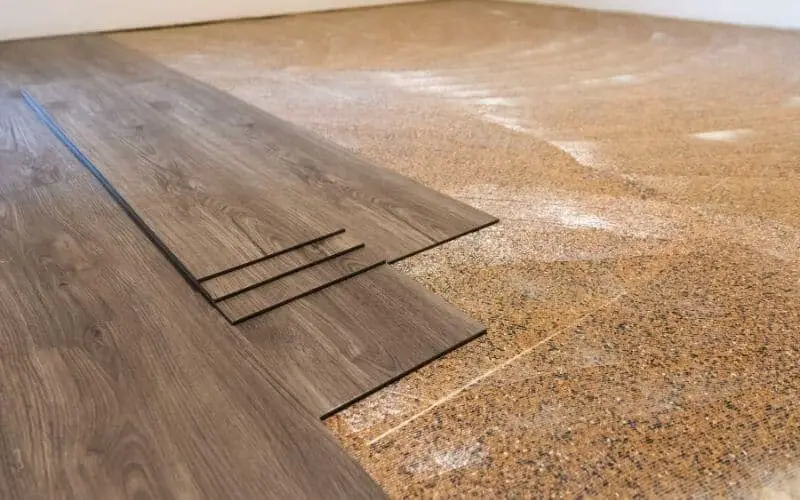
Step One – Assess Subfloor
A subfloor suitable for vinyl flooring has to be structurally sound and levelled; any slope present on the floor should be within 1/4-inch or less, it should also have no bumps or dips.
Use a hammer to pound down protruding nails and also remove and replace screws. You should also scrape away dried drywall compound, paint or mud using a putty knife. Then clean up loose debris with a broom or a shop vacuum.
Step 2 – Plan Layout
When the floor is clean, decide which direction the planks will be installed. Generally, it is recommended to place the planks in the direction of the longest side of the room.
But certain situations may require you to change the direction of the boards. If you are installing the flooring in your entire house, run the vinyl planks in the direction of the house’s longest sides.
Step 3 – Remove Baseboards
Use a pry bar to remove baseboards, shoe molding and other types of molding on the room’s perimeter. Gently pry back the top of the molding and pull away. Set the trim aside if you intend to reuse them or purchase new baseboards.
Read: How to remove vinyl flooring
Step 4 – Undercut Jambs
If you do not want to uninstall the door casing, undercut the casing to allow the vinyl flooring to slide underneath.
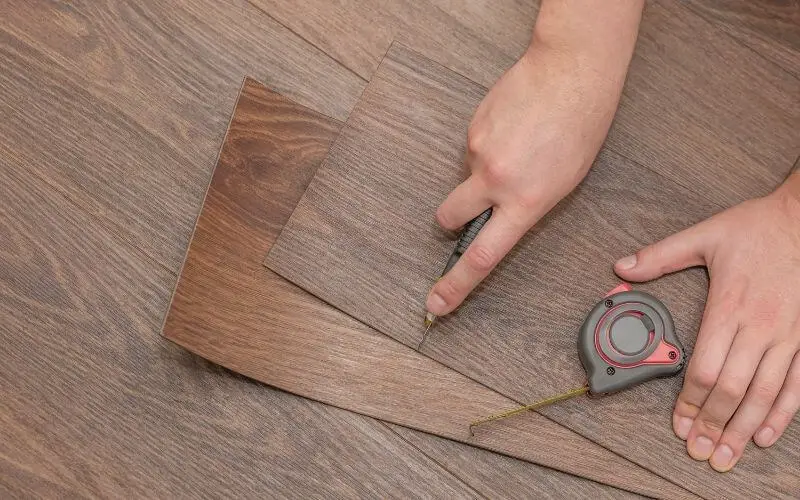
Place a piece of vinyl flooring against the door casing and mark with a pencil before removing the plank. Cut out the marked area with a multi-tool or door jamb saw.
Step 5 – Add Joint Spacers
Place joint spacers on the wall to create an expansion gap around the room’s perimeter, which should be about every 24 inches. If using 1/4-inch thick boards, it can be taped to the walls with painter’s tape.
Step 6 – Determine First Plank Of First Row
You can either lay a full- or partial-size first plank, but the plank should not be less than 8 inches long. Measure the floor’s length with a tape measure and divide the measurement by the length of each plank.
If you get a figure greater than 8 inches, install a full-size first plank. If the number is less than 8 inches, cut out enough inches from the first board so that a plank longer than 8 inches can be used for the final board in the row.
Step 7 – Begin Installation
Install the first row of planks against a wall with planks’ grooves facing the room and the tongues facing the wall.
First, dry-fit the planks 6 to 12 inches away from the wall before installing the entire row of planks for that row.
The short sides of planks can be attached by pushing the top plank’s tongue straight down into the receiving groove of the adjacent plank. Tap the boards with a mallet if they do not snap into place by hand.
After installing the first row, slice off the tongues from the planks with a utility knife. This will enable the first to fit tighter against the wall, with less chance of visible gaps.
When you reach the end of the wall, cut the last board to fit the remaining space. Score the board a few times against the straight edge, then turn the board around and try to snap the two pieces apart. You try snapping the board over your knee, but look out for flying fragments.
Read: How to patch vinyl flooring
Step 8- Install Subsequent Rows
Continue installing the rows of vinyl flooring planks in a similar manner. Remember to keep staggering the joints as before.
Step 9- Cut Last Row Planks
Cut out the final row of vinyl flooring planks lengthwise to fit. If you are unable to use the score-and-snap method, you can cut the planks with a circular saw, jigsaw or handsaw.
Fold down the planks into place by fitting the tongues of the last row of planks into the grooves of the previously installed row of planks. Remember to leave a 1/4-inch expansion gap even on the last row.
Read: How to cut vinyl flooring
Step 10- Install Floor Molding
Once the flooring is completely installed, you can go ahead and install the baseboards or other floor trim. Cover the expansion gap with the bottom edge of the floor trim.
The floor molding helps to hold down the floor, especially the last row of planks which has a tendency to slightly angle upward until it naturally flattens.
Read: Pros and Cons of Vinyl Flooring
Conclusion
It isn’t that hard to install vinyl plank flooring; you only need a few tools and a lot of elbow grease. If you are using peel and stick vinyl sheets, you can carry out the project yourself; if not, you might want to hire a professional.