Vinyl flooring is reputable for its durability and easy installation. But using wrong maintenance techniques or other external factors can damage your vinyl flooring.
Fortunately, methods stated on how to patch vinyl flooring and eliminate scratches on the floor surface is very easy and when done correctly, the repairs are usually invisible.
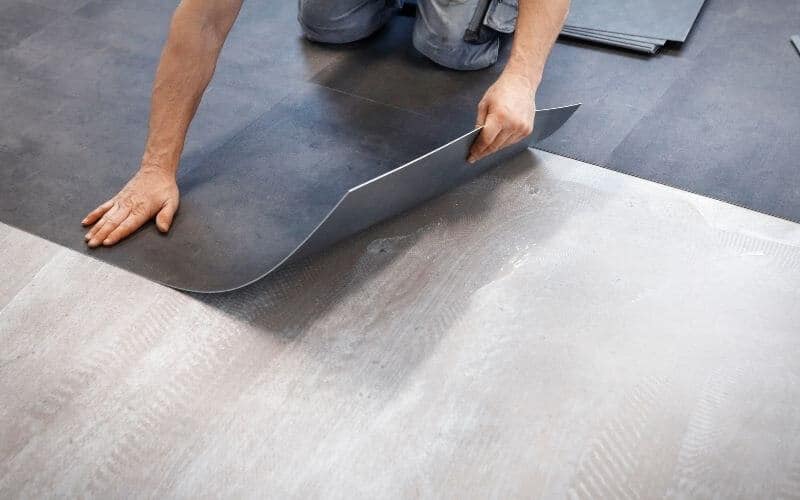
With a piece of matching vinyl flooring and some glue, you can patch your vinyl flooring. Here’s how to do that
Find Out: How easy is it to lay vinyl floor?
How To Patch Vinyl Flooring
Table of Contents

Get a Piece Of Matching Vinyl Flooring
To patch your vinyl flooring you would need a matching flooring piece, if you’re lucky, you may find some scraps left behind by the installer if he didn’t, you would need to cut out a replacement piece from your floor from out-of-the-way spot or areas underneath furniture or appliances.
Cutting sheet-vinyl floors is very easy as they are glued only at the edges, so you can easily cut out the damage and harvest a patch of flooring.
But if your entire floor is glued down, you’ll need to make use of a stiff putty knife or an oscillating tool with a scraper blade to lift off pieces of the floor.
Place the utility knife on the edge of the pattern and slightly tilt the blade about 5 degrees away from the center of the patch.
Line up the edge of the pattern with a framing square and against the blade then cut one side. Repeat on each side, then pull out the patch.
You may notice that the new patch has a new sheen, but it will fade over time to match the surrounding flooring.
Cut Out the Damaged Areas
Place the new cut-out patch over the damaged area with double-stick tape to hold it down, and use masking tape to secure the sides as well.
Make sure not to dig deeper than 5-degrees as you use the patch as a guide to cut through the masking tape and existing flooring. Remove the damaged area, and separate it from the patch.
Read: How to protect vinyl floor from chair legs
Apply Glue
Use old newspaper or cardboard to protect the flooring around the area you are working on to prevent the adhesive from getting onto them. Apply the adhesive on the back of the patch with a paint roller fitted with a 3/16-inch nap cover or a 1/32-inch v-notch trowel.
Glue Down the Edges
If the flooring is only glued at the edges, you’ll need to secure the edge of the area to be patched with a vinyl flooring adhesive.
Raise up the cut edges, and apply at least a 1-inch-wide band of adhesive underneath the flooring using a putty knife, one side at a time. Allow the adhesive to become tacky, this may take a few minutes before pressing the edges into the glue using a J-roller.
Install the Patch
When the adhesive becomes tacky after a few minutes, you can then press the patch firmly onto the floor. Use a J-roller to work from the center of the patch to the edges. Then use a damp rag to remove excessive adhesive that spills from the sides.
Seal the Joints
Use a bead of seam sealer type of glue to fill the joint where the patch meets the floor. Clean excess glue with a damp rag, and also run the J-roller over the seams then wipe them again. Allow the sealer to dry for at least 24 hours before walking on the patch.
Conclusion
This article guides you on how to patch vinyl flooring, so you can repair any damaged areas of the flooring without having to replace the entire floor. All you need for this procedure is some glue and matching vinyl flooring, and your floor’s beauty will be restored.