Removing old vinyl flooring in your bathroom isn’t that very complex, but the job isn’t very easy either. It is labor-intensive and can become messy if not done properly.
To remove vinyl flooring in bathroom, you need to remove the quarter-round trim then take out pieces of flooring using a utility knife as well as lifting glued down flooring with a prybar. A heat gun can also come in handy to make floor lifting easier.
With dedication and a little elbow grease, you can get through the job, and if you finally decide to go through with it, here’s a full guide on how to remove vinyl flooring in bathroom.
Read: How to clean bathroom floor stain
How to Remove Vinyl Flooring in Bathroom
Table of Contents
What You’ll Need:
- Flat pry bar
- Mallet or hammer
- 5-in-1 tool
- Utility knife
- Heat gun
- Woodblock
- Work gloves
Step 1
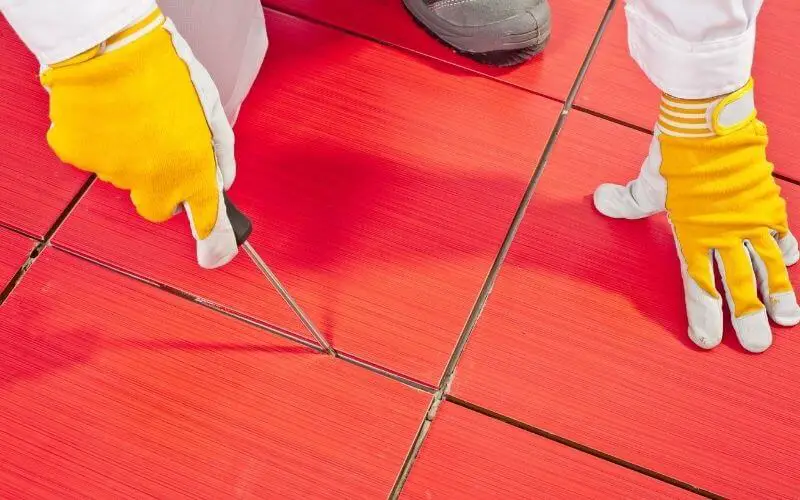
Remove the quarter-round trim installed in front of the baseboards used to cover the gap between the baseboards and the flooring; this should be done before you start removing the vinyl flooring. With the flat end of a pry bar, gently uninstall the quarter-round trim.
Step 2
In most cases, vinyl flooring is installed just up to the edge of the baseboards, underneath the quarter-round molding. But it is usually also installed over the top of the flooring.
Remove baseboard trim if you have any installed in your home, they’ll need to be removed entirely before the old flooring can be removed.
To do this, place a woodblock on the wall a few inches above the baseboard. Place the flat end of a pry bar just right where the trim and wall meet.
With a swift rap and a well-protected hand, force the bar from the trim. You can tap the pry bar with a rubber mallet or hammer a few times to do the trick. Remove the trim in sections as you make your way along the wall.
Read: Pros and Cons of vinyl floorinng
Step 3
Vinyl flooring is usually entirely perimeter-installed, and this makes the removal process easier. If your vinyl flooring has been perimeter installed, it means only a 6-inch perimeter has been glued or stapled down; the middle of the vinyl flooring lays loose.
To tell if your vinyl flooring has been installed in that manner, cut into the flooring along the perimeter of the room, about 8 inches away from the walls. It should be cut parallel to the walls and checked to see if the center of the vinyl flooring pulls up with little effort.
Step 4
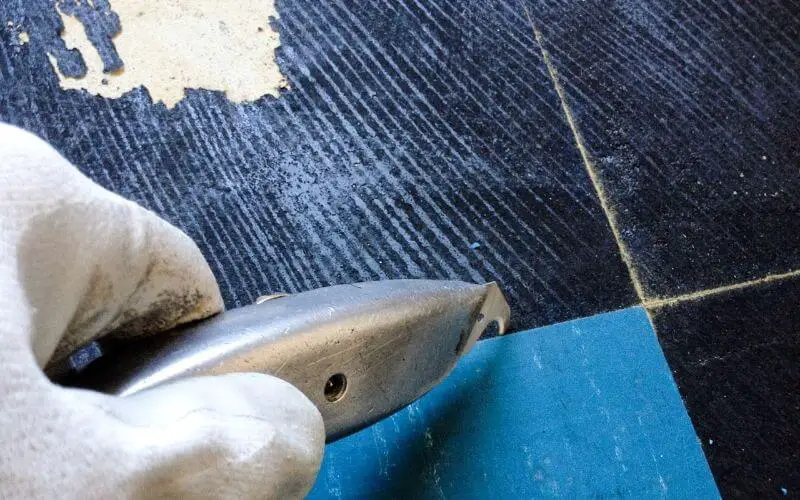
When removing vinyl flooring, you’ll definitely need your utility knife so keep it handy. Keep on taking out pieces of flooring, cutting them into long, narrow strips, with a width of 18 inches. Cut off the length only when it gets in your way.
Do not be tempted to start pulling back or rolling up large sheets of vinyl flooring. This is not recommended, as it can make the vinyl sheet become heavy and difficult to manage.
There’s no reason to keep the vinyl in large sheets unless you intend on using them in another part of the house.
Read: How to patch vinyl flooring
Step 5
Lift the glued-down flooring with a pry bar; this could be the entire floor or just a section; removing glued-down flooring is best done through tenacious hard scraping.
First, pry up the baseboard as much as possible with the tip of a flat pry bar before separating the vinyl from the underlayment with a chisel.
Step 6
If the prybar isn’t getting the job done efficiently and you can no longer scrape up the flooring with it, switch to a 5-in-1 tool.
Pry the end of a sharper tool between the vinyl and subfloor and use sharp, jabbing strokes to remove the flooring. The adhesive on your floor should chip fairly easily, especially if the flooring is old.
Chisel and peel back the vinyl simultaneously. If the vinyl lifts up the floor too easily, you are probably delaminating the vinyl sheet and only separating the vinyl layer from its backing layer. Ensure that you are pulling the full thickness of the flooring as you chisel and pull.
Step 7
Get a grip on a section of the flooring and pull it back, either straight upward or back towards you. You can use a heat gun to loosen the hard adhesive and make the flooring lift easier.
Simply turn the heat gun on low, allow it to heat up before waving it around the junction between the flooring and the underlayment. You can also heat up the top side of the flooring in a small section before pulling it back.
Read: What causes yellow stains on vinyl floors
Conclusion
Removing vinyl flooring in the bathroom might not be the easiest task, but it’s definitely rewarding when you get to see how new and beautiful your bathroom looks after installing a new floor.