Shiplap flooring planks are overlapped planks with an overlay that goes over the underlay. Fasteners must be driven at an angle through the tongue during installation to ensure increased stability.
We will be outlining everything you need to know about shiplap flooring, it’s installation, painting, and differences from tongue and groove flooring.
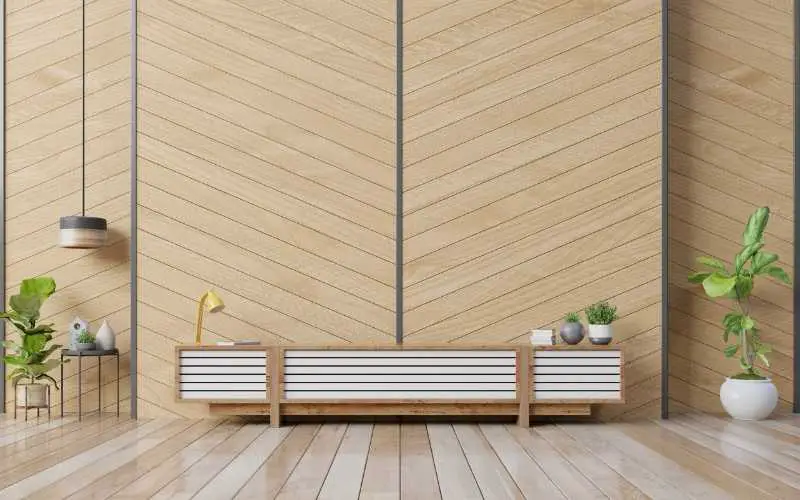
Each wood plank on a shiplap wood wall is laid over the edge of the one before it. It has a groove cut out for the next board to rest under or over.
It has an overlapping joint termed a rabbet, or an “L” shape carved out in technical words.
Related: Coretec Flooring Problems
How to Install Shiplap Flooring
Table of Contents

Follow the steps outlined below to install shiplap flooring in a specific room of your home:
1. Begin by applying a moisture barrier to the floor’s surface. The shiplap flooring will be less likely to warp due to this.
2. Next, place the shiplap floor planks in the room with the underlay side facing in. You’ll also want to make sure that the overlay side of the boards for the first row is cut off to eliminate the weak overhang. This will keep the boards from splitting under the weight of heavy furniture.
3. When installing shiplap planks, make sure they are pushed together as tightly as possible, with the overlay hanging over and slightly past the underlay.
4. Nail or screw your shiplap flooring planks to the subfloor for added reinforcement. Nails should be pushed into the subfloor beneath each overlay and underlay. After installation, place your fasteners in a straight line for an excellent visual appearance.
How to Paint Shiplap Flooring
Paint your shiplap flooring boards before installing them, making painting the upwards-facing underlays much easier.
Shiplap flooring is generally painted to give it a more appealing appearance. Follow the instructions below to properly paint your shiplap floor planks before installing them:
1. Gather your painting supplies and tools, including paint cans, a paintbrush or roller, sandpaper, and paintable caulk.
2. Begin by sanding the shiplap boards to prepare the surface for maximum paint adhesion.
3. After that, apply your first coat of paint. We recommend painting the overlays and underlays with a small paintbrush rather than a roller because the former is easier to work with.
4. Install the shiplap boards and secure them to the subfloor after the paint has dried. Fill up the fastener holes with paintable caulk.
5. Apply a second coat of paint after installation to complete the process. This layer hides the fastener holes and creates a more consistent appearance.
Read: What Is Hand Scraped Hardwood Flooring?
Differences between Shiplap Flooring and Tongue and Groove Flooring
Physical Profile
Shiplap flooring planks are designed to overlap, with the overlay passing over the underlay, unlike tongue-and-groove flooring planks designed to interlock.
Because fasteners must be pushed through the tongue at an angle, tongue-and-groove flooring planks have an advantage over shiplap flooring planks in terms of stability.
Furthermore, this allows you to disguise the nails/screws for a cleaner look.
Installation Requirements
Shiplap flooring is more complex to install than tongue-and-groove flooring. This is because correct installation of the former necessitates angular fastening through each plank’s tongue into the subfloor below, which is a technique that necessitates precision.
This hides the nails for a more attractive appearance, and the angular attaching via the tongue adds structural strength.
Meanwhile, you have to drive your fasteners directly through the overlays and underlays of your overlapping boards when fastening shiplap flooring planks to the subfloor.
Flooring Material
Most flooring planks with a shiplap profile are made of natural wood, such as cedar and redwood.
Flooring planks using a tongue-and-groove system, on the other hand, are typically constructed of manmade materials such as vinyl, steel, and fiber cement.
Structural Issues
When compared to tongue-and-groove flooring, shiplap flooring is more likely to warp. This is due to the vast nature of shiplap floorboards and the fact that, unlike the tongue-and-groove interlocking technique, they do not give additional support.
Maintenance Requirements
A shiplap floor requires more effort to keep clean than a tongue-and-groove floor. Because the planks overlap, a deep groove forms between them, which works as a dust trap.
You’ll need a vacuum cleaner with a crevice attachment to clean a shiplap floor successfully.
Furthermore, sanding a shiplap floor will be difficult because the bolts are driven straight through the top of the boards. Any protruding nails on your sanding drum machine might potentially cause irreversible harm.
Finally, unlike a tongue-and-groove floor, a shiplap floor would most likely soak up water from your wet mop through the deep grooves between the overlays and underlays, making it difficult to clean with a wet mop, which is why for shiplap flooring, you should instead use a wrung-out, damp mop.
Read: Types of Floating Floors
Conclusion
Flooring profiles such as tongue-and-groove and shiplap are two examples. Though a shiplap profile is best suited for siding, it also looks great as part of a flooring design because of its rustic appeal.
We wrote this article about shiplap flooring, its installation, painting, and differences to help give you guidance when faced with making a choice about it.
We hope you found it helpful and informative. If you did, please share it across your entire social media pages.