A wood floor can give your home the much-needed aesthetic you crave. It can turn a simple home appear classier and more expensive. More so, wood floors can support joints and prevents them from separating, bowing, or warping.
When it comes to how to stagger wood floor planks, the good news is that you can do it yourself, provided you have all the needed tools and materials.
More so, there is something rewarding and satisfying about embarking on a house improvement project.
To stagger or rack wood floor planks, you will first have to lay the planks according to their sizes and length and group them according to those sizes. This post will provide in-depth knowledge on how to stagger wood floor planks.
Related: How to install end grain flooring
Tools You Need to Stagger Wood Floor Planks
- Nail gun or pneumatic stapler
- Finishing nails
- Hardwood glue
- Table saw
How to Stagger Wood Floor Planks
Table of Contents
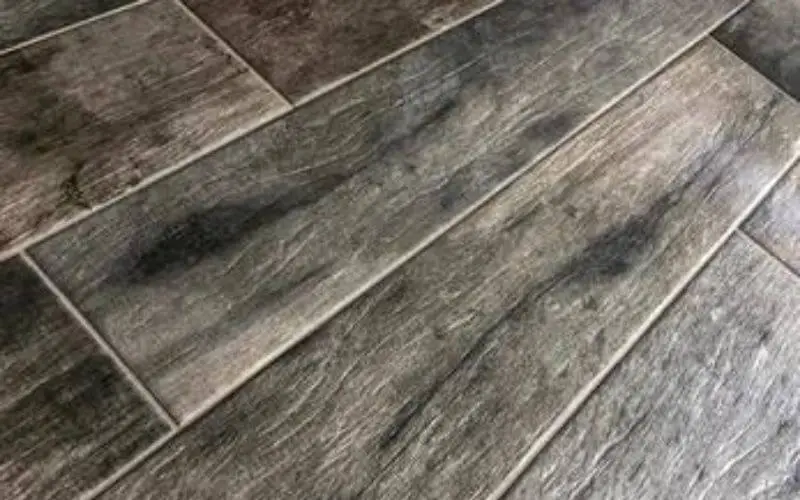
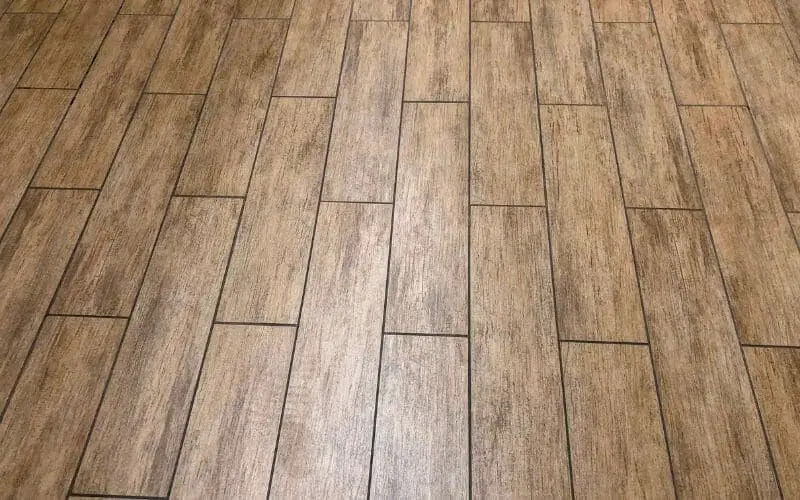
The trick to properly laying your wood flooring is to stagger the seams, so they appear random. When the seams appear random, it helps you focus on the whole floor instead of keeping your eyes on a straight line of wood seams. Also, staggering the seams adds stability to the floor.
Group Wood of Different Sizes
Some wood floor comes in different sizes in the same package to help the staggering process. The first step is to separate them by length so you can grab different lengths each time.
After the grouping, install the first row of wood plank, making sure to leave about 1/2 inch between the row and the wall. You can either use a nail, pneumatic stapler, or glue to nail your plank into the concrete.
The second row should consist of wood planks different in size from those used in the first row to create the stagger effect.
Follow the same pattern as with the first row using nails or glue to affix it to the ground. Cut the final piece of wood in the row to fit using a table saw. Save the wood plank remnant.
With more rows, continue alternating stacks when choosing the first piece of wood for each row. To add more of a staggering effect, start some rows with the smaller remnant pieces you trimmed off the end planks.
Read: Pros and cons of laminate floor
Group Planks of the Same Length
To create a staggering effect, planks of the same length shouldn’t be placed in the same row. If the planks come in the same size, you can use a saw to cut them into random lengths.
Related: How to install linoleum flooring
Mistakes to avoid when staggering wood floor planks
As a newbie, there are some mistakes you definitely want to avoid:
1. Keep Distance Between Seams
To create a staggering effect, you need to keep some distance between seams. It is advisable to keep at least six inches between the seams of adjacent rows.
If you install wood planks wider than five inches, you should increase that gap to at least eight to ten inches. This will help create a clear distinction between planks and avoid evident and unwanted patterns.
Read: How to fix gaps in hardwood floors
2. Keep an Eye on how the Rows Align
You don’t want regular patterns on your floor. While staggering requires you to pay attention to adjacent rows, especially on how every other row aligns.
If two planks line up with only one staggered plank between them, it creates an H pattern that looks too even and unnatural.
You should also be on the watch out for step patterns and uniform distance. Pay attention to the entire floor as you lay each row down.
Read: Pros and cons of plywood floors
3. Cut planks that are All the Same Length
For Engineered and laminate planks that come in boxes usually in the same length (mostly 36 inches), when installing them, you will need to cut the planks at the ends of each row to length, but no planks in between can be cut.
The room dimension should determine the length of the wood floor plank. When cutting the plank, be careful to avoid waste material.
It’s advisable to start the first row with a full plank, install the row, cut the last plank to length, and save the offcut.
Cut two more fresh boards to start the next two rows, but from the fourth row on, start using the offcuts from previous rows.
Related: How to install hardwood floor on concrete
Conclusion
As mentioned earlier, staggering floor planks can really liven up the aesthetics of a home. Also, there is a satisfaction and reward associated with embarking on a house improvement project.
Luckily, staggering wood planks is an easy procedure you can embark on by yourself. The items you need are planks, a table saw, and nails or glue.
Most often than not, most plank packages come in the same size, but you can easily get the desired length and size with your table saw.
We hope this post will go a long way in helping you with how to stagger wood floor planks. With the few basic racking guidelines here, you can easily achieve the ideal of randomness, even when laying boards that are all the same length.