Vinyl plank flooring is prominent for its ability to withstand the test of time. They can withstand heavy use and wear and is ultra-durable, its no surprise that many homeowners try to reuse their vinyl flooring after uninstalling. But to be able to do so, you need to remove vinyl flooring without damaging it.
This can be a simple or tedious task depending on how the vinyl plank flooring was installed; if it wasn’t attached to the subfloor with glue, it could be removed and reused.
But removing vinyl plank flooring that has been glued down can be very difficult, and reusing the flooring might be impossible as the glue usually causes the flooring to rip and peel.
Here’s a step by step guide on how to remove vinyl flooring without damaging it.
Read: How to remove vinyl flooring in bathroom
How to Remove Vinyl Flooring Without Damaging It
Table of Contents
You’ll need:
- Five-in-one tool
- Flat pry bar
- Heat gun
- Mallet or hammer
- Utility knife
- Woodblock
- Work gloves
Remove Any Quarter-Round Trim
Start by removing any quarter-round trim used to cover any gap between the flooring and the baseboards. Pry away the trim carefully using the flat end of your pry bar; try not to accidentally damage it if you intend to reuse it.
Remove the Baseboards
In most cases, vinyl flooring is installed right up to the edge of the baseboards and fitted beneath the quarter-round trim.
The baseboards are also sometimes installed right over the flooring. In such cases, the baseboards need to be removed before you can access all parts of the floor.
Place a wood block against the wall a few inches above your piece of baseboard and use the flat end of a pry bar to get into the top where the trim meets the wall. Tap the pry bar lightly with a hammer or rubber mallet to force it underneath the trim.
Pry the trim away carefully, and work your way slowly along the wall. Try to avoid breaking the baseboards as you pull them out; even if you do not intend to reuse all of your trim, it’s easier to pull it off the wall in one piece than it is to pull off broken pieces.
Marking the back of the trim will make installation easier if you want to reuse your baseboards. You could write a one on the back of the first piece of trim and number the rest trims in a clockwise and orderly fashion.
Remove the Center Flooring Section
Not all vinyl flooring is installed completely to the perimeter. Usually, only a six-inch perimeter gets stapled or glued down, leaving the middle of the floor loose.
It is much faster and easier to remove such vinyl flooring, although you may encounter some difficulties getting rid of the perimeter.
Slice through the flooring around the room’s perimeter, leaving about eight inches from the walls intact. Make a parallel cut, and the center flooring section should lift away easily.
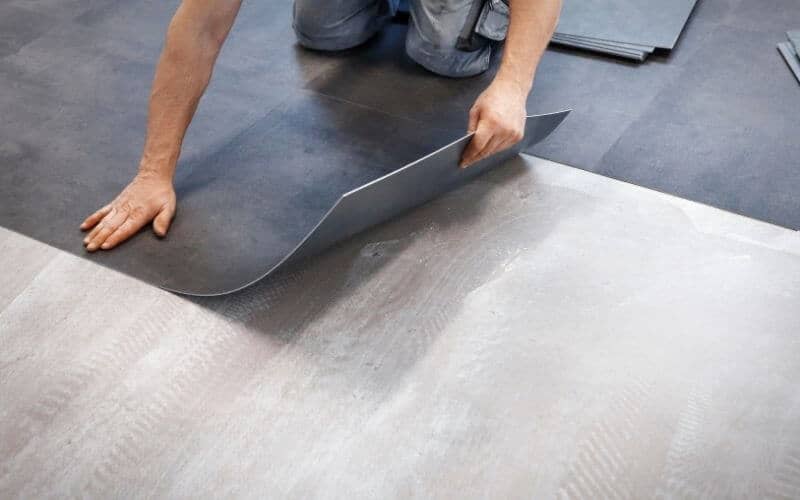
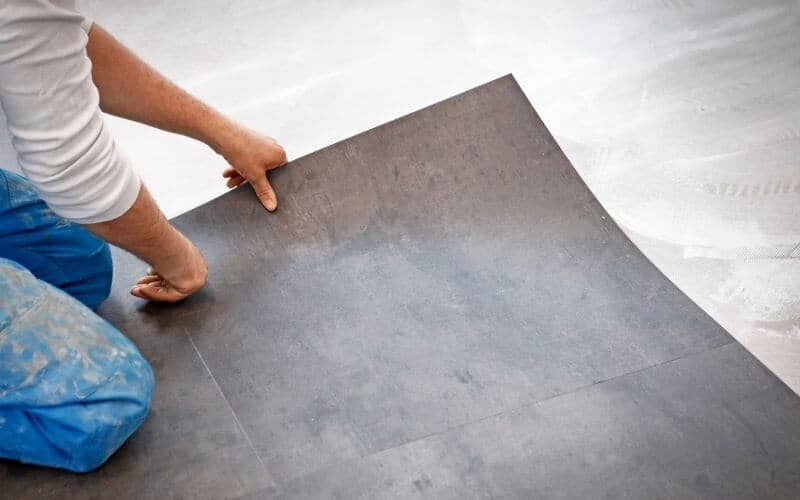
Roll up the Flooring
With a utility knife, slice your flooring into narrow, long strips that aren’t more than 18 inches wide at the biggest point. But if you plan on reusing the vinyl or giving it to someone, you might want to keep it in large sheets.
Cutting the flooring into manageable strips makes it easier to work with. Do not attempt to pull up or roll up big vinyl sheets at once, especially if you are carrying out this project singlehandedly; sheet vinyl can quickly become heavy and difficult to manage.
Read: How to cut vinyl flooring
Scrape Up Glued-Down Flooring
Whether it’s just the perimeter of the entire floor, you can use a pry bar to scrape up glued-down flooring.
Use the tip of the flat part of your pry bar to chisel under the vinyl to separate it from the underlayment. This method, however, is only effective for vinyl flooring that is lightly glued to the subfloor.
Use a Five-In-One Tool
When a pry bar is unable to scrape up a vinyl flooring completely, you can switch to a five-in-one tool that is sharper.
Force a freshly sharpened five-in-one tool between the subfloor and the sheet vinyl using short, jabbing strokes. As you chisel away the adhesive, peel the sheet vinyl back simultaneously.
If the sheets offer no resistance as you pull, you’re most likely delaminating the vinyl sheet. Check to see if you are, and make sure to remove the entire thing as you chisel and pull to avoid creating a mess.
You can use a heat gun to help you loosen up the adhesive if it is difficult to scrape. Turn it on low, and once it heats up, wave it around the joint between the underlayment and your vinyl flooring.
You can also use it to heat up the top side of the flooring in small sections before pulling it back. Pulling up a loose vinyl flooring in the center is much easier, but it will take some work to rip up the edges.
After using a heat gun to soften the adhesive, you can use a chisel or five-in-one tool to pull the flooring up.
Read: How to fix loose floor tiles
Conclusion
You can remove vinyl flooring without damaging it, but it will take some patience and skills. Avoid cutting the vinyl sheets into small strips in a bid to make them easier to handle; this will make reusing them impossible.
The ultra-durability of vinyl flooring means they can be reused multiple times as long as they are removed carefully each time.