You can use the same laminate plank you use for flooring for walls, provided it’s clean, dry, secure, vertical, and meets all local building requirements. It’s quite easy to install flooring on walls.
Here is how to install laminate flooring vertically on the wall, firstly you have to apply and nail the planks to the wall, make sure the nail does not stick out into the groove, start the next column and finally repeat the installation process till you finish.
As long as the right tools are available to you and you’re well-grounded in the technical aspect, you will be able to create a chic accent wall in no time. So, how to install laminate flooring vertically on the wall.
Before you delve into the project of installing laminate flooring vertically, you need to ensure your installation area is set and is suitable. To ensure the success of your project, you require the appropriate tools and materials.
Tools and Material Needed to Install Laminate Flooring Vertically on the Wall
Table of Contents
Here Are the Tools You Need:
- Caulk gun, Utility knife
- Laser level, Nail gun
- Tape measure
- Table saw or circular saw
- Tapping block
- Pull bar
- Hammer.
And the Materials Needed Are:
- Adhesive caulk
- Brad nails
- Laminate flooring planks
Related: Can You Put Laminate Flooring Over Linoleum?
How to Install Laminate Flooring Vertically on the Wall
Before you start installing, ensure you read the instructions before installation. It is important to know that laminate planks are not meant for the ceiling. Start with a bare wall substrate; it should be dry or painted well dry.
Also, it shouldn’t be installed directly on wallpaper. Wall lamination is suitable for indoor walls with climate control, meaning 35-65% humidity and 60-85 Fahrenheit. Inspecting the wall for visible water stains, moisture, and leaking windows is paramount.
You should not install laminate plank near moisture areas. You should not use it in areas near water sources like a battle slash or battling zinc.
To find out how much flooring you need, multiply the length of your wall with the length of the planks to know the square folded.
Make sure you subtract the area of windows or doors that you will install around.
Do you want to install laminate planks that last for years? You must do under relative humidity wall moisture, and the condition must be maintained.
Measures to Observe When Installing Laminate Flooring Vertically
Ensure you’re working with a clean, vertical surface. We don’t encourage installing laminate on slanted walls or ceilings, and the installation area should always be indoors.
Similarly, we don’t recommend the installation of laminate on a wall that has formerly have experienced moisture damage or in areas where a lot of water can be expected, areas like over a bathtub or as a backsplash.
Ideally, the ancient wall should be of a particular largeness which it mustn’t exceed. We recommend a maximum area of ten inches high and forty inches long.
Ensure the removal of all baseboards. You can always add this all-over once you’re finished. Remove all wallpaper and paneling. The wall is expected to be well primed and painted.
The floor must be leveled since this will tell about the look of the wall, as the plank must be level. If you notice any tilt on the wall, cut along the length of the first column of planks at an angle for an accurate setting.
Discover the wall studs, note their location, and turn off the power to that area. Suppose you’re working around outlets or switches. Once all these are done, you are good to start the project.
Steps to Installing Laminate Flooring on Walls
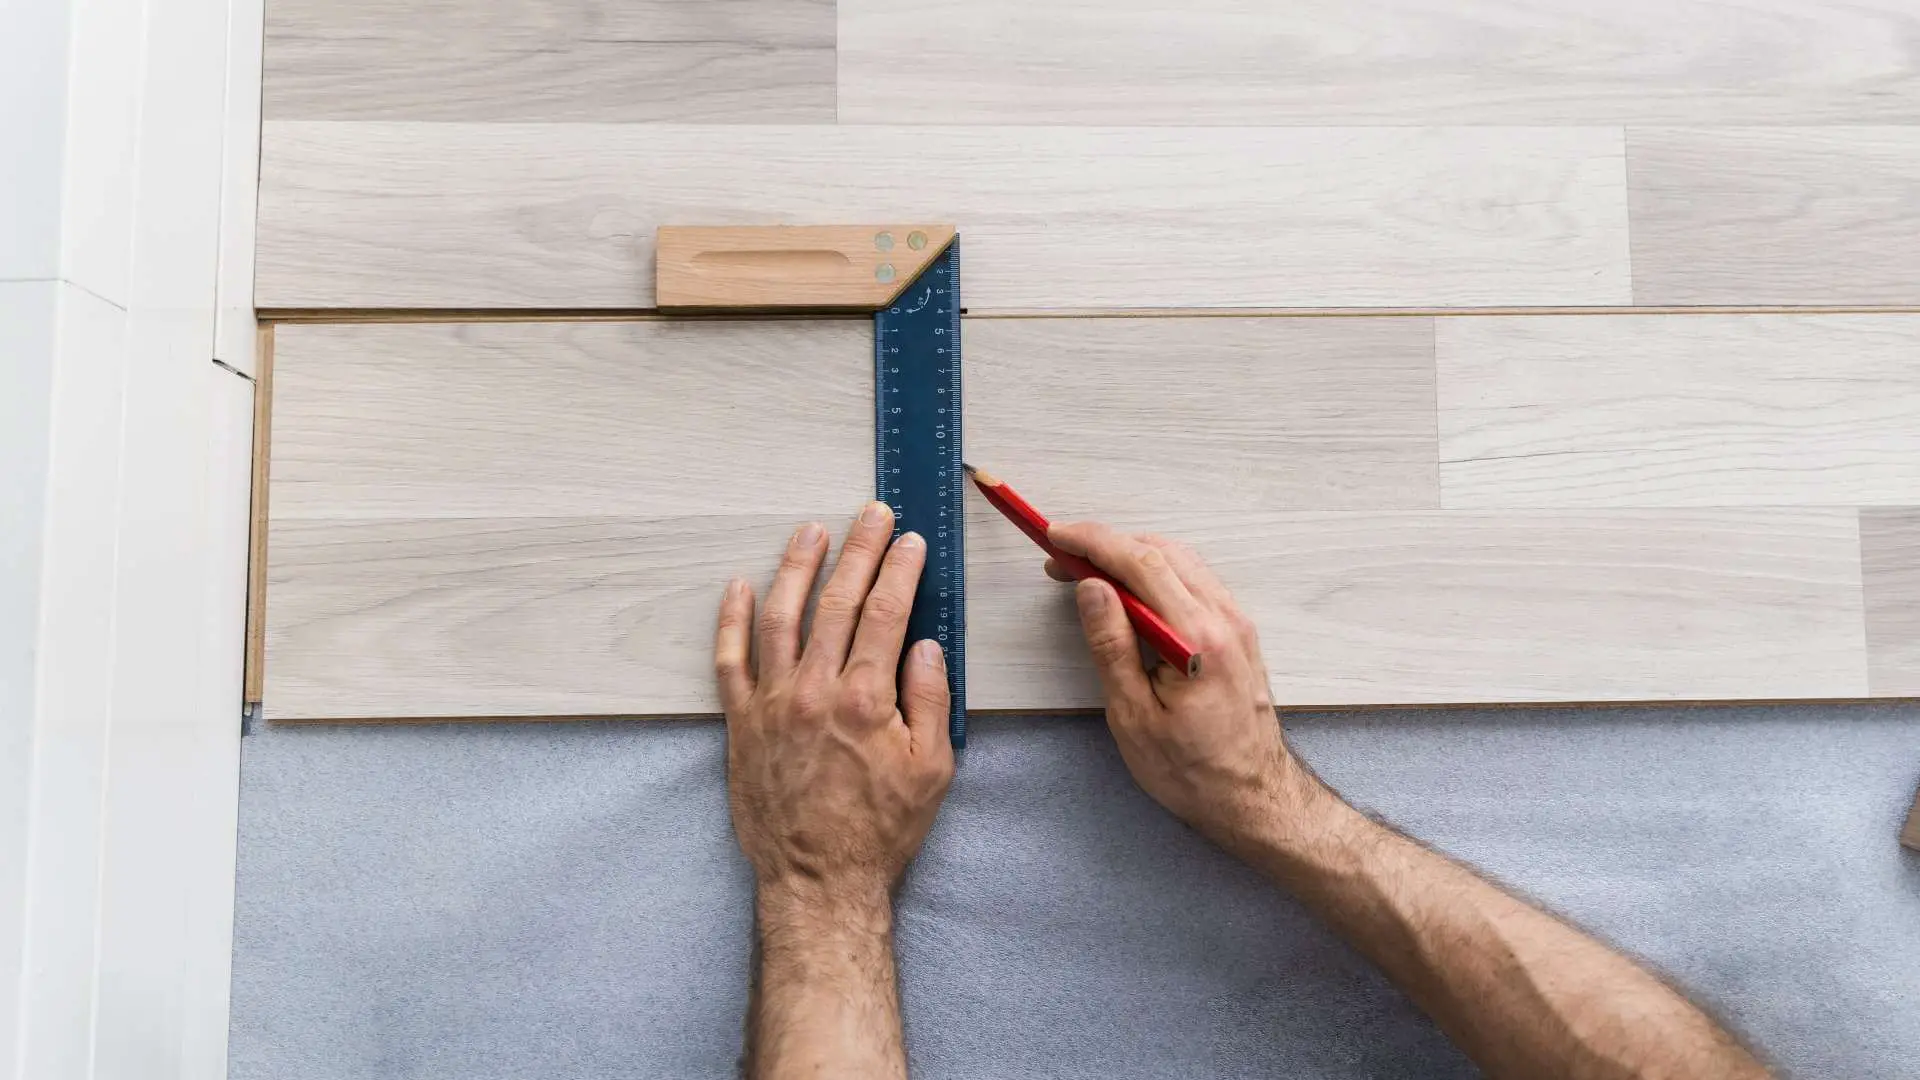
To fasten anything on the wall, you’ve to lay out and connect the planks for the first column and cut the plank to fit, making sure it’s at least six inches wide.
Ensure to account for a 3/16″ expansion space between the planks and the adjacent walls. If the leftover piece of the plank is likewise at least 6″ wide, use it to begin the next columns.
Read: How to Install Laminate Flooring in a RV With Slide Outs
Application of Planks
Apply adhesive caulk to the back of the laminate plank, and be careful to press them against the bottom of the wall, allowing the tongue side to face down.
Letting the tongue side face down makes it easier to tap the planks together and fasten the planks with nails.
Nailing of planks
Very compulsory it is to provide stability for each adhesive to set. For each wall stud, use a nail gun to drive brad nails into the groove of each plank.
Make sure that the nails don’t stick out into the groove, as this disrupts the installation. You can then take time to double-check your first column with the laser level and make any adjustments where necessary. Securing laminate planks with nails is important.
Start the Next Column
After the first column, square off the short edges of each plank by cutting away the tongue with a utility knife, then Connect the Second column with the First.
Carefully join the first and second columns by angling the tongue and groove edges together. If need be, use a hammer and tapping block and ensure there is no space between the planks of each column.
You can use a tapping block or pull bar to ensure this; you then nail them to the wall like you did the first column.
Repeat Installation
For subsequent installation, follow the previous step for each column to keep installing the laminate until you completely cover the accent wall area. You can adopt a stool for higher installation for height support.
Read: Can you Burn Laminate Flooring?
Conclusion
Now that you have completely installed the laminate floors, you can reinstall any trim or moldings you had previously removed and restore power if you turned it off.
We have written this article to help you make informed decisions about installing laminate flooring vertically on the wall.
We hope you found it helpful; if you did, kindly share it across your entire social media platforms.