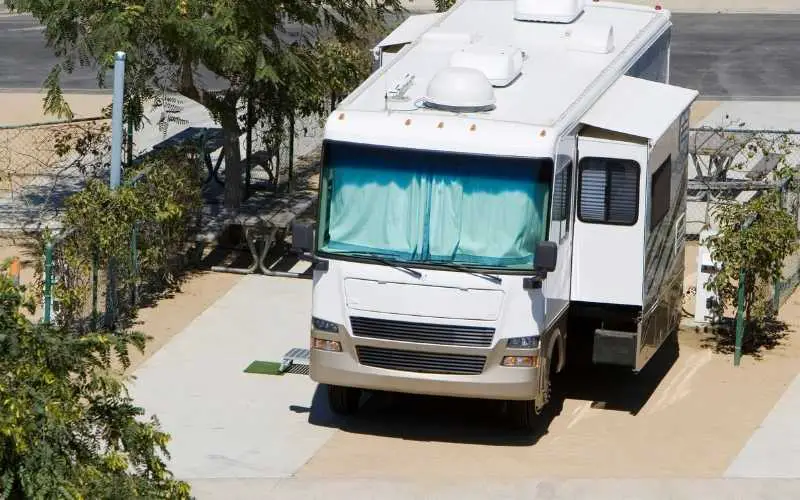
Many people are ditching their traditional homes for RVs, and one way to make this home on wheels look even homier is by installing laminate flooring.
Installing laminate flooring in a RV with slide outs requires the process of cleaning the floor and installing a layer of vapor barrier and underlayment, then installing the second row of laminate and finally returning the base shoe.
Most RVs are built with no intent of future floor replacement. So the factory-installed flooring, which is usually carpet floor, is held down with lots of staples. So prep your fingernails alongside other tools as we learn how to install laminate flooring in a RV with slide outs
Related: How to Fix Laminate Flooring That is Lifting
How to Install Laminate Flooring in a RV With Slide Outs
Table of Contents
There is a reason many RV manufacturers opt for carpet flooring, so before installing laminate in your RV, here are some things to consider:
Some laminate flooring will off-gas certain toxic and foul-smelling gases, and for an RV with tight space and poor ventilation, it could take a while for the smell to go away, and it could be harmful to your health.
When removing the trim around the edge of the laminate floor, you need to do this with care so that you do not accidentally snag and rip the flooring.
Thoroughly access the subfloor for damage and ensure it is in good condition before laying down the new flooring. Look out for signs of water leakage on the subfloor, especially if you have had such occurrences in the past, even if they have been resolved now.
When you install laminate flooring in an RV with slide-out, watch out for the RV slide-out, as it retracts with water still in with it, often leaves puddles on the flooring that can go unnoticed. This can cause staining or even bubbling of the laminate planks.
It is also advised to opt for floating laminate floors if you can, as they do not require any adhesives or fasteners and may change positions with the constantly moving vehicle.
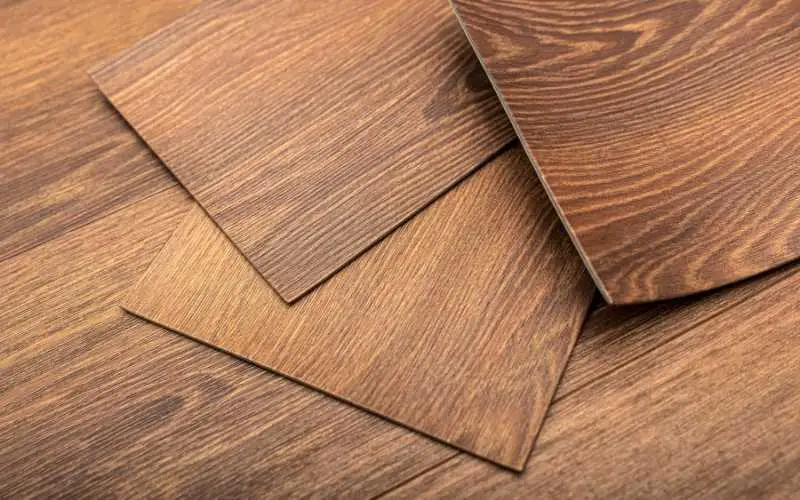
There are a variety of laminate flooring options ranging from wood grain to simulated ceramic tile. With these factors duly noted, you can proceed with the laminate flooring installation in your RV
Prep The Existing Flooring
Before you begin ripping up the old carpet flooring of your RV, put on some protective hand gloves to protect your hands from the staples that are very sharp and could cut your hands easily.
If you have a grinder, you could use that to grind down the staples that were left on the floor. If you don’t have a grinder, a plier or nail puller will work just fine. You may also use a 4-inch scraper with a dull blade to scrape off the staples on the subfloor of the RV.
Most travel trailers have their carpet stapled along the walls, so after pulling up the carpet, you may have to remove the staples along the edge of the wall. If there’s no carpet attached to the staple, you can bang it down with a hammer.
You would also need to pry the base shoe or quarter round away from the bottom of the baseboard, you can use a small, flat pry bar for this, and you can preserve the face of the molding by using the pliers to remove the nails from the back.
Clean the Entire Floor Space
After taking down the previous flooring in the RV as well the staples and glue used to hold it down, vacuum the floor thoroughly to remove all the dirt and debris generated during the flooring removal.
Also, wash down the floor to remove settled dust; this is to make sure you are starting with a completely clean surface; the presence of dust and other impurities can affect the flooring installation.
Read: How to Dry Laminate Flooring with Water Under it
Begin Flooring Installation
First, install a layer of vapor barrier and underlayment. You could use a plastic sheet of vapor barrier followed by a layer of foam underlayment or a combined plastic and foam underlayment.
Install the underlay according to the manufacturer’s instructions. You typically need to roll out the underlay material to cover the floor butt up against each piece before cutting it out with a utility knife to the length of the space.
Start installing the laminate flooring beginning from the longest wall when you have successfully covered the entire floor with underlay.
It is recommended to leave an expansion gap between the flooring and the wall; refer to the product packaging for specific instructions on how to go about the installation process.
Attach the floorboards at their ends and lay the first row using as many full pieces as possible. If the space for the last piece cannot contain a full plank, you can cut it to fit, but remember to leave adequate spacing against the wall.
Install the Second Row of Laminate
Use the cut-off from the first installed row to start the next row and stagger the end joints of the planks between rows.
Install the second row of laminate flooring just like you did with the first, following the installation instructions for specifics.
Most laminate floors have a locking mechanism that holds them together, and to secure them tightly together, it requires a tap from a rubber mallet, or they have a built-in adhesive strip that overlaps and must be pressed down for secure attachment. Cut out the last piece and lay it to fit as for the first row.
Fit in the Flooring Into Unusual Areas
Lay full-width flooring rows as far as you can without altering the layout. Measure the distance from the last full row to the wall and cut out fitting laminate pieces using a table saw or utility knife.
For tight corners and closed-off areas, you would need a template of the odd-shaped or sized areas or other workarounds such as cabinets.
Cut a fitting cardboard template to fit any odd space or tight areas in your RV, then use it as a guideline for cutting the plank. Transfer the outline marking of the cardboard onto a floor plank and cut it out. Do this with a jigsaw or other cutting tool, depending on the flooring.
Return the Base Shoe or Moulding
Once the laminate flooring has been installed completely over the entire floor, you can return the base shoe or quarter-round molding to cover the gap at the edge of the floor.
Secure it in place with a finish nail hammered in place every 12 to 18 inches of molding. Cover the nail holes with the appropriate color of wood filler or painter’s caulk, and you should have a beautifully installed laminate flooring.
Read: How to Get Rid of Fleas on Laminate Flooring
Conclusion
An educative insight on how to install laminate flooring in a RV with slide outs was shared in this article. With a great influx of people adopting the travel lifestyle, RVs are becoming more and more popular.
If you like to give your space a unique touch, a great way to do that is by changing the flooring. Most factory-installed flooring for RVs is carpet; they are held down with too many staples that need to be pulled out before you install your new flooring.