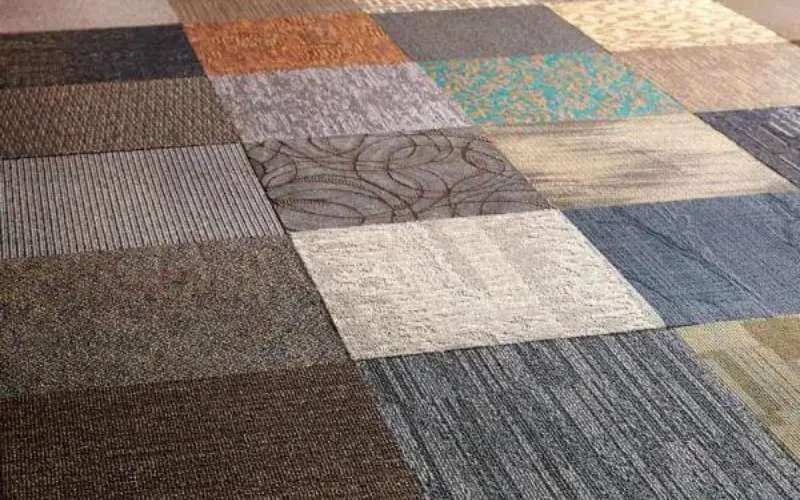
An inexpensive way to completely revamp the look of a room is to install carpet squares. The installation process is very easy and DIY-friendly, unlike wall-to-wall carpet.
Carpet squares are available in two styles: peel-and-stick and full-spread mastic. To install peel-and-stick carpet squares, which happens to be the most popular type, you simply need to remove the protective paper or plastic backing covering the backside to expose the pre-applied adhesive and apply the tile to the floor.
The installation procedure takes a different turn for full-spread tiles; you would need to trowel on a liquid or paste adhesive on the subfloor before placing the tile on the surface and press them down into place. Here’s a detailed process on how to install carpet squares.
How to Install Carpet Squares
Equipment / Tools Needed
- Hammer
- Pry bars
- Floor scraper
- Sander
- Trowel
- Putty knife
- Carpet knife
- Tape measure
- Gloves
- Fans
- Shop vacuum
- Broom
- Mop
- Paint roller
- Metal tray
- Chalk line
Clear out the Area
Start by moving all furniture out of the area to free up the space and prevent obstruction during the installation process.
Uninstall Old Flooring
When the area is cleared out, start removing any old flooring. This exposes the subfloor, which can then be properly prepared.
However, if the existing floor is smooth and flat, you can install the carpet squares directly over the floor. Keep in mind that installing carpet squares over an existing floor, such as ceramic tile, hardwood, or vinyl, may save time but has some downsides.
It runs the risk of preventing the adhesive from bonding securely to the material. Also, if the existing floor has dimensional features such as grout lines or textures, you may be able to feel it through the carpet.
If you decide to remove the existing flooring, note that it can be a fairly labor-intensive job, and the type of flooring determines the exact removal process, but for the most part, you will need a pry bar or floor scraper for separating the flooring pieces from the subfloor and adhesive.
Prepare the Subfloor
After removing the old flooring, you would need to prep the subfloor and ensure it is completely flat. Even relatively minor dips or peaks can be felt underfoot the carpet squares and can pose a tripping hazard.
You can use a concrete patch to even out your concrete subfloor and fill in any cracks, chips, or spalls that may be present on the floor.
For plywood subfloors, you can fill gaps and cracks with wood putty or floor leveler. You can also lightly sand the floor to remove splinters or any uneven areas present on the surface of your wooden subfloor.
Clean the Surface
Once the subfloor is prepped and even, thoroughly clean the entire floor to remove any dirt, debris, or small particles. This helps the carpet squares adhesive to bond better to the floor.
Thoroughly sweep or vacuum the entire area. This is especially important if you used a concrete patch, putty, or sanded your wooden subfloor. You will probably have a lot of small particles that can interfere with the installation process.
Once the floor is completely clean, you can go in with a mop and clear, warm water. You can add a few drops of soap but make sure to rinse the floor with plain water after mopping.
Seal the Subfloor
The next line of action is to seal your subfloor; this is particularly important if it is made from porous material such as concrete or wood, which are very susceptible to water.
Exposure of such subfloor to moisture can cause the growth of mold and mildew, which could cause warping and ultimate damage to your floor.
Apply a quality sealer suitable for your subfloor using a paint roller and a metal tray, or spray it onto the subfloor surface using a water bottle or aerosol can. You may need one or two coatings and allow the sealer to dry for at least an hour.
Dry-Fit the Carpet Squares
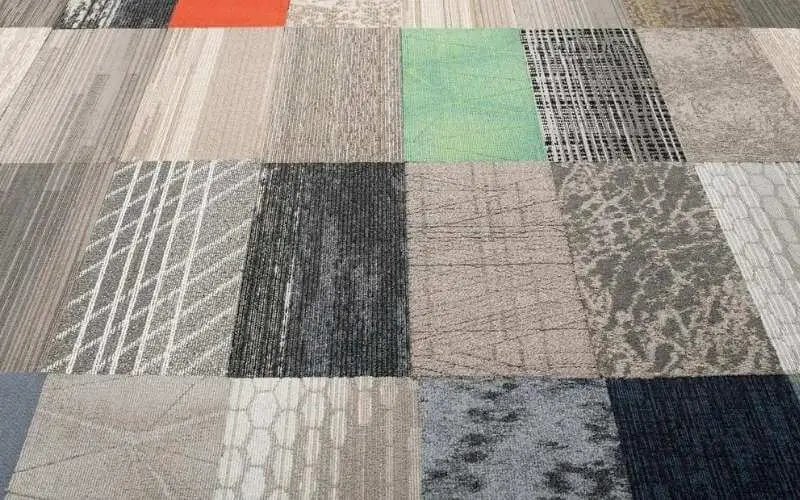
Dry fit the carpet squares first before installation to give you an idea of how the final result will look when the tiles are installed. This is a vital step if the carpet tiles have a pattern, as this enables you to plan out and adjust the layout properly so that you get a well-fitted result.
Install the Carpet Squares
Start the installation process of the carpet squares from the middle of the room and work toward the walls.
Some carpet squares have arrow stickers that indicate the recommended orientation; adhering to these guidelines will help you to achieve the most pleasing result, but you can also think out of the box and get creative with the carpet tiles to create a unique result.
Start the application from the center point of the room. If you are using peel-and-stick tiles, simply remove the backing sheet or apply adhesive to one quadrant of your full-spread tiles and press it into place on the floor; ensure to align it with both guidelines. Install the rest of the tiles similarly, to the wall.
For the second row, return to the CenterPoint and ensure the tiles are butted up to the first row. Secure the butt seams properly and leave no gaps.
Repeat these steps with each quadrant until you have completely installed the tiles over the entire room. If there’s a perimeter area left uncovered, you will need to cut carpet squares to cover up such an area.
Make needed Cuts on the Carpet Squares
You will need to cut the carpet tiles to fit in for tight and closed-off areas like the room edges, corners, door frames, and features such as pipes, corners, and cabinets.
Carpet tiles are quite tough, so you’ll need a quality carpet knife or utility knife with a sharp blade to help you cut through easily.
Read: How to get rid of new carpet smell
Frequently Asked Questions (FAQ)
Do Carpet Tiles Need To Be Glued Down?
No, not all carpet tiles need to be glued down; some have a seal and stick system covered by a layer that is peeled off before pressing the tile to the floor.
However, for carpet squares without adhesive backing, you will need carpet tile glue and spread it on the back of each tile. You can further secure carpet tiles with a seal and stick system by applying double-sided tape; this will stop the tiles from moving when fitting.
What Do You Lay Under Carpet Tiles?
Carpet tiles usually have attached underlay, which means no additional underlay is required.
But for areas that receive high footfall or are very noisy, you can attach an acoustic underlay before installing the carpet tiles. This will help to keep the noise level in check.
You may also need an insulating underlay for carpet tiles that are laid over underfloor heating systems. Ensure to seek professional advice from carpet fitters to help you decide the best underlay for underfloor heating.
Can You Vacuum Carpet Tiles?
Yes, you can vacuum carpet tiles; in fact, vacuuming is very essential in keeping your carpet tiles in prime conditions. Vacuum your carpet tiles regularly, at least once a week, and more often, depending on foot traffic.
If your carpet tiles serve as a rug over a hard surface flooring, it may need more frequent vacuuming than traditional carpet because much of the dirt tracked into your home will be collected in the soft surfaces of the carpet tiles.
Related: How to clean an area rug on hardwood
Conclusion
You might be searching for a tutorial on how to install carpet squares; this inexpensive flooring is a great way to revamp a space without breaking the bank.
You would need to prep your subfloor after uninstalling the old flooring beforehand, after which you can go ahead and glue down the carpet tiles according to the desired pattern.
You may need to make a few cuts to fit the tiles around certain areas, and your room’s look should be a whole lot better and beautiful than it was before.