
Even the very best of wood floors are subject to damage. Hardwood flooring, by its name, sounds like it should be really hard.
But, compared to other materials like tile, stone, and laminate, it is relatively soft and prone to damage such as scratches, gouges, and discoloration. Unfortunately, surface scratches and gouges are the inevitable result of daily wear and tear.
To fix gouges in hardwood floors, you can place a damp towel over the dent and send a burst of steam into the wood using an iron. Alternatively, using a filler to fill the gouge is yet another effective method.
Over time, a hardwood floor is likely to get scratched, nicked, or even gouged. Here are detailed techniques on how to fix gouges in hardwood floors as well as some tips to avoid them from happening.
How to Fix Gouges in Hardwood Floors
Table of Contents
Using a Towel and Pressing Iron
Dampen a corner of a clean towel (not the whole thing because you don’t want to drip all over the wood).
Place the damp towel over the dent and use the tip of the iron over the cloth to send a little burst of steam into the wood. You might need to do this a few times. The dent might not come off completely, but it generally will become far less noticeable.
Using a Wood Filler
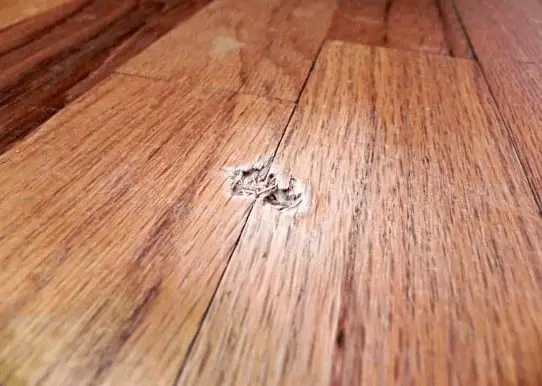
When a wood floor gets gouged hard enough to break the wood fibers, the pressing iron approach won’t work. You need to fill the wound with some wood filler.
You’ll find different types of fillers staring at you at a paint store or in the paint section of a hardware store or home center. Some fillers, such as DAPs plastic fillers, are usually used to fill holes on projects before a final finish goes on.
Patches harden once they are dried, which means you can sand them level with the surrounding wood, apply stain (if needed) and then coat the whole surface with a finish for an unblemished look.
The main advantage of using solvent fillers is that they dry faster, meaning the sanding step can begin sooner.
But if you are trying to repair a wood floor that has already been stained and finished, be aware that the color won’t necessarily come out the same, whether you buy filler that has already mixed in color or buy neutral-color filler and tint it yourself with your leftover stain.
Plus, you do not really want to sand the filler level with the floor; that would just create a bigger area that you need to repair.
A different type of filler is designed for use on projects that already have finish. Sold in jars or tins as putty or in crayon-like sticks or fat-lead pencils, these fillers never really dry.
They have a very waxy consistency, so you can easily push the material into a hole and rub off the excess with a soft cloth. Examples include DAP plastic putty and DAP blending stick.
These products usually won’t absorb stain, but you can blend the pre-mixed colors to create a custom shade. There’s a little bit of a shine on the filler, so you don’t need to add finish (and it probably wouldn’t stick, anyway).
The putty or repair sticks are also a great technique to use on a floor, mostly because it’s easier to repair the one spot you’re targeting without damaging the surrounding wood and its finish.
But the bigger the patch, the more noticeable it will be if you simply fill the hole with colored patch material, even if you really work at blending colors to get the closest color match as possible.
That’s because a single color can’t match the color variations in natural wood, thanks to the annual growth rings and other features that grew into the wood when the tree was alive.
An Oak, which is probably the type of wood in your parquet floor, has alternating bands of light- and dark-colored wood, plus very thin, dark brown streaks running vertically in each board. These streaks are called rays.
Re-creating these color shade variations in a patch goes a long way toward making it invisible. Marker pens work great for this.
Try getting a repair kit that includes a few blending sticks plus a few markers, which are also useful for touching up scratches. To add beautiful details, such as the rays in oak, get a brown permanent marker with an ultrafine tip.
How to Take Care of your Hardwood Floor
Whether from children or pets, boots, or rolling furniture, unprotected wood floors are virtually certain to get scratched.
If you’re committed to keeping your hardwoods in tip-top shape and you don’t want to look for how to fix gouges in hardwood floors in the future, consider the following tried-and-true technique of safeguarding wood against the most common threats to its flawlessness:
1. Place fiber doormats near all exterior doors, as tracked-in dirt and grit are the enemies of beautiful, pristine hardwood floors.
2. Encourage friends and family to remove their slippers and shoes upon entering the house—especially women in high heels!
3. Sweep or vacuum regularly in order to contain any dirt or grit that manages to sneak in despite your best attempts at barring its entry.
4. If you are going to move furniture across a wood floor, always place felt protective pads under its legs (or use a piece of leftover carpeting, soft side down).
5. prevent large-sized pets from entering all rooms with hardwood flooring, and always keep their nails neatly trimmed.
Conclusion
If a scratch has penetrated the floor deep enough to expose bare wood, there’s a low-effort way to conceal the imperfection: Simply fill it in with a stain that matches the floor color.
Blending pencils and stain markers are commonly available in a range of tones; check your local hardware stores or home improvement retail chain store.
But traditional wood stain works equally well. Apply it using a small brush or even a cotton swab—just be sure to wipe away any excess before it has the chance to dry.
To fix a deep, wide gouge, opt for a pre-colored latex wood filler, one that closely matches the color of your hardwood.
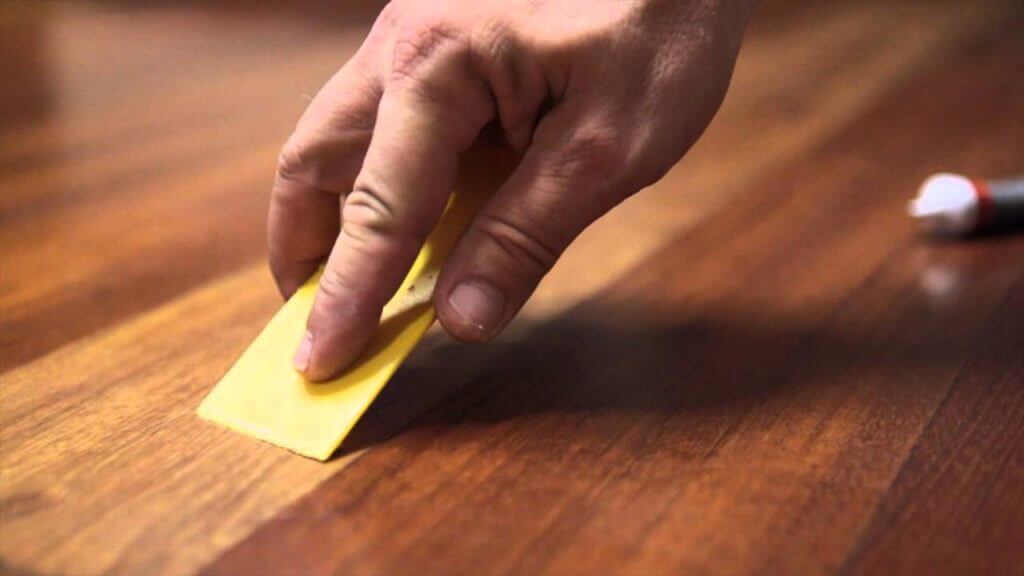
Apply the filler using a plastic putty knife, which is the tool least likely to cause any further damage to the floor.
Once the filler has air-dried properly, then use fine-grit sandpaper to level the surface so that no difference in elevation exists between the patch and its surrounding area, lastly, coat varnish (thinned with 10 or 20 percent turpentine) over the repair.
And that concludes our sure but very well tested technique on how to fix gouges in hardwood floors.