Why are hardwood floorings still popular among most homeowners even with the introduction of different types of floorings? Well, for one, hardwood is unique among flooring materials, and of course, It is a beauty to behold when especially when it’s brand new.
If you fall into the categories of these homeowners, then you should be interested in how to distress hardwood floors. It’s the act of giving hardwood floors that wore an antiqued appearance
Distressing hardwood floors involves basic steps which includes sanding, vacuuming, painting, scuffing, staining and finally sealing. You will need to scrape at the surface with special wire brushes or use 100-grit sandpaper to sand the surface before sealing.
Read: How to refinish distress hardwood floors
How to Distress Hardwood Floors
Table of Contents
Below is a step-to-step procedure on how to distress hardwood floors. Let’s get started, shall we?
Step 1: Know Your Wood Flooring
Note that not all hardwood flooring can be distressed easily. Woods like pine, oak, and some bamboos distress more easily.
In contrast, very dense woods like maple and certain exotics will be a bit more difficult to distress and may not finish with a truly authentic look. Knowing your wood flooring will help you understand the process cut out for you.
Related: Pros and cons of cork flooring
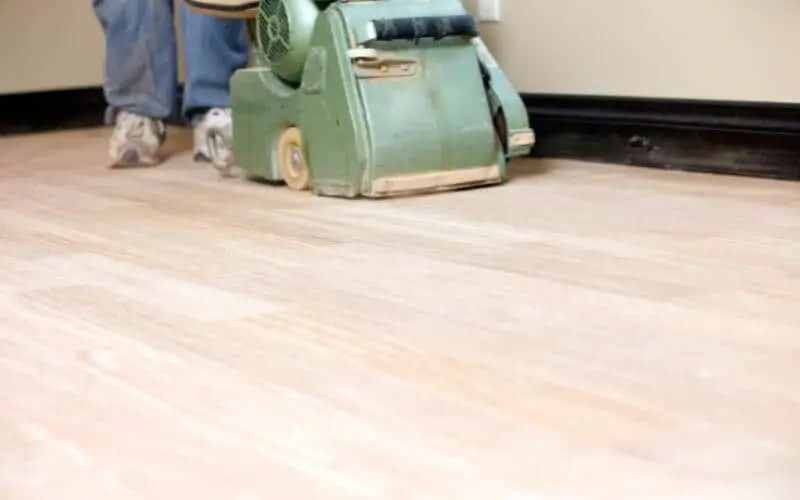
Step 2: Sand
Sanding is necessary whether you are distressing a new floor or an old one. Sanding helps to smooth out surface imperfections and also prepares the surface to accept the paint better.
A 100-grit sandpaper or 80-grit screen should be used to sand the entire surface thoroughly.
Read: dangers of sanding wood floor
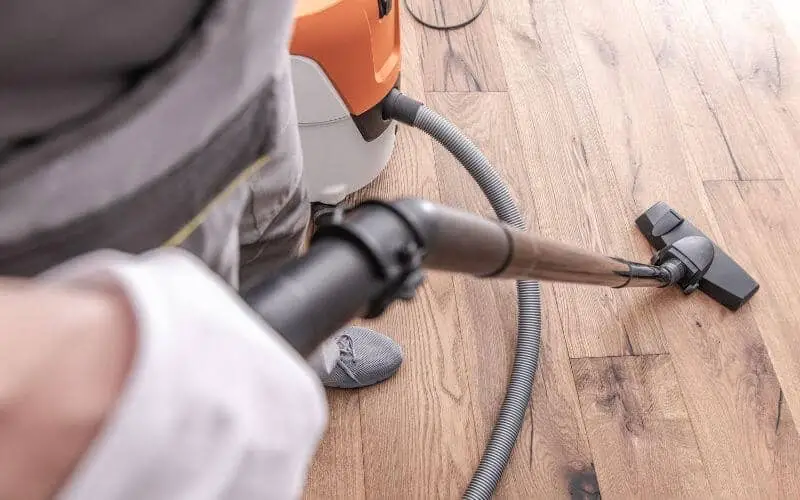
Step 3: Vacuum
You need to make sure that you thoroughly vacuum up any dust to have a completely clean floor with no debris. You don’t want debris interfering with the flow of your work.
Step 4: Paint
You are gradually getting to the fun part of this project. A good enamel paint like Sherwin Williams ProClassic Acrylic-Alkyd paint is best recommended for hardwood floors.
Alternatively, you can opt for oil-based paint, provided you stay away from flat or matte sheens. These sheens don’t handle traffic as well as satin, semi-gloss, or high gloss. Note that the paints need at least 24 hours to dry before moving on to the next stage.
Step 5: Scuff Sand
Another fun part of this project is scuffing the sand once the paint has dried. Use a belt sander strapped on some 80-grit sandpaper to scuff the sand. To make the scuffing look natural, you should sand with the grain (not against it or diagonally to it).
Once you’re done sanding, just like step 3, you need to vacuum again thoroughly. You need the floor to be completely clean before the next step.
Step 6: Stain
You are gradually getting to the end of your project. Now that the floors are all scuffed up, you can go ahead to the age and vintage look you crave for.
Before getting into staining, you need to make sure your floor is completely free of debris. Now is a good time to give that floor a second vacuuming.
Get a high-quality stain like Minwax Dark Walnut, then use a cotton rag to wipe the stain in the direction of the wood. Work in manageable sections, so the stain doesn’t dry on you.
Once you’re done, you will notice that the wood has a nice antique cream color. To move on to the next step, you need to allow the stain to dry completely for a day or two.
Step 7: Seal
You’re gradually coming to the last stage of your project. After the stain has dried, it’s time to seal and protect your weal. There are many types of sealants based like poly-acrylic, lacquer, or paste wax-based sealants.
Choose the best sealants for your wood. The Minwax Paste Finishing Wax is a good option because the process is so simple. Use a brush to apply the first layer of sealant, then dry before applying more 2-3 coats of sealants.
You should probably avoid oil-based polyurethane because it will change the color of the floors by adding a slightly amber tint to everything.
How to Make Hardwood Floors Look Rustic
To make your hardwood floor look rustic, you will need to sand it first before painting, then scuff the sand, re-stain before sealing.
From the explanation in the first part of this post, you should understand that distressing hardwood floors are the same as giving them a rustic look.
Read: How do I know if my hardwood floors are sealed
Frequently Asked Questions
Can you Distress Existing Hardwood Floors?
Yes, you can distress any type of hardwood floor, both new and existing ones. Note that some hardwoods are easier to distress than others.
For instance, while woods like pine, oak, and some bamboos distress easier to distress, very dense woods like maple and certain exotics will be a bit more difficult to distress and may not finish with a truly authentic look.
How do you Make Floor Boards Look Old?
Wire brushing is also an effective way to make floorboards look old. To get started. Place the wire brush at an angle on the board and run it with the grain. This process will dig out the softer wood between the grain and give the surface more texture.
Read: How to clean old hardwood floor
Conclusion
We’ve made the tips on how to distress hardwood floors look like an fun project. Of course, the whole process of distressing wood floors might take roughly a week to complete. This is because it involves staining and sealing, which might take time to dry.