Even if you haven’t had time to sweep and mop, high-gloss ceramic tile maintains its gleaming texture permanently, giving your floor a gleaming, clean appearance.
Unfortunately, if you wish to paint over your tile, the slick glaze will make it difficult to do so because paint does not adhere well to high-gloss surfaces, and ceramic tile cannot be sanded.
Acid etching your concrete or ceramic tile floor is the best tip on how to degloss ceramic tiles and help you get the rough, matte surface you prefer, whether you plan to paint over it or want to remove the sheen.
Continue reading this piece if you want to know the 9 easy steps of how to degloss ceramic tiles.
Related: Does Ceramic Tile Need To Be Sealed? 3 Reasons why you Shouldn’t
Steps on How to Degloss Ceramic Tiles
Table of Contents
- 1 Steps on How to Degloss Ceramic Tiles
- 2 Roughing Up Glazed Tile
- 2.1 1) Wear Thin, Waterproof Gloves to Protect Your Hands
- 2.2 2) Layout the Tiles
- 2.3 3) Silicon Carbide Paper Should Be Prepared Ahead of Time
- 2.4 4) Silicon Carbide Paper Should Be Dampened
- 2.5 5) Begin Sanding the Tiles
- 2.6 6) Keep an Eye on the Tile as You Work
- 2.7 7) If Necessary, Replace the Sanding Paper
- 2.8 8) Wash Sanded Tiles
- 2.9 9) If Necessary, Repeat the Procedure
- 3 Conclusion
Step 1
Allow the tiles to dry after sweeping and mopping them. Contaminants on the ceramic tiles can cause the acid to react unevenly, resulting in unevenly etched tile.
Step 2
Set aside a neutralizing agent of 1 bicarbonate of soda and 5 liters of water.
Step 3
Protective gloves, eyewear, and a breathing mask should all be worn.
If the acid used to eat through flooring comes into contact with your skin, it can cause serious harm.
Before starting the process, open any windows or doors that lead to the outside. Because acid fumes are harmful, proper ventilation is needed.
Step 4
If you’re employing a liquid solution instead of an acid-etch powder, dilute the acid.
The dilution ratio varies based on the acid; however, the typical dilution ratio is ten parts water to one part acid for muriatic acid.
Step 5
Wet the ceramic tile. Spread the acid solution evenly over the area you want to etch.
Bubbling shows that the acid solution eats away at the tile’s top surface, dulling the shiny appearance.
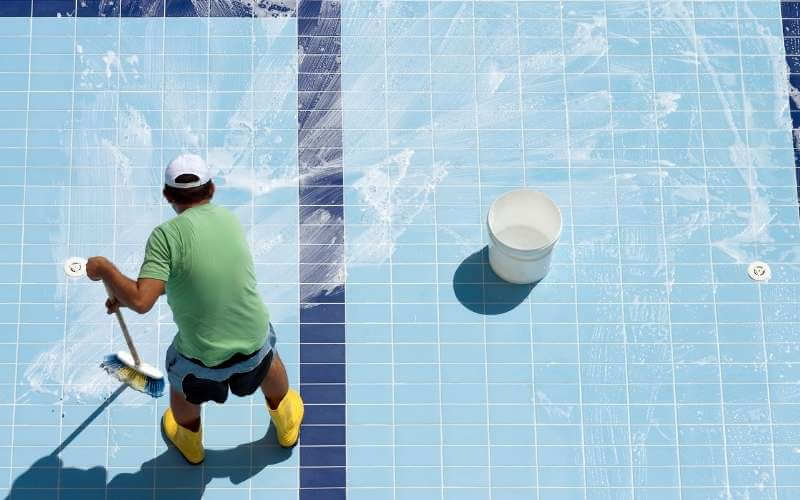
Step 6
Scrub the floor with a stiff-bristled brush, pushing the acid solution into the tile’s grooves. The time frame may vary; however, it should not exceed 10 minutes.
Step 7
Using baking soda neutralizing agent, spray your work area. After you rinse the acid off the floor, this neutralizes it, preventing it from hurting other surfaces or causing injury.
Step 8
Endeavor to rinse the floor adequately and scrub the affected area with a clean, stiff-bristled brush to eradicate all acid residue.
Step 9
Using a wet/dry vacuum, remove the neutralized acid and water. Fill a plastic container with the acid and water mixture and dispose of it at a hazardous waste disposal site.
Small areas of your floor should be acid-etched. This keeps the acid from drying out and allows you to take breaks whenever needed without worrying about the acid drying out on your tile.
Before beginning the project on a bigger scale, acid-etch a tiny, inconspicuous part of your ceramic tile to check that you like the results.
When acid-etching an entire floor, you’ll probably need many batches of a neutralizing agent. Depending on the size of the floor you’re working with, you’ll require a different amount.
If a single round of acid-etching isn’t enough to reduce your tile’s sheen to your preference, repeat the process to de gloss ceramic tiles.
Read: How to Remove Ceramic Floor Tile From Plywood
Roughing Up Glazed Tile
A tile’s glaze has two purposes, it creates a beautiful glossy finish, and it protects the tile from water, grime, and damage.
While this is good news in most cases, it is terrible if the tiles need to be coated.
Sanding tile is necessary because the smooth finish that repels moisture and prevents dirt from clinging to the surface also inhibits paint from adhering.
The surfaces of glazed tiles must be roughed up before painting to create a scratched, pitted, and porous surface to which paint can attach. These are the steps to roughing up glazed tiles.
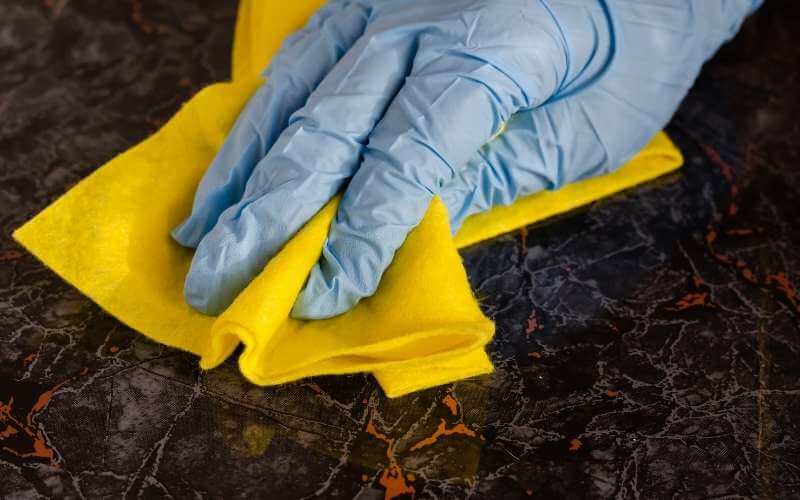
1) Wear Thin, Waterproof Gloves to Protect Your Hands
If you don’t wear gloves, the combination of water, silicon carbide, and powdered glaze used in this technique can peel the outer layer of your skin, temporarily eliminating your fingerprints.
2) Layout the Tiles
Before beginning the roughing process, it is recommended to clean the tiles with an industrial cleaner and a sponge if necessary.
Before roughing them up, rinse them with water and dry them thoroughly.
3) Silicon Carbide Paper Should Be Prepared Ahead of Time
Cut or tear a strip of 220-grit silicon carbide paper from the purchased sheet. The final sheet should be just big enough to grip comfortably.
4) Silicon Carbide Paper Should Be Dampened
To saturate the surface of the hand-sized sheet of silicon carbide paper, dip it into a bucket of water.
To avoid clogging during the roughing-up process, it must be liberally coated in water.
5) Begin Sanding the Tiles
Working in small circles all over the tile surface, rub the silicon carbide paper softly across the surface.
To roughen up the sloping edges, rub the paper across the edges of the tiles in linear strokes. Don’t be too aggressive while roughing up the surfaces; instead, be delicate.
Pushing hard on the paper soon wears it out and has little effect on damaging the tile surfaces.
6) Keep an Eye on the Tile as You Work
Check the silicon carbide paper’s face regularly. If it becomes dry or clogged with debris, submerge it in a pail of water, wash it away, and repeat sanding.
7) If Necessary, Replace the Sanding Paper
When the silicon carbide paper stops working, replace it. Continue until you’ve treated all of the tiles.
8) Wash Sanded Tiles
To remove all traces of powdered glaze, wash the tiles in a mixture of warm water and household detergent.
9) If Necessary, Repeat the Procedure
After the tiles have been cleaned, re-treat any still visibly shiny.
Read: What Kind Of Paint Do You Use On Ceramic Tile Floors?
Conclusion
When it comes to deglossing your tile, either concrete or ceramic tile floor, acid etching is your best bet. This would help you get the rough, matte surface you need, either for repainting or removing the sheen.
The article explains in detail how to degloss ceramic tiles and the steps to take to achieve this to give you your desired result.
We hope you found it helpful; if you did, kindly share it across your entire social media pages.