When fitting tiles, knowing how to apply tile adhesive properly enables you to achieve a clean and professional finish, you also need to work out how much adhesive you’ll need so you before mixing and applying.
Tiling your bathroom or kitchen walls is an intermediate DIY task and is something you can do yourself. You, however, need to make adequate preparations and prepare the surface about to be tiled as well; here’s a step-by-step guide on how to apply tile adhesive.
Read: Does ceramic tile need to be sealed?
How to Apply Tile Adhesive
Items you’ll need:
- Bucket
- Adhesive
- Mixing paddle
- Notched trowel
- Protective equipment (eyewear, facemask, gloves)
- Spacers
- Water
Directions:
For ready-mixed adhesive, you won’t need a bucket, mixing paddle, or water. At average speed, it should take you about 15–30 minutes to cover each square meter. Before you mix the adhesive, ensure to prepare the surfaces for tiling.
Refer to the manufacturer’s instructions on the tile adhesive packaging to find out the types of tile it can be used with and how much water to add when mixing.
You can skip these steps if using ready-mixed adhesive.
- Start by filling a bucket with the required amount of water before adding the powder.
- Before handling tile adhesive, ensure you wear appropriate protective clothing, like gloves, eyewear, and a face mask. The cement-based powder can sometimes cause irritation.
- Add the adhesive into the bucket of water and stir, ensuring you reach into the sides and base of the bucket. Using a mixing paddle will get the job done better.
- Mix the adhesive until it becomes a smooth consistency with no more powder or lumps. You can now begin the application process of the adhesive to your walls.
- Work in small sections at a time as tile adhesive can set quickly when applied onto the wall. Working in small sections will prevent the wastage of too much mixture.
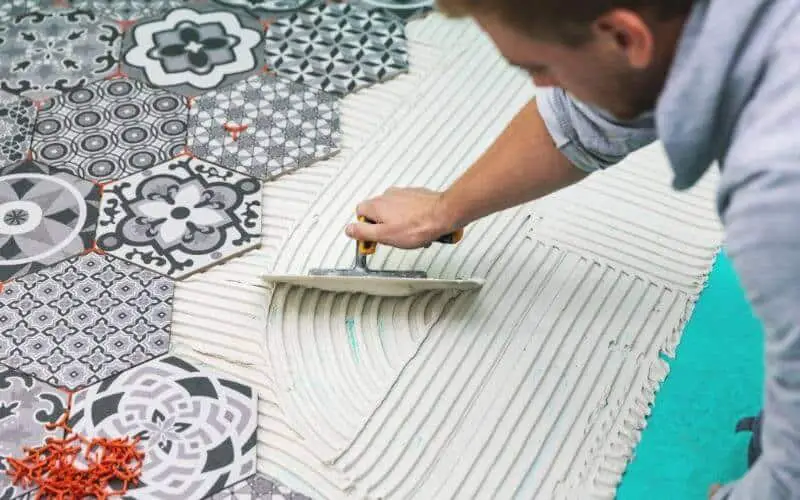
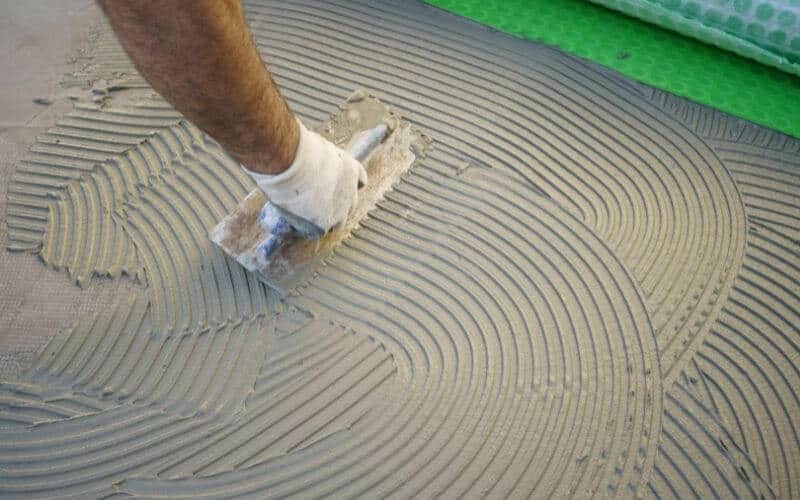
- Create channels using a notched trowel; these give the adhesive a texture that ensures more grip.
- Push your tile into the adhesive and slightly twist to secure it onto the wall and remove any air bubble present between the tile and wall surface.
- Repeat this with the rest of the tiles, using spacers to separate the tiles as you work your way forward.
Once you install the tiles on the entire surface, allow the adhesive to set, the drying times are usually stated in the manufacturer’s instructions, so find how long you would need to wait before grouting the tiles.
If you have followed the above steps to the letter, you should have correctly applied tile adhesive and well-installed tile flooring.
Read: How to remove tile adhesive
How Much Tile Adhesive Do You Need?
To know how much tile adhesive you would need to install your tiles, start by calculating the total area being tiled in meters square; with this measurement, you can calculate how much tile adhesive you need.
The approximate coverage of your adhesive also determines how much product you need. You can usually get this information from the product’s website.
Add an extra 10% to the determined figure of needed adhesive to account for any spillages or mishaps.
Read: What is the best tile for a shower
Conclusion
Having known the basic tips on how to apply tile adhesive, applying one isn’t a very difficult task; you only need to follow certain laid-down rules in order to achieve well-installed tile flooring.