There are different elemental factors like dry rot and termites that can compromise the structural integrity of your foundation joists, when you notice this compromise and the joist is still intact, you can simply place a new joist alongside construction adhesive and lag bolts.
When the joist has completely lost its structural support, it has to be removed and replaced. If you are wondering how difficult is it to replace floor joists, but the right answer can only be given by the person undertaking the job.
If you want to know how difficult it is to replace floor joists, then here we go.
Replacing floor joist involves shoring up the floor, to finding the replacement joist, detaching and prying the old joist, then installing the new joist. Replacing a floor joist requires protective gear, some experience with carpentry tools, and the ability to work in a limited space area where your movement is restricted.
How To Tell If You Have Joist Problems
Table of Contents
There are different signs of a joist problem but the easiest way to tell is by simply walking across the floor. If when walking across the floor you can feel one area of the floor sagging or even bowing upward, then it could be a joist problem.
If you find it hard to determine if the floor dips or bows, you can set a marble or a small ball on the floor near one corner of the room, If the floor dips, the ball should roll to the lower area but If you suspect the floor bows, place the ball in the suspected high spot and see if it rolls away.
Carry out this test from different areas of the room and even in adjacent rooms for comparison to make sure the results are accurate.
This test works best on some particular type of floor surfaces like wood and smooth floors, but it might be hard for the ball or marble to roll through thick carpet.
In this case, you can make use of a carpenter’s level set and place it on the floor in various locations to help indicate whether the floor is completely flat.
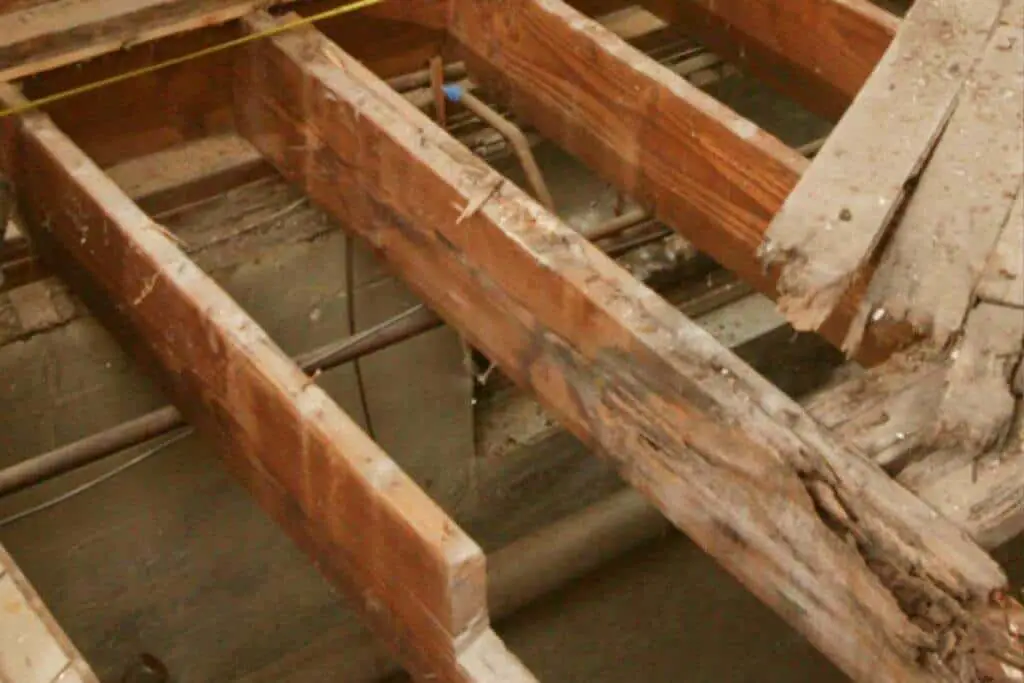
There are severe causes of a compromised joist and they include Severe termite problems, fire, or flooding incidents.
If you just faced any of such situation, try to inspect the joists even if there seems to be no problem and the floor above them seems level and undamaged.
Inspecting Your Joists For Issues
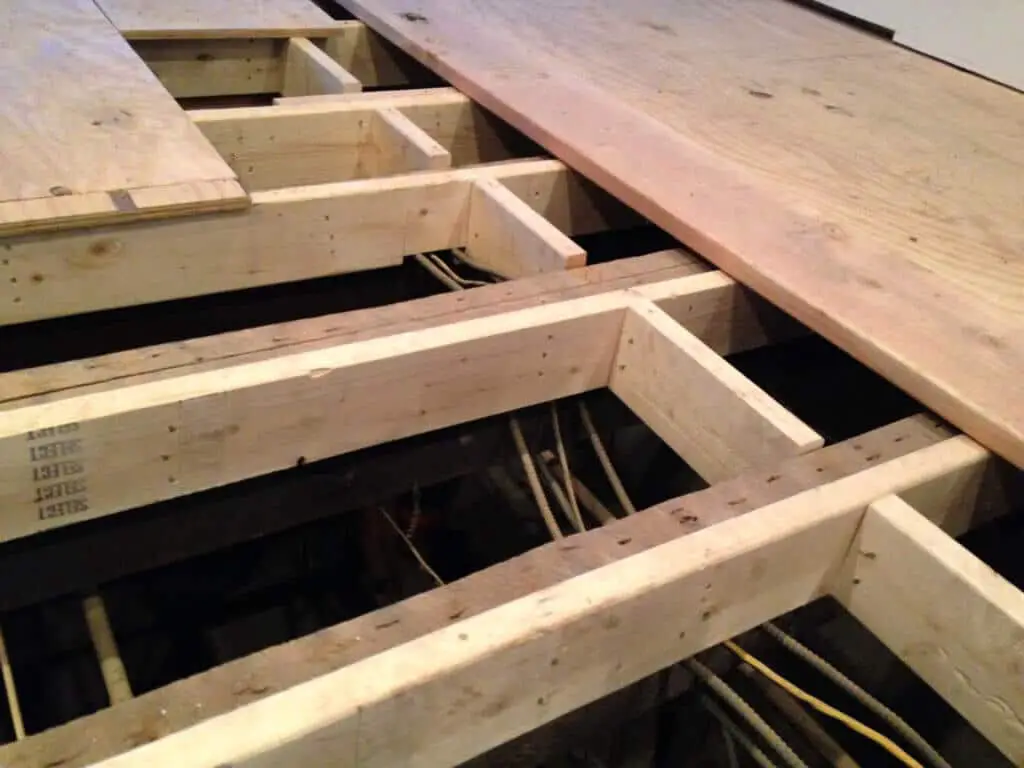
To determine if the floor joist needs to be replaced or repaired you just need to take a good look at it. To see the joists without having to rip up the floor, you may need to access them through a crawlspace or an unfinished basement.
Check the floor joists beneath the area where you noticed the sagging or bowing of the floor for any signs of damage. Issues like Severe water damage, insect damage, rot, twisting, and splintering are all great indicators that a floor joist should be replaced.
Also cause of a floor joist losing its structural integrity is If the joist has been cut or drilled improperly to run wires, pipes, or ducts beneath the floor.
If you can seem to determine if you need to replace or repair the affected joist, you can seek the opinion of a carpenter experienced in joist projects and have them look at the situation. This may cost you anywhere around $100 for the assessment.
If you think that the problem is arising from multiple joists or you feel that there might be a problem with the foundation, you can hire a structural engineer instead. They will be able to catch issues that you would be able to like rotten joists, faulty support beams, or foundation issues.
To get an engineer’s opinion you may spend about ut $300 to $700 for the assessment, or approximately $100 to $150 per hour.
Read: How to dry water under wood floor
Shoring Up The Floor
If the floor sags or the problem joist spans across the entire room, you can carry out a temporary fix by bolstering the floor with a temporary beam and a jack post.
If you hired the services of a structural engineer they may recommend two jack posts set equidistant across the span of the sag. This will provide more support for the floor before you try to remove or replace the bad joist.
If you have no technical expertise about how to go about fixing this, it is best you, contact a professional instead of trying to fix it yourself which can cause additional structural damage to your home because cranking up the jack posts too high too fast could cause cracks and stress on the entire home structure.
On average, you shouldn’t raise your floor more than 1/4 inch per month to avoid structural problems.
if you have some carpentry expertise you can go ahead and give the joist a temporary fix. Simply attach two 2x4s together that are long enough to span several joists using a nail, including the damaged one.
Attach these to the bottom of the joists spanning the damaged one in the area where you intend to place the post jack.
Next, insert a post jack underneath the new 2x4s that is placed on top of a thick wood scrap that is large enough to support the jack. The wood used in this project should be handled according to the manufacturer’s recommendations.
Turn the handle on the jack in the right direction that is usually indicated by the manufacturer in order to increase the jack’s height slightly. Continue turning it slowly to increase its height till it can’t be wiggled free.
As stated earlier you do not want to Increase the height anymore than 1/4 inch to raise the sagging floor slightly.
You can continue repeating this process every month, raising the floor 1/4 inch or less until the floor is level. And Once it is level, you can go ahead and replace the faulty joist.
Read: How to fix floor Buckling
Replacing a Joist
Find A Replacement Joist
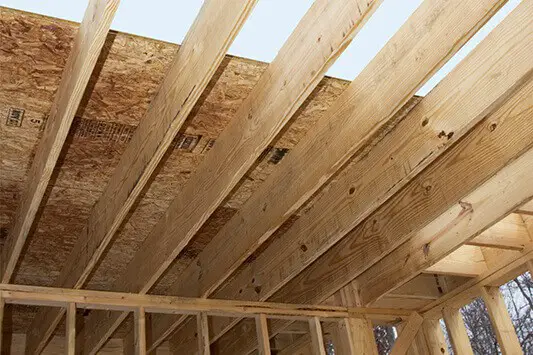
To replace a faulty joist you have to find a replacement that is the same size as your floor joist. To get the measurements of the joist Use a tape measure to measure the height, length, and width, of the existing floor joist and use these measurements to Find a new floor joist.
When purchasing a new joist you need to Make sure it is the same type of joist. That is if your previous floor joist is an I-joist, get an I-joist for the replacement.
If you are unsure of the type of joist you have, you can take pictures of the one you own from several angles and show the photos to an employee at your local home improvement store.
If you have An I-joist, you can tell by checking its parts as it consists of 3 parts: which is a horizontal piece of lumber on the top, a central web in the center, and an identical piece of lumber on the bottom, and it is usually made from plywood.
Use a circular saw to Cut out the plywood web if your joist is an I-joist and detach the web from the top flange. This will allow you to remove the top flange of the subfloor easily.
Before engaging in this process make sure to wear protective eyewear to protect flying sawdust and woodchips from entering your eyes.
You also need to wear a dust mask in order to protect your throat and lungs from wood dust.
After cutting the web away from the top flange, try to place it in an area where it won’t be underfoot.
Read: How to repair swollen laminate floor
Detach the floor joist
Use a reciprocating saw to cut pieces of the floor joist from any walls or wires it’s nailed to with a saw and If the saw doesn’t work on its own, you can make use a hammer or crowbar to pry the joist away.
Always wear protective eyewear whenever you are handling an electric saw. And also ensure to insert a wood-cutting blade into your reciprocating saw before using it to cut wood.
Pry The Floor Joist From The Subfloor
Cut out a small section of the floor joist about 1-2 inches with a reciprocating saw and This will create a weak spot.
Then use a swinging saw and pry bars to pry and cut out the floor joist away from the subfloor and Use the back end of a hammer or crowbar to open the gap between the subfloor and floor joist.
To cut through wood Insert a wood-cutting blade into your saw, and a metal-cutting blade when cutting through nails.
This process might take some time and muscle to master as it is quite difficult but with patience and continuous experiment with the different tools you will be able to see which ones work best.
After completing detaching the joist from the subfloor, it should be kept somewhere where it won’t be underfoot.
Read: flooring option for dirt basement floors
Installing the New Joist
Before installing the new joist you need to apply construction adhesive over the entire length of the joist using a caulking gun
Even though you have to apply the adhesive before putting the joist into place, you don’t want to do this too early as the adhesive may dry out by the time you move the joist into place.
Move the new joist into position
If the previous joist rested directly on the foundation sill, you will need to wedge one end of the new joist onto the foundation sill before sliding the other end into position on the opposite side. Then use a hammer to Tap the joist into place.
This project cannot be carried out by a single person so you would need at least one helping hand to install the new joist.
If the new joist won’t fit, you can use a screw jack, hydraulic jack, or any other type of jack to raise the subfloor. Then Put a block of wood underneath the jack and another wood block between the bottom of the subfloor and the top of the jack.
Then raise the jack until you can properly tap the joist into a proper upright position. If the jack is unable to raise the subfloor high enough for you to slide the floor joist in, you can try using a larger jack that can bear a heavier load.
For added strength, you can Install joist hangers using a hammer and nails. Simply Find a metal joist hanger that can support the weight of the new joist and Fit it around the joist.
You need to Make sure the bottom of the joist is rested on the hanger without any space. Then with 16d galvanized nails hammer the hanger to the wall. Round it up by nailing the hanger to the joist.
You can purchase joist hangers at home improvement stores and lumberyards and there are special joist hangers that support I-joists as well as standard wood joists.
Conclusion
Knowing how difficult is it to replace floor joists will enable you to determine if you can undertake the task yourself or you should seek professional help. Following the steps above, you can easily replace floor joists yourself.