Knowing how to tuck a carpet to hardwood is necessary if you want to make some changes in the house. You need to have the proper tools and technical know-how. Down below is a list of tools necessary for the transition and guide.
How to Tuck a Carpet to Hardwood Floors
Table of Contents
- 1 How to Tuck a Carpet to Hardwood Floors
- 1.1 Tools and Equipment
- 1.2 Step 1: Clear the Area
- 1.3 Step 2: Remove Trim, Molding, and Doors
- 1.4 Step 3: Measure Room Dimension
- 1.5 Step 4: Install Water Vapor Barrier
- 1.6 Step 6: Install Tackless Strip
- 1.7 Step 7: Roll Out and Secure your Carpet Pad
- 1.8 Step 8: Roll Carpet
- 1.9 Step 9: Seal Carpet Seams
- 1.10 Step 10: Hook Carpet to Tackless Strip With Knee Kicker
- 1.11 Step 11: Trim Excess Carpet
- 1.12 Step 12: Use a Power Stretcher to Stretch Carpet to the Opposite Wall
- 1.13 Step 13: Trim Excess And Repeat Process On Remaining Walls
- 1.14 Step 14: Install Transition Strips
- 1.15 Step 15: Reattach Moldings
- 2 Carpet Padding
- 3 Carpet Pad Types
- 4 Steps to Minimize Hardwood Damage When Tucking Carpet
- 5 Conclusion
Prepare the Tools and Materials
Tools and Equipment
- Tape Measure
- Hammer
- Carpet Knife
- Carpet Trimmer
- Knee Kicker
- Power Stretcher
- Hand Saw
- Carpet Tack Strips
- Carpet Padding
Step 1: Clear the Area
You might want to clear the tucking area of any form of debris or distractions. Please give it a thorough sweeping or vacuuming.
Step 2: Remove Trim, Molding, and Doors
You should remove trims and pry molding off with a flathead screwdriver. Be careful not to cause any damage to hardwood baseboards while removing trims.
Step 3: Measure Room Dimension
Get your square footage by measuring and multiplying two joining walls. After measurement, an excess of 4 to 8 inches (10.16 to 20.32 cm) on each partition should be considered when cutting your carpet.
Step 4: Install Water Vapor Barrier
If you are using a water vapor barrier, this is the time to tuck it. Firmly secure overlapping pieces with tape that won’t leave residue on your hardwood
Step 6: Install Tackless Strip
Start from one corner to install tack strips and spread out around the room’s perimeter; make sure you position strips towards the wall so it’s easy for the carpets to get hooked.
Step 7: Roll Out and Secure your Carpet Pad
Your carpet pad should be as big as the installation area, butting up against the edge of the tackles strip if you must put multiple sections, secure with some of that 3M scotch blue tape.
Step 8: Roll Carpet
Cut carpets into corners so that they will fit into them. Be sure you have extra pieces of carpets available.
Step 9: Seal Carpet Seams
If you have two carpets you want to join together, use seam tape beneath the two carpets, holding open the seam, take the sealer heater and set it on the tape using adhesive.
Hold the edges of the carpet against each other and press firmly down. Repeat this along the seam and set heavy objects on top as it sets
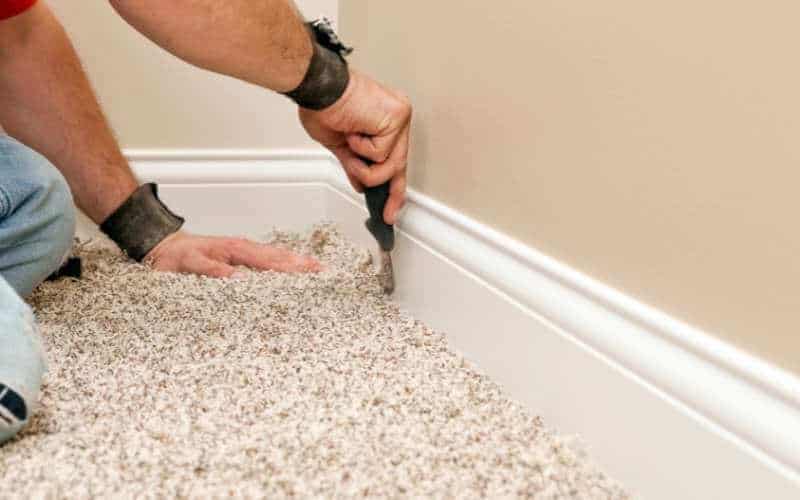
Step 10: Hook Carpet to Tackless Strip With Knee Kicker
Putting the knee kicker a few inches from the wall kicks the carpet into the desired position. Continue along the wall until the wall is set.
Related: How to lay carpet without a knee kicker
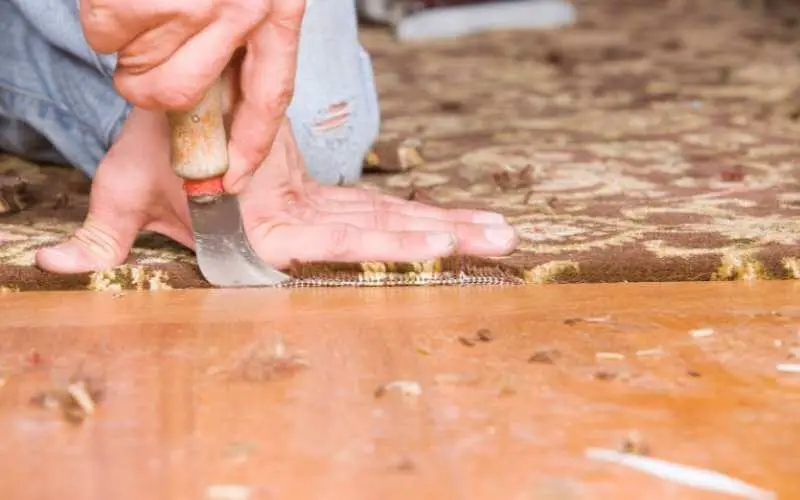
Step 11: Trim Excess Carpet
Fold spare carpet and cut the excess carpet from the back.
Step 12: Use a Power Stretcher to Stretch Carpet to the Opposite Wall
The stretcher contains extension rods that can extend the carpet to the other wall, and the head will go in front of the wall that needs to be anchored.
Push the stretcher back and forth to stretch and hook the carpet. Continue along the wall until the whole wall is attached.
Related: How to get wrinkles out of carpet
Step 13: Trim Excess And Repeat Process On Remaining Walls
Cut and tuck then carpet, repeat on other walls.
Step 14: Install Transition Strips
Seal carpet edges with a thin strip of your 3M blue tape. This can be done when your carpets are stretched and firmly in place
Step 15: Reattach Moldings
At this point, you can reattach your moldings.
Carpet Padding
Carpet padding is essential for any carpet installation you do.
It is designed to protect your floors, serves as an insulator, and makes your floor more comfortable to work on. It comes in various types and materials.
Carpet Pad Types
Rubber
Rubber carpet pads are known for their durability and are water-resistant.
This is the best choice for padding compared to others. It is costly and has a low insulation rate.
Rebond
This is made from the combination of different parts of recycled foam; it comes in multi-colors, low cost, high insulation and longevity rate, medium thickness, and density. It is not suitable for high traffic areas.
Memory Foam
It has a luxurious feel and is excellent for relaxing.
Steps to Minimize Hardwood Damage When Tucking Carpet
- Handle the rolls of carpet in your work area with care. The back of rugs are rough and easily dent or scratch floors and walls.
- Use of thicker carpet is advised to protect the floors better. However, you should check if the doors still function correctly because of the height you are adding to the floor, if it does not consider shaving the bottom of the door to allow for additional space.
- Some doors threshold use an adhesive like epoxy or polyurethane, which may damage wood floor finish when installed; it is preferable to use a threshold that uses screws and nails.
- Keep the area dry after installation.
Read: How to remove wall to wall carpet from hardwood
Conclusion
The process of tucking carpets to hardwoods can be a straightforward one to do, follow the steps to achieve a perfect transition, or you can hire the service of a professional. You should note that steps and methods vary with each professional.
This article was written to help you understand every details pertaining to how to tuck a carpet to hardwood.
We hope you found it helpful, if you did kindly share it across your entire social media.