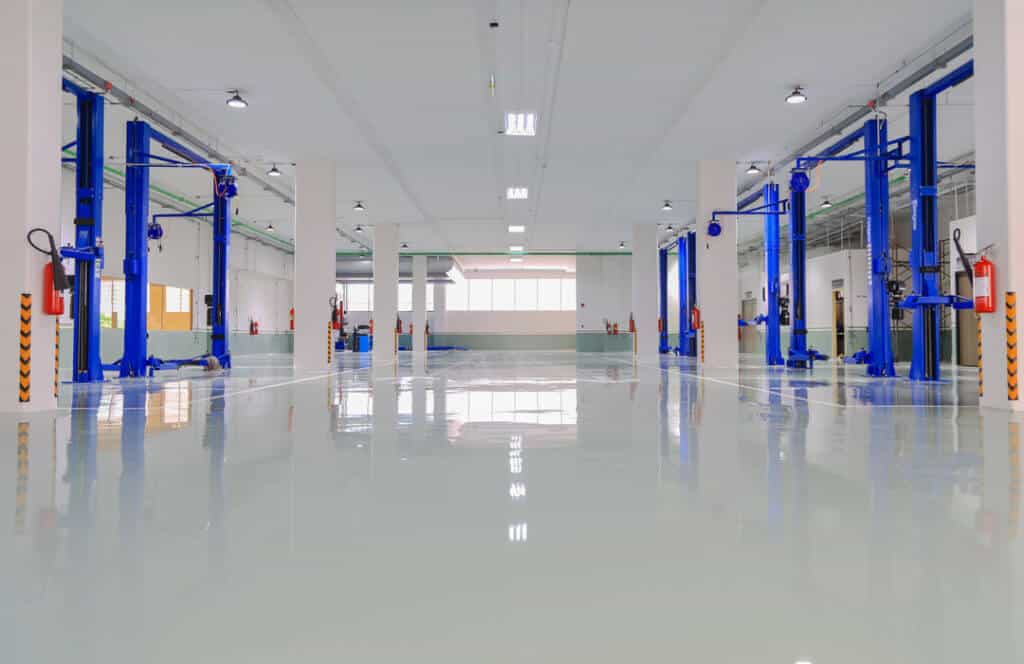
Having a clean, shiny, and well-maintained gym floor makes your space look great. But with time, you will notice that your floors start to lose their luster and become dull and even discolored and this is due to the buildup of dirt and scratches.
When this occurs, you will need to strip off the old wax finish and reapply a new wax coating to the floor. If you currently have a worn-out gym floor and you are looking for how to strip and wax a gym floor keep reading.
How To Strip And Wax A Gym Floor
Table of Contents

Get A Floor Finish Stripper
To strip off the old floor finish, you will need to Purchase a floor finish stripper that is suitable for your gym floor. Always check the label of the product before buying to be sure it is safe to use on your gym floor.
To achieve the best results, make use of a floor finish stripper that is the same brand as the previously used floor wax. Some floor finish strippers are indicated as “no rinse,” which means that there’s no need to rinse them off the floor after applying you do not have to rinse them off but floor finish strippers are quite powerful solvents
Most people prefer to rinse off the strippers even if they are indicated as”no rinse” to ensure that no damage or discoloration occurs.
Prepare Your Tools
you will need an electric floor scrubber and a wet-dry vacuum which you can both rent. A floor scrubber scrubs away the sealers and floor finish, while the wet-dry vacuum removes the stripper and sealer/floor finish residue afterward.
Most floor scrubbers come with an included squeegee attachment which you can use to do the job of a wet vacuum.
there are various sizes of Floor scrubbers and The larger ones will strip the floor more quickly, which is best for stripping a large area.
Prepare The Area
move all furniture, rugs, or items from the area that is about to be stripped, then use a vacuum to thoroughly clean the area and remove all dust and dirt. start by opening up all the leading doors and windows in the room.
To create even better ventilation, you can set up fans in front of the windows or doors. Floor finish stripper produces very toxic fumes when applied, so it should not be used in an area with poor ventilation. You should also wear a respirator mask.
If you decide to make use of fans, they should not be pointed directly at the floor, as this causes the floor finish stripper to dry out and interfere with the stripping process.
Safety Precautions
due to the high content of harmful chemicals that can be absorbed into your body through your skin and even damage your eyes, you need to Learn adequate safety procedures before carrying out the stripping process.
Ensure to wear protective clothing like rubber gloves and goggles. You should also wear long sleeves and long pants to cover as much skin as possible.
And in case of accidents, try to locate the nearest running water faucet and be ready to rinse your skin or flush out your eyes for at least fifteen minutes in running water if you happen to come into contact with the floor finish stripper.
Apply the Stripper
Before you go ahead to apply the stripper, ensure to test it out on a corner of the floor that is not readily visible such as an edge that furniture is placed over.
When applying the stripper You’ll need to start in the farthest corner from the exit and work your way towards the exit. If you are not making use of a floor stripper and carrying out the process by hand, divide the floor into 2-by-4-foot small sections.
But If you are making use of a floor scrubber, you can strip larger sections up to 100 square feet at a time.
Line three buckets with heavy-duty trash bags before pouring in the stripper to ensure an easy cleanup as well as preserve the bucket for other uses.
In one bucket, Mix the floor finish stripper and water according to the manufacturer’s instructions. Most strippers need to be adequately diluted before they can be used safely and effectively.
In a second bucket, pour some clean water which will be used to rinse off the floor stripping solution after it has stripped off the finish from the floor.
In the third bucket, add your tools and this same bucket will later be used to contain the used floor stripping solution. You’ll need two mops, one for the stripping solution and one for the clean water. You will also need scrubbers, scrapers, or other tools that should be added in this bucket.
You will need At least one scraping tool like a poll scraper or putty knife. You may also use A toothbrush and scrubbing pads.
Most of the tools you use for this stripping process may not be usable afterward so Do not use tools you do not want damage or need to use for other projects. Apply the finish stripper over the floor using a Mop covering only two 2-by-4-foot sections of the floor with the stripper at once.
An adequate amount of the stripper should be applied to coat the area thoroughly, but not so much that the area becomes flooded and the finish starts to soak between seams or cracks. For areas with a lot of wax buildup, you should Apply stripper more generously.
Use an electric scrubber or hand and begin Scrubbing tough areas by hand but first Allow the stripper to soak for the recommended amount of time. Before you start to scrub away the stripper, make sure you are wearing rubber gloves.
For nooks and crannies that may be difficult to reach with the floor scrubber, Use other tools like a toothbrush or putty knife to scrape away finish at corners.
Next, using a squeegee, floor scrubber squeegee attachment, or wet-dry vacuum Remove the floor wax residue and finish stripper. Then Soak up excess liquid using a rag or mop. Unless you are making use of a wet-dry vacuum, dump all the sucked up liquid into the third bucket after removing your tools.
Continue to repeat this process, applying the stripper in stages. Apply the stripper to the third section before you begin scrubbing the second section so that the stripper can soak in and do its work while you scrub the second section and continue with the process like this until you complete the floor.W
When you get to the sections of the floor near the edge, check the baseboard for a dirty finish and see if it needs stripping as well. for areas with tough wax buildup you will need to repeat the process and allow it to soak in while you work on other sections and then scrub it again.
Finally, use some clean water to mop the floor and make sure all traces of the finish stripper is removed and it no longer acts on your floor then allow it to dry.
Even if you made use of a “no rinse” stripper, they still pose a risk of damaging your floor so you should ensure to thoroughly rinse your floor and ensure that the floor is completely dry before you wax it.
Waxing
Before applying wax on your floor, ensure to read the instructions on the package label carefully to see if they differ from these. Waxes are products made from natural substances that are used to seal and protect the floor, while finishes are synthetic.
Although The following instructions applied for both waxes and some finishes, you should read the instructions on the label of the particular product you got as there are several varieties of finish and some may require special application.
Polyurethane finishes are one of the popularly used finishes and Unlike wax, they are meant to be applied quickly in back-and-forth overlapping lines, not allowing the edge to dry.
To apply the wax, you will need a new, clean mop. It is recommended to use a new mop in order to avoid introducing dirt into the new layer of wax or finish. A flat wax applier mop is best for this purpose because the wax can be poured directly onto the mesh back of the mop.
Read: Best Mop for Gym Floors
Like with the stripping process, your work area should be well ventilated because although Most finishes are not as harmful as floor stripping solution, they can still cause damage if too many fumes are inhaled.
Line a bucket with a heavy-duty trash bag for easy cleanup and fill it with the wax. If you are using an ordinary mop, you will need to dip it into a bucket of the wax solution but If you are using A wax applier mop you can skip this step and just pour the wax directly onto the back of the mop.
The mop should be damped and not soaked with the wax, and you should make use of the mop wringer to get excess wax from the mop if necessary and Apply wax in sections with a mop.
Start Applying a thin coat of wax over the floor, making sure to work in sections from one end of the room to the other. Work your way towards the exit of the room to avoid getting trapped.
After applying the wax, allow it to dry completely and this can take 10-30 minutes Depending on temperature and humidity.
Placing A fan in the room to increase airflow will help to speed up the drying, but the fan should not be pointed directly at the floor, as this could interfere with the wax’s setting process.
some waxes and finishes require up to five layers to achieve a good and protective seal, so Apply the required additional layers the same way as the first. The number of layers you need to apply will be indicated on the product label so do well to read it.
Always Allow each layer to dry completely before applying the next to ensure the wax is evenly applied on the floor and to avoid the buildup of excess wax.
the last step is buffing but this is not always necessary. Most modern waxes and finishes do not need buffing or polishing.
So If the product you made used of was advertised as “no buffing” or if the floor looks glossy and attractive after it dry, you do not need to buff it.
Otherwise, use a buffing pad or a dry terry cloth tied around a clean mop to polish the floor in a circular motion. If you are waxing a large area you can rent a burnishing machine to hasten the process.
Conclusion
Stripping off an old wax layer and applying a new one on a gym floor helps to create a glossy, protective layer that keeps the floor attractive and free from scratches and stains.
So if you have layers of your gym floor that have become worn out or dirty over time and you are looking for how to strip and wax a gym floor Follow these instructions to learn how to complete the process from start to finish.