If your hardwood floor cannot be sanded for reasons such as the floorboards being too thin or the floor has barely any scratch or dent, and you simply want to change its look, you can skip out the sanding process and still achieve a well lighten and beautifully restored wood floors.
Let’s look into how to restore hardwood floors without sanding; using a store-bought chemical abrasion kit or by buffing and recoating the floor with polyurethane after previous finish is scuffed up, and then apply a new coat of finish.
To learn more about how do you revive dull hardwood floors? And make your hardwood floors look new without breaking the bank and your back, literally! (sanding hardwood floor is a very tedious process) keep reading.
Related: How to Clean Hardwood Floors with Vinegar or Olive Oil
How to Restore Hardwood Floors Without Sanding
Table of Contents
1. Using a Store-Bought Chemical Abrasion Kit
You can get a DIY chemical abrasion kit from your local hardware or home improvement store. Prep your flooring with the chemical solution and scuff up the old finish; this helps to maximize cohesion between the new finish and the flooring.
Here’s the step-by-step procedure on how to restore hardwood floors without sanding using chemical abrasion kit.
Needed tools/equipment:
- Cleaning supplies (cleaning solution suitable for hardwood floors, mop, broom, vacuum, cleaning wipes, damp cloth)
- Painter’s tape
- Chemical abrasion kit ( this includes the abrasive pad, abrasive liquid, application block, finish application pad, and finish)
- Plastic garbage bags
- Scouring pads
- Broom handle
- Dishwashing liquid
- Shoe covers
- Wood stain
- Small paintbrush
- Paint pad
- Hairdryer
Directions for Using a Store-Bought Chemical Abrasion Kit
Remove any furniture in the room as well as any partial furnishings or fixtures like floor-length curtains and built-in shelves that would get in the way.
When the floor is completely cleared out, use a vacuum to clean the room and wipe off settled dust on the floor with a damp cloth. You do not need any chemical cleaner to clean the floor, and you can remove embedded dirt by scrubbing the area with an abrasive sponge, then allow the floor to dry completely after cleaning.
Keep the spread of dust to a minimum by closing up any heating ducts or vents with old towels, turning off the ventilation systems, and shutting the windows.
Apply the liquid abrasive onto the hardwood floorboards and use a broom handle with an attached pad to buff in the liquid along the floor’s grain.
To make application easier, pour the chemical abrasive into a plastic-lined shallow cardboard box, which you can easily dip the pad, catch drips, and prevent the chemical from spilling.
Apply the chemical into the floor and work on small sections at a time, slightly roughen the floor using a fair amount of pressure as you apply the product on the floor’s surface.
Avoid leaving the solution on the floor for longer than five minutes as moisture can find its way into the cracks between the flooring strips and cause damage.
Allow the floor to etch for about 30 minutes, and you can increase ventilation by opening a window or turning on a fan. When the etching is done on the entire floor, allow it to dry for 30 minutes.
Next, use a mixture of two tablespoons of dishwashing liquid and a gallon of warm water, and a mop to clean the floor. This removes the residue of the etcher and also neutralizes its chemical effect.
A swab of matching stain can be used to cover up visible scratches that persist even after the etching procedure.
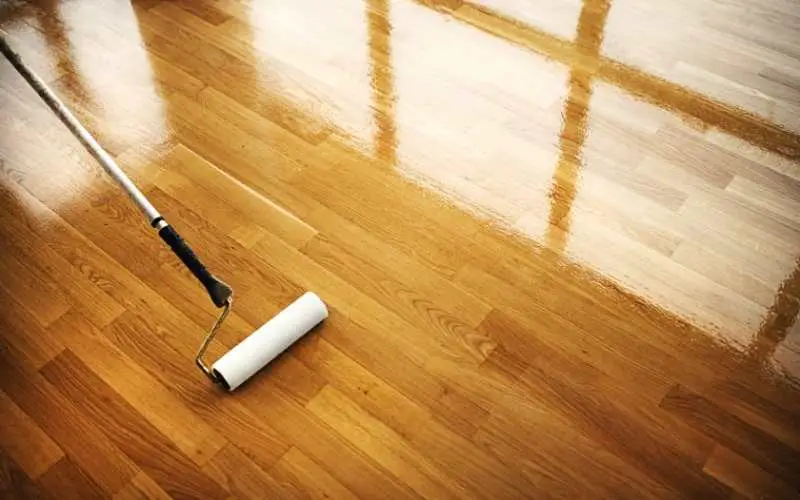
Lastly, apply a new finish coating to the floor, ensure to spread out the finish evenly, and reach closed-off areas with a small toothbrush and a paint pad or brush, then follow behind with the applicator.
Apply one layer of finish coating, but you can add a second coat for an extra layer of protection on the underlying wood to cover deep scratches on the floor surface and allow each coating to dry for a minimum of three hours before applying another coat.
Allow the last finish coating to dry for at least eight hours before allowing traffic on the floor with clean socks and up 24 hours before returning any furniture removed before the procedure.
Read: Can You Stain Hardwood Floors Grey?
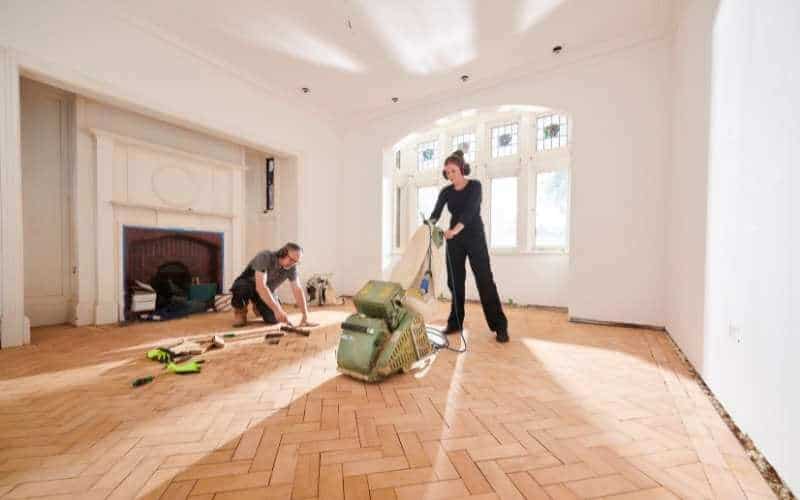
2. Buffing and Recoating With Polyurethane
This procedure follows similar steps to the chemical abrasion kit, but instead of a liquid abrasive, a buffer is used to roughen up the floors instead.
The process of buffing hardwood creates more mess than when using a chemical etcher and is quite similar to sand. You may already own a buffer; if not, you can rent one from your local home improvement store. Read on to find out how to go about the process
Items you’ll need:
- Cleaning supplies
- Buffer
- Mineral spirits
- Wood stain
- Small paintbrush or cotton swab
- Sanding screens
- Hammer
- Putty
- Nails
- Box fan
- Plastic sheeting
- Duct tape
- Painter’s tape
- Dust mask
- Polyurethane
- Paintbrush or paint roller
- Plastic garbage bag
- Shoebox
- Paint tray
- Applicator pad
- Applicator block
- Broom handle
Directions for Buffing and Recoating With Polyurethane
Clear out the room of furniture and give the floor a thorough cleaning and wipe down to remove any gunk and dust. Scrub off tough stains on the hardwood using a cleaner suitable for wood flooring, scouring pad, and mineral spirits, depending on the type of stain you are dealing with.
Fix scratches now made visible after cleaning by applying contrasting finish to blend in the area with the rest of the floor.
Roughen the floor’s corners and edges using a sheet of sanding screen before going in with the buffer. When your floor is clean, and the edges are roughened, begin buffing the floor using a buffer with an attached sanding screen; ensure adequate ventilation by opening up your windows and placing fans in them.
Change the sanding screen frequently as you buff the floor because each screen usually wears out after 10-15 minutes of use.
When the entire perimeter of the floor has been buffed, clean up the dust using a vacuum and wipe down settled dust on the floors.
Finish the process by applying a finish, usually polyurethane- the favorite option for DIY-ers because of its durability and easier applications than other finishes.
Read: How to Seal Hardwood Floors Without Sanding
Conclusion
This article has shown you how to restore hardwood floors without sanding, and you can make your hardwood floor look new by using a store-bought chemical abrasion kit or by buffing the floor to remove the previous finish before applying a new layer of finish on the floor.
Both methods of reviving hardwood floors are discussed in the articles, and the steps are discussed in depth.