Removing engineered hardwood floors might seem to be a daunting task because it requires some particular skill.
It is firmly glued or nailed in place, making it hard to replace or pull a few damaged boards from the middle or sides of the floor. Regardless, we have covered some tips on how to replace engineered hardwood floor planks.
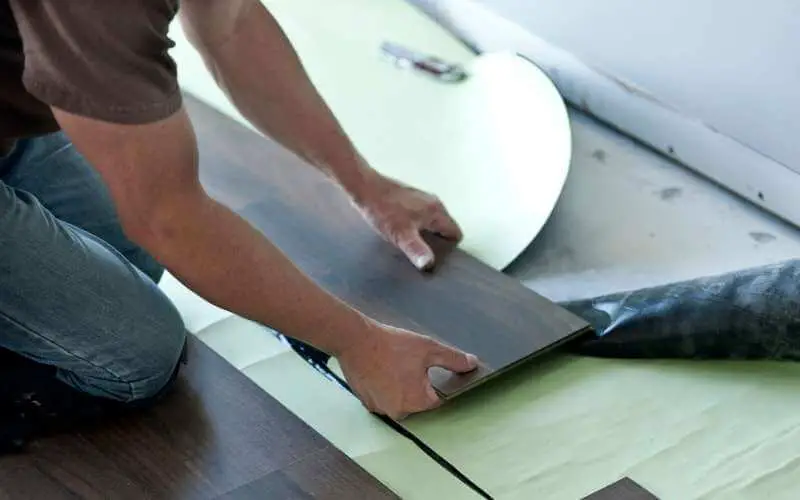
To replace engineered hardwood floor planks, pull off the floor trim with a pry bar and hammer. Remove the floorboard along the edges of the wall, nearest to the board you plan to replace. Pull the board that needs replacement by pulling off the lined up flooring. Pull out the board that requires replacement and place the new board along with the other boards. Finally, snap the floors back and nail back your floor trim.
Read on for a detailed guide to achieving this.
Related: How to fix a chip in engineered wood floor
How to Replace Engineered Hardwood Floor Planks
As stated above, replacing engineered hardwood floor planks can be tricky. However, there is a step to step ways to ensure its success rate is very high.
Here are the detailed steps to replace hardwood floor planks:
Step 1. Get the necessary tools such as; hammer, pry bar, new plank floors, trim nails, nail set. All these sets of equipment would go a long way to make the work easier.
Step 2. Using your pry bar and hammer, pull off every trim in the selected area to be replaced. Use your hammer to tap out nails. Do not forget to wear eye patches to protect your eyes.
Step 3. Remove the floorboard along the edges of the wall, nearest to the board you plan to replace. Separate the boards and pull them towards the little spaced area close to the wall. Since they are separated, you can leave them lying on the floor.
Related: Why your engineered floor is turning black
Step 4. Pull the board that needs replacement by pulling off the lined up flooring. Don’t forget to set the pulled-off floors the right way they should be and close to the others, so you can easily place them back to avoid complications.
Step 5. Pull out the board that requires replacement and trash it out. Then place the new board in the right place with the other boards.
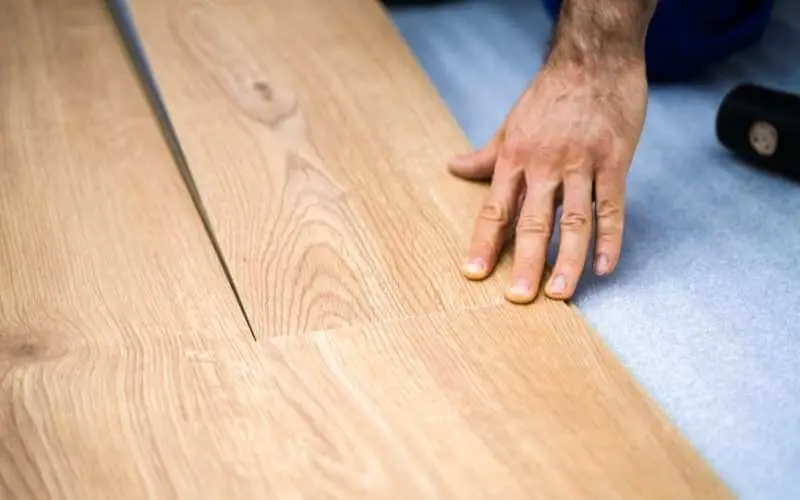
Step 6. Snap the floors back into their grooves. Make sure all wall parts are in place until you get to your beginning point.
Step 7. Nail back your floor trim back in place. Make use of new nails, but the same holes. Place the head of the nail a bit below the floor trim surface.
Related: How to remove haze from engineered wood flooring
Conclusion
Replacing engineered hardwood floor planks isn’t difficult to achieve, provided you follow the abovementioned steps. With this step-to-step guide, we have got you covered with everything you need to know on how to Replace engineered hardwood floor planks.

