Whether you are attempting to lighten the natural color of wood or you are looking for how to lighten stained wood, the type of stain using is usually a factor in the process
There are basically two types of stain: dye that is dissolved in a liquid, and dye and/or pigment combined with a binder.The first one is called dye stains and is sold either as powders or liquids; the second one is called pigment stains or lacquer stains and are the most common stains you buy in cans at home improvement or craft stores.
How to Lighten Stained Wood
Table of Contents

An improperly stained wood can ruin the beauty of the furniture and even distort the appearance of the entire room the furniture is placed in. Lightening a stained wood is a process that is sometimes needed, and this procedure is very easy to carry out, and it requires very few items and tools. There are a couple of ways you can use to lighten stained wood.
Bleach Method
Bleaching can be used to lighten stained wood as it helps to make the wood grain become more pronounced, but you want to be careful with the application to avoid scratching the surface of the wood.
You also want to make sure that your working area is well ventilated of if possible, outdoors, and you will need to put on protective clothing from the harsh chemicals you will be using for this process.
Items You Will Need
- Protective gear (gloves, goggles, and mask)
- Varnish or stain remover
- Bleaching solution
- Vinegar
- Water
- Sandpaper 320 to 400 – grit
- Finish
- Rags
Before applying any chemical, you want to wash the wood surface thoroughly using soap and water, to remove any dirt or grime, which can affect the effectiveness of the bleach.
Read: Best Steam Mop for Hardwood Floor
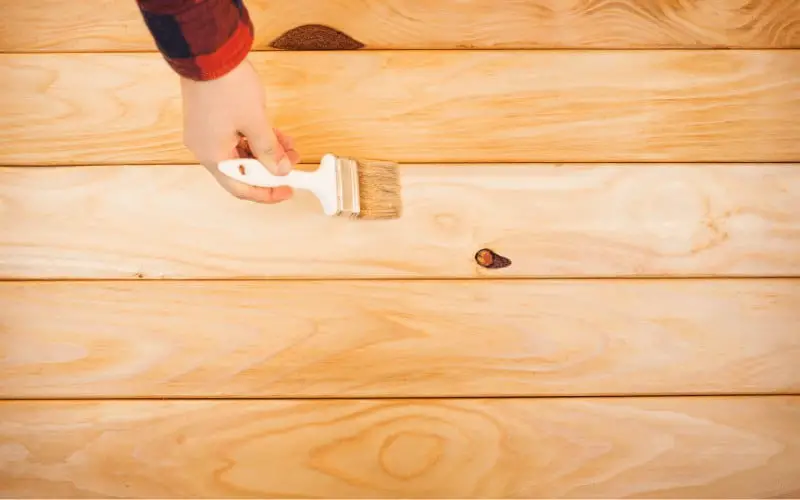
Now apply a finish stripper to the stained area you want to lighten using a paintbrush with natural bristles and allow it to sit on the surface for 20 minutes so that it can set.
You want to make sure that you apply the stripper evenly across the surface so it can strip the wood completely.
Once the finish stripper has set, use a plastic scraper holding it at a 45-degree angle to the piece of wood, scrape off the old finish applying a firm amount of pressure, using a drop cloth, collect all of the old finish and dispose of it properly.
You want to make sure that you work along with the grain of the wood so that it doesn’t leave scratch marks on the wood. You want to keep on scraping until you remove all of the old finish; you can find out if there’s finish left on the wood by wetting the wood a little bit.
Then check if it darkens evenly; if it doesn’t, and there are some light and dark spots, this simply means there’s some finish left on the surface. This process also helps to lift some of the stains from the wood.
After thoroughly removing the finish, it is time to bleach. You can make use of either oxalic acid or a 2-part wood bleach solution. Before handling any of these chemicals, you want to make sure you wear your protective clothing to prevent irritation from the fumes of the chemicals.
Read: Pine Sol on Hardwood Floor
If you’re making use of the 2-part bleach, you want to pour equal amounts of both parts of the bleach in a small bowl and stir them together, but if you are making use of oxalic acid, they are usually in crystal form, so you will need to mix it with water according to the package instructions.
Before choosing any of these chemicals to use, you have to note that even though they both work very well in removing both oil-based or water-based stain, Oxalic acid is not very effective on stains, and it works best on naturally light woods.
While the 2-part bleach solution is more effective but can only lighten the natural color of dark wood.
Get the bleach of your choice and apply a thin coat to the wood surface using a paintbrush; you want to evenly apply the thin coat of bleach, so the surface lightens evenly.
Allow the bleach to sit for at least 30 minutes so that it has enough time to change the color of the stain and wood.
After 30 minutes, Combine equal parts of white vinegar and warm water in a bucket, and stir to combine. Then soak a clean cloth or towel in the mixture and squeeze to remove the excess liquid so that the cloth is only damp.
Wipe the bleached surface with the cloth in order to stop the bleaching reaction and prevent the wood from getting lighter.
You can allow the bleach to sit for more or less than 30 minutes depending on how light you want the wood color to be, then neutralize it anytime you want.
Once that is done, get another clean cloth and soak it some warm water, squeeze out the excess water and use it to wipe the wood surface. This process helps to remove the bleach and vinegar residue. If the surface you are working on is a floor, you can use a mop for all this application.
Allow the wood to dry overnight to enable all the water to evaporate so you can see the color you are left with. If you are happy with the color, skip to the next step but if you are not, repeat the bleaching process over again.
A wood surface can only withstand up to 3 bleaching treatments before it starts to look dull or grey, so you want to keep that in mind.
Using 180-grit sandpaper, sand the wood surface applying a firm amount of pressure. You want to sand in the same direction of the wood grain to prevent scratching the wood, and level out the wood surface until it is smooth to the touch.
Finally, apply a suitable type of polyurethane finish for your wood, using a paintbrush with natural bristles, and apply a thin coat of the finish to your wood.
Before applying the finish, you want to make sure it is mixed thoroughly, and you want to apply it following the direction of the wood grain. After applying the finish, pull your paintbrush over the area again in long strokes to eliminate any bubbles or uneven application.
Steel Wool Method
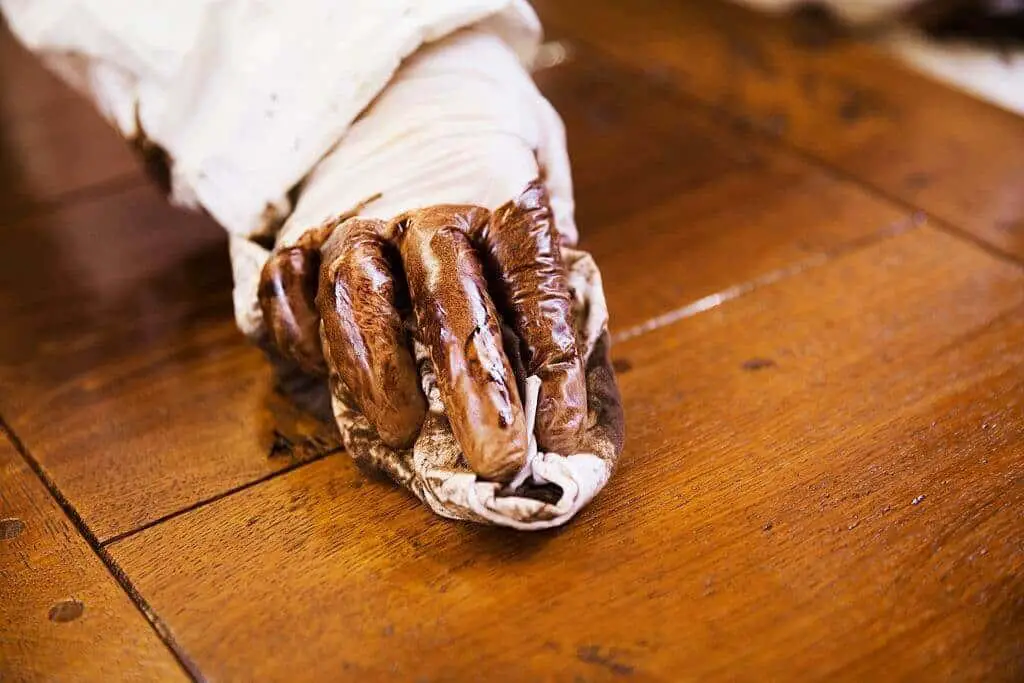
Using a piece of steel wool soaked with warm water and squeezed to remove excess liquid, rub against the wood in the same direction of the grain.
You want to do this applying light and using back and forth strokes; you also want to make sure that you are using only superfine or extra-fine steel wool, as coarse steel wool will remove too much material.
You do not want to overlap the strips you rub as it can remove too much stain or wood material. The steel wool lightens the wood by scraping away small amounts of the stain and finish.
Before carrying out this next step, you want to put on some protective clothing as you will be handling mineral spirit than can cause skin or eye irritation, and you want to work in a well-ventilated area.
Dampen a clean cloth with some mineral spirit and use it to wipe along the grain of your wood to lift up some of the stains. This will cause the wood to start getting lighter, so you want to make sure you wipe the entire area and change clothes once they get dirty.
When you are done, dispose of the wiping cloths properly, and you want to allow them to dry completely before doing so.
Keep switching between the steel wool rubbing and the mineral spirit application until you are satisfied with the wood color; this is because the two processes only lighten the wood color slightly, so it will take multiple applications to notice a change.
Once you achieve your desired results, Give the wood a final wipe with a clean cloth to remove any excess mineral spirits.
Diluting A Stain
When getting a wood stain, you want to go for a natural wood stain as it is a transparent medium you can mix in with other standard stains to make it thinner and lighten the color.
Before getting a natural stain, you want to check the type of stain you already have to see if it is water-based or oil-based so that you know what type of natural stain to buy. You can substitute mineral spirits for oil-based stains or water if it’s water-based on the absence of natural wood stain.
Next, combine equal parts of the natural wood stain with equal parts of the stain you are trying to lighten. You can make use of an empty paint can or sealable metal container for this mixture. Mix the two stains together thoroughly, or else it will be spotty.
Before applying the stain to the wood surface, you want to first test it out on a scrap piece of wood. Dip the end of a paintbrush into the mixed stain and remove any excess on the rim of the paint can.
Apply the stain on a scrap piece of wood and rub it into the wood with a shop cloth. Wipe the excess stain off of the wood, and look at the color of the stain compared to the natural wood to see if you are okay with it.
Another great way of comparison is by Applying the original stain color on one side of the scrap wood and the diluted stain to the other. That way, you can directly compare them to see how much you’ve lightened it.
You also have to keep in mind that if a stain sits overnight, the color drys further and changes, so if you don’t like the initial mixed color, you may need to wait till the next day to see the final look before diluting it further.
If the stain is still too dark, you can add in 1/2 cup of natural wood stain at a time and mix thoroughly, test the color and keep adding the natural wood stain until the lightness that you want; if the stain gets too light, you can add another 1⁄4–1⁄2 cup (59–118 ml) of the original stain.
Once you achieve your desired color, put the lid on the can and save it for use or you can go ahead and use it. For future purposes, you may need to keep track of the amount of natural wood stain you used to achieve your desired so you can be able to replicate it in the future with ease.
Conclusion
You can lighten dark-stained wooden furniture, flooring, or wall by removing the old stain with a couple of easy steps and although The process on how to lighten stained wood
may look hard due to a lot of steps and procedures, but the rewards of having lovely lighter wood are definitely incomparable.