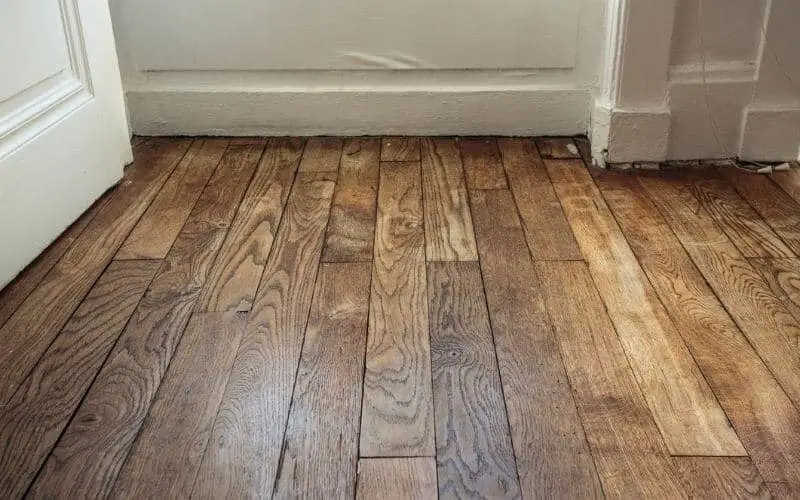
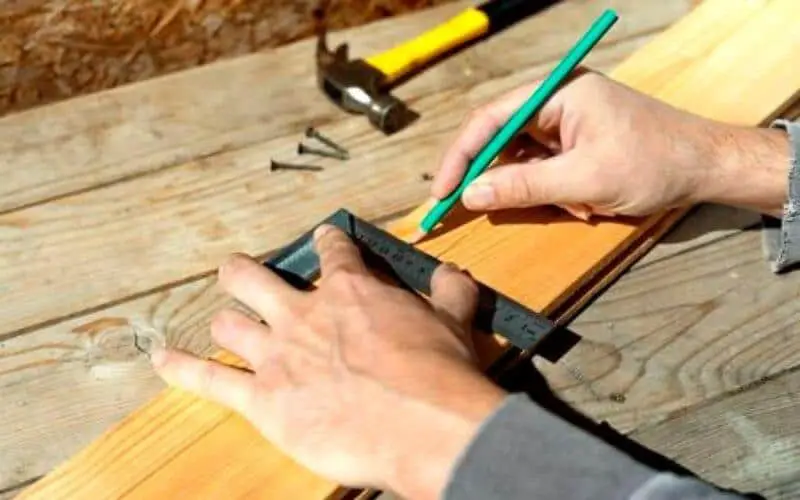
Loose floorboards can be a bit annoying and irritating. Hearing the floor creak when you get out of bed or step on it might not be what to look forward to every day.
Loose floorboards are caused by gaps between the sub-floor and the floor joists, which have separated over time.
If you hear those floor creaks then you must be interested in how to fix loose floorboards under carpet.
To fix the floorboards, you have to find the loose floorboards then drive screws along the edges of the area.
This post will run you through this relatively simple project that almost anyone can do.
Read: How to clean old wooden floorboards
What You Need to Fix Loose Floorboards
The following instruments will be needed in fixing your loose or squeaky floorboards:
- Hammer (to find joists)
- Stud finder (optional)
- String, yarn, sticky note, or masking tape
- Floor repair kit (optional)
- Electric drill
- Pliers (if not using a kit)
- Drywall or deck screws (if not using a kit)
How to Fix Loose Floorboards Under Carpet
Table of Contents
1. Find the Squeak
First thing first, you need to locate the loose floorboards first. Walk over the carpet, gently listening for squeaky areas.
Once you are sure of the squeaky area, mark it off with string, yarn, sticky notes, or masking tape. It is possible that the squeak lasts the entire length of the room.
Read: How to fix squeaky hardwood floors
2. Locate the Faulty Joist
Once you’ve located the loose floorboards, the next step is to find the faulty joist. The joist is the timber supporting the floorboards.
For most modern houses, finding the floor joist is quite easy and straightforward. The floor joists are spaced 16 inches apart. This means that once you can locate a particular joist, finding others will be way easier.
For old houses, finding the floor joist is not so straightforward; you might have to use one of the two methods outlined below to find the floor joist.
a. The Stud Finder Method
A stud finder can be found in most home improvement stores. This is a device that detects wood beams behind surfaces.
To use the stud finder, run it slowly over the floor until there is an indication that a joist is found. Most stud finders will either light up or make a noise to tell you when it is on top of a joist.
Mark area with a string, tape measure, yarn, sticky note, or masking tape
b. Use a Hammer
In some cases, a stud finder might not be so accessible to you. In such a situation, gently move the hammer on the floor in a line running parallel to the direction of the joists.
Once you hear the noise changes (the sound becomes thicker and more solid), it means you’ve found a faulty joist. Note that this step is prone to trial and error.
c. The Joist Finding Tool Method
Most floor repair kit comes with joist finding tool. This tool is an instrument with a long screw and very few threads. To use the joist finding tool, drill it down into the carpet until the threads are through the subfloor.
If the threads are stuck, it means that they attached themselves to a joist. But if they shoot out, it means that if you’ve missed a joist and will have to try out other areas.
Read: How to fix squeaky stairs
3. Insert Screws Along the Edges of The Area.
Using the methods outlined above, you will definitely find a faulty joist. The next step involves inserting screws along with the areas of the faulty joist. If you are using a repair kit, this process should be straightforward.
All you have to do is to put the kit’s attachment into a drill and put one of the special screws on the bit. Make sure to push the tripod firmly.
Put the screw through the hole in the tripod and drill as far as you can. Repeat this process at the other end of the squeaky area on the same.
If you’re working without a kit, find a set of drywall or deck screws. Drive the screw into the carpet on top of a joist at one end of the squeaky area and screw it down. Repeat the process in other areas.
Read: How to get rid of mold on floor joist
4. Break Off the Screw Heads
In this step, you might appreciate the need for a repair kit. The screws in the repair kit are designed to break off easily.
All you have to do is get a tool that fits onto the head of the screw. You will need to snap it back and forth to break off the head.
If you’re working without a repair kit, use channel lock pliers to grip the head of the screw and jerk the pliers back and forth until the screw head pops off.
Read: How difficult is it to replace floor joist
Conclusion
The process on how to fix loose floorboards under carpet seems quite straightforward, right? Admittedly, this process might not be so easy if you don’t have experience in home improvement projects.
Safety should be your watchword in such projects. Thus, you should know when to seek the help of a professional.

